
Short answer: the best astrophotography camera for deep sky imaging is the one whose sensor size, pixel size and cooling match your telescope and your target list. For most people starting out, a 24MP APS-C DSLR or mirrorless body on a tracking mount gives you the widest field and the simplest workflow in 2026. For faint, narrowband targets later, a cooled dedicated CMOS camera is the step-up that matters most.
That is the honest answer, because deep sky imaging has more than one right answer. The cheapest route is a DSLR or mirrorless camera and a star tracker. The fastest route to a finished image is a smart telescope that stacks for you. The route with the highest ceiling is a cooled mono or one-shot color CMOS camera, and it is also the one where buying decisions get expensive fast.
We spent 2026 comparing ten bodies that show up in real imaging kits, from an entry eyepiece camera to a full-frame DSLR, and read what owners actually report after stacking frames. The product lineup overlaps with our guides to 360 cameras and trail cameras only in the sense that they are all cameras; the physics that decides a deep sky image is completely different. Below, every pick states what it is good for and what it will not do for you.
Table of Contents
Top 3 Picks for Deep Sky Imaging in 2026

Canon EOS Rebel T7 DSLR Kit
- 24.1MP APS-C sensor
- Two kit lenses included
- Wi-Fi file transfer

ZWO Seestar S30 Pro
- Automatic GoTo tracking
- Built-in light pollution filter
- 4.6 degree field

Quick Comparison of the Best Astrophotography Cameras in 2026
All ten bodies, ordered the way we would rank them for deep sky work. The tier column is relative: entry, mid and premium describe where each body sits in this list, not a price figure.
| Product | Specs | Action |
|---|---|---|
| Canon EOS Rebel T7 DSLR Kit with 18-55mm and 75-300mm |
|
Check Latest Price |
| ZWO Seestar S30 Pro Smart Telescope |
|
Check Latest Price |
| ZWO ASI183MC Pro 20.18MP CMOS Color Camera |
|
Check Latest Price |
 OM System Olympus E-M10 Mark IV Mirrorless OM System Olympus E-M10 Mark IV Mirrorless |
|
Check Latest Price |
 SVBONY SV305C Pro Telescope Camera SVBONY SV305C Pro Telescope Camera |
|
Check Latest Price |
 DWARFLAB Dwarf 3 Smart Telescope DWARFLAB Dwarf 3 Smart Telescope |
|
Check Latest Price |
 Canon EOS 5D Mark IV 30.4MP Full-Frame DSLR Canon EOS 5D Mark IV 30.4MP Full-Frame DSLR |
|
Check Latest Price |
 Nikon D7500 20.9MP DSLR with 18-140mm VR Lens Nikon D7500 20.9MP DSLR with 18-140mm VR Lens |
|
Check Latest Price |
 SVBONY SV205 7.05MP IMX415 Telescope Camera SVBONY SV205 7.05MP IMX415 Telescope Camera |
|
Check Latest Price |
 SVBONY SV105 1.25 inch IMX307 Eyepiece Camera SVBONY SV105 1.25 inch IMX307 Eyepiece Camera |
|
Check Latest Price |
1. Canon EOS Rebel T7 DSLR Kit with 18-55mm and 75-300mm Lenses
Canon EOS Rebel T7 DSLR Camera Double Zoom Lens Kit
24.1MP APS-C CMOS
ISO 100 to 6400 native
Two kit lenses
14-bit files
Pros
- 24.1MP APS-C sensor resolves compact deep-sky targets
- Two lenses cover wide field to long reach
- Lights are included so the kit is usable immediately
- 14-bit files hold up well in stretched stacks
- Built-in Wi-Fi moves files off the camera fast
Cons
- No sensor cooling so dark frames change with temperature
- Live view autofocus is dated for focus pulling
- Kit lenses have no image stabilization
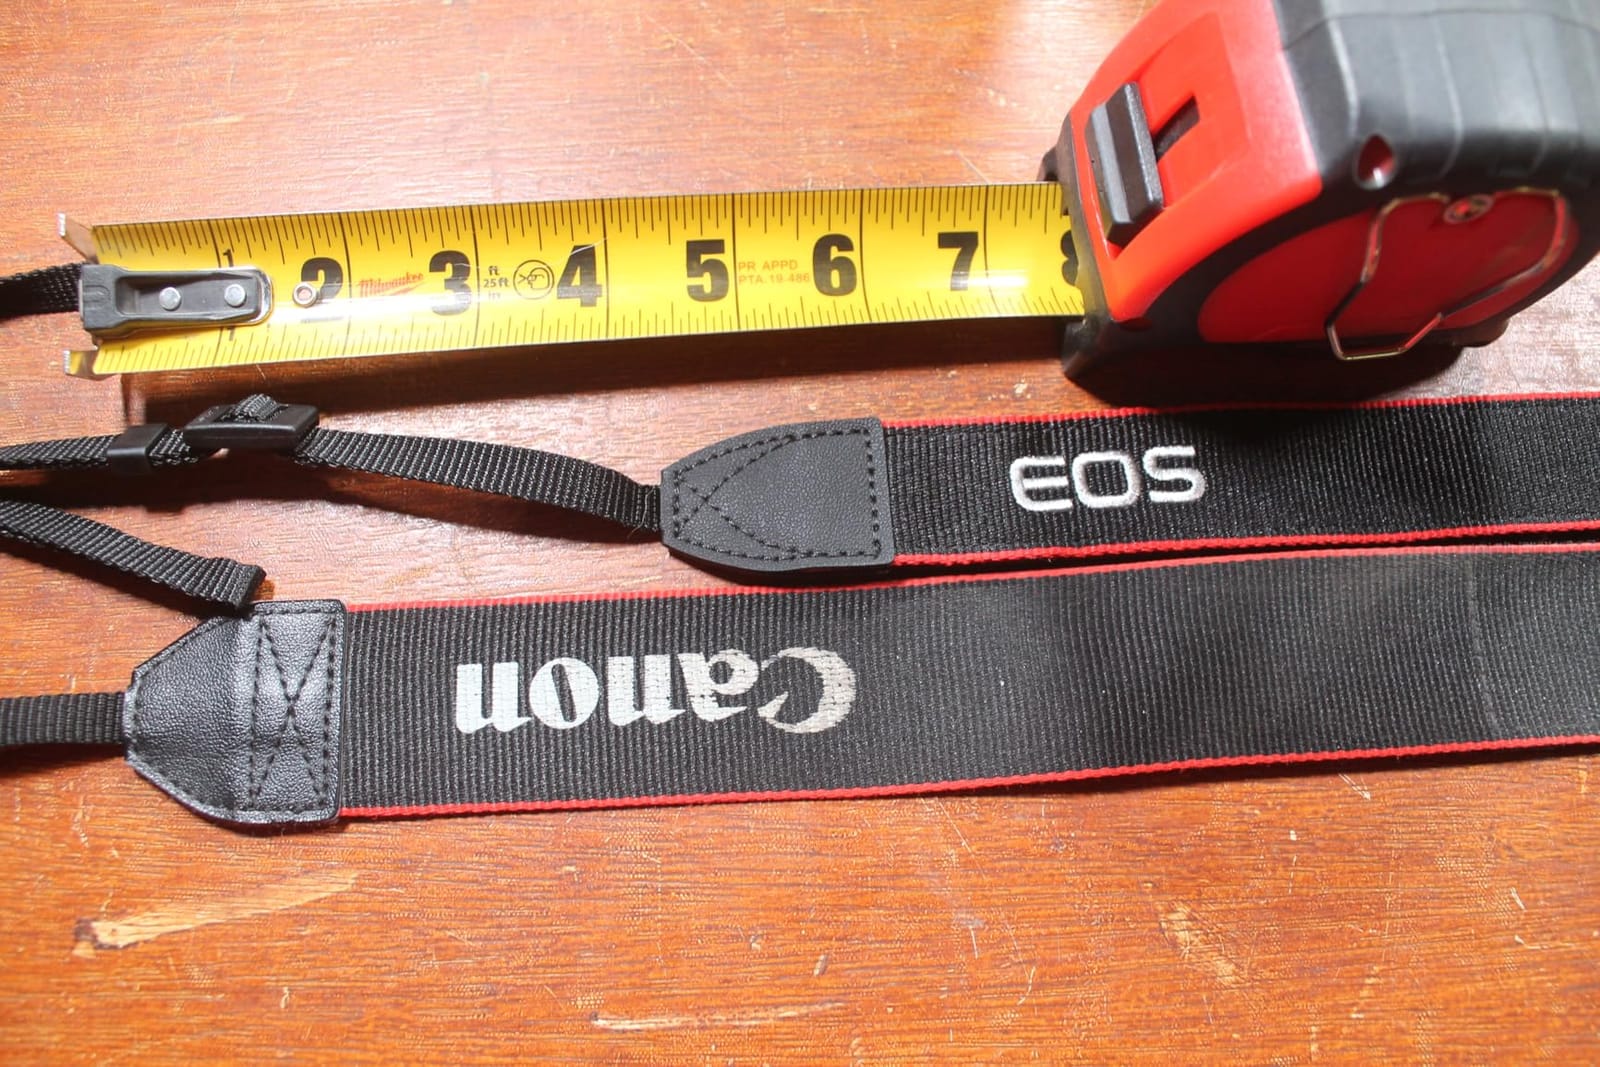
The T7 is the most reviewed body in this roundup by a wide margin, and that is not accidental. Its 24.1MP APS-C sensor sits in the sweet spot for deep sky work: big enough to gather signal quickly, small enough that a short refractor or a 200mm lens on a tracker still frames whole galaxies. For most beginners that combination is the entire decision.
What you get in the box matters here. The kit ships with an EF-S 18-55mm and an EF 75-300mm, so you can shoot a wide-field nebula tonight and a smaller galaxy tomorrow without buying glass. On a tracking mount, the 18-55mm covers a genuinely large field at short focal lengths.

The compromises are the ones you already know about from DSLR astrophotography. There is no cooling, so dark current rises with ambient temperature and your calibration library has to be managed carefully. Files are 14-bit, which is good news for a heavily stretched stack.
Reviewers consistently call the autofocus dated in live view, and that does matter at infinity where you will be fighting focus every session. Our advice is to shoot wide and let the 18-55mm do the work rather than reaching for the telephoto on a shaky mount.
What the Rebel T7 does well for deep sky
Wide fields. A 24MP APS-C frame on a short refractor covers emission nebulae and large galaxies in one shot, which means fewer total integration hours per target. Two lenses in the box remove the most common early barrier, which is having nothing to point at the sky.
Where it will disappoint you
Uncooled long exposures on a warm night. If your target list is faint galaxies and very dim nebulae, the noise floor of a hot sensor will be the limit, not the lens. It is also a general camera, so every session includes menu handling that a dedicated astro body avoids. If you want a second body for something else entirely, our backup camera guide covers the trade-offs from a different angle.
2. ZWO Seestar S30 Pro Smart Telescope
ZWO Seestar S30 Pro Smart Telescope, App-Controlled Astrophotography
Apochromatic optics
4.6 degree field of view
Built-in light pollution filters
3.6 lb body
Pros
- Automatic GoTo and tracking deliver first images on one night
- Built-in filters help from suburban skies
- Dual cameras and 4K imaging with mosaic stitching
- Stacks and denoises on the phone with no computer
- 3.6 lb body with anti-dew protection
Cons
- Closed app workflow with no manual exposure control
- Must stay stationary during deep-sky imaging
- Not built for planetary detail at long focal lengths
The Seestar S30 Pro is not a camera in the traditional sense, it is a complete robotic imaging rig, and that changes what it is good at. If the biggest thing stopping you is setup, software and polar alignment, this removes all three. Owners report getting usable deep sky results on a first evening with no computer at all.
Optically it is serious. Apochromatic optics, a 30mm objective, 160mm of focal length and a 4.6 degree field of view means large nebulae and galaxy clusters fit comfortably in frame. The built-in light pollution filter is the detail that matters most for city imagers.
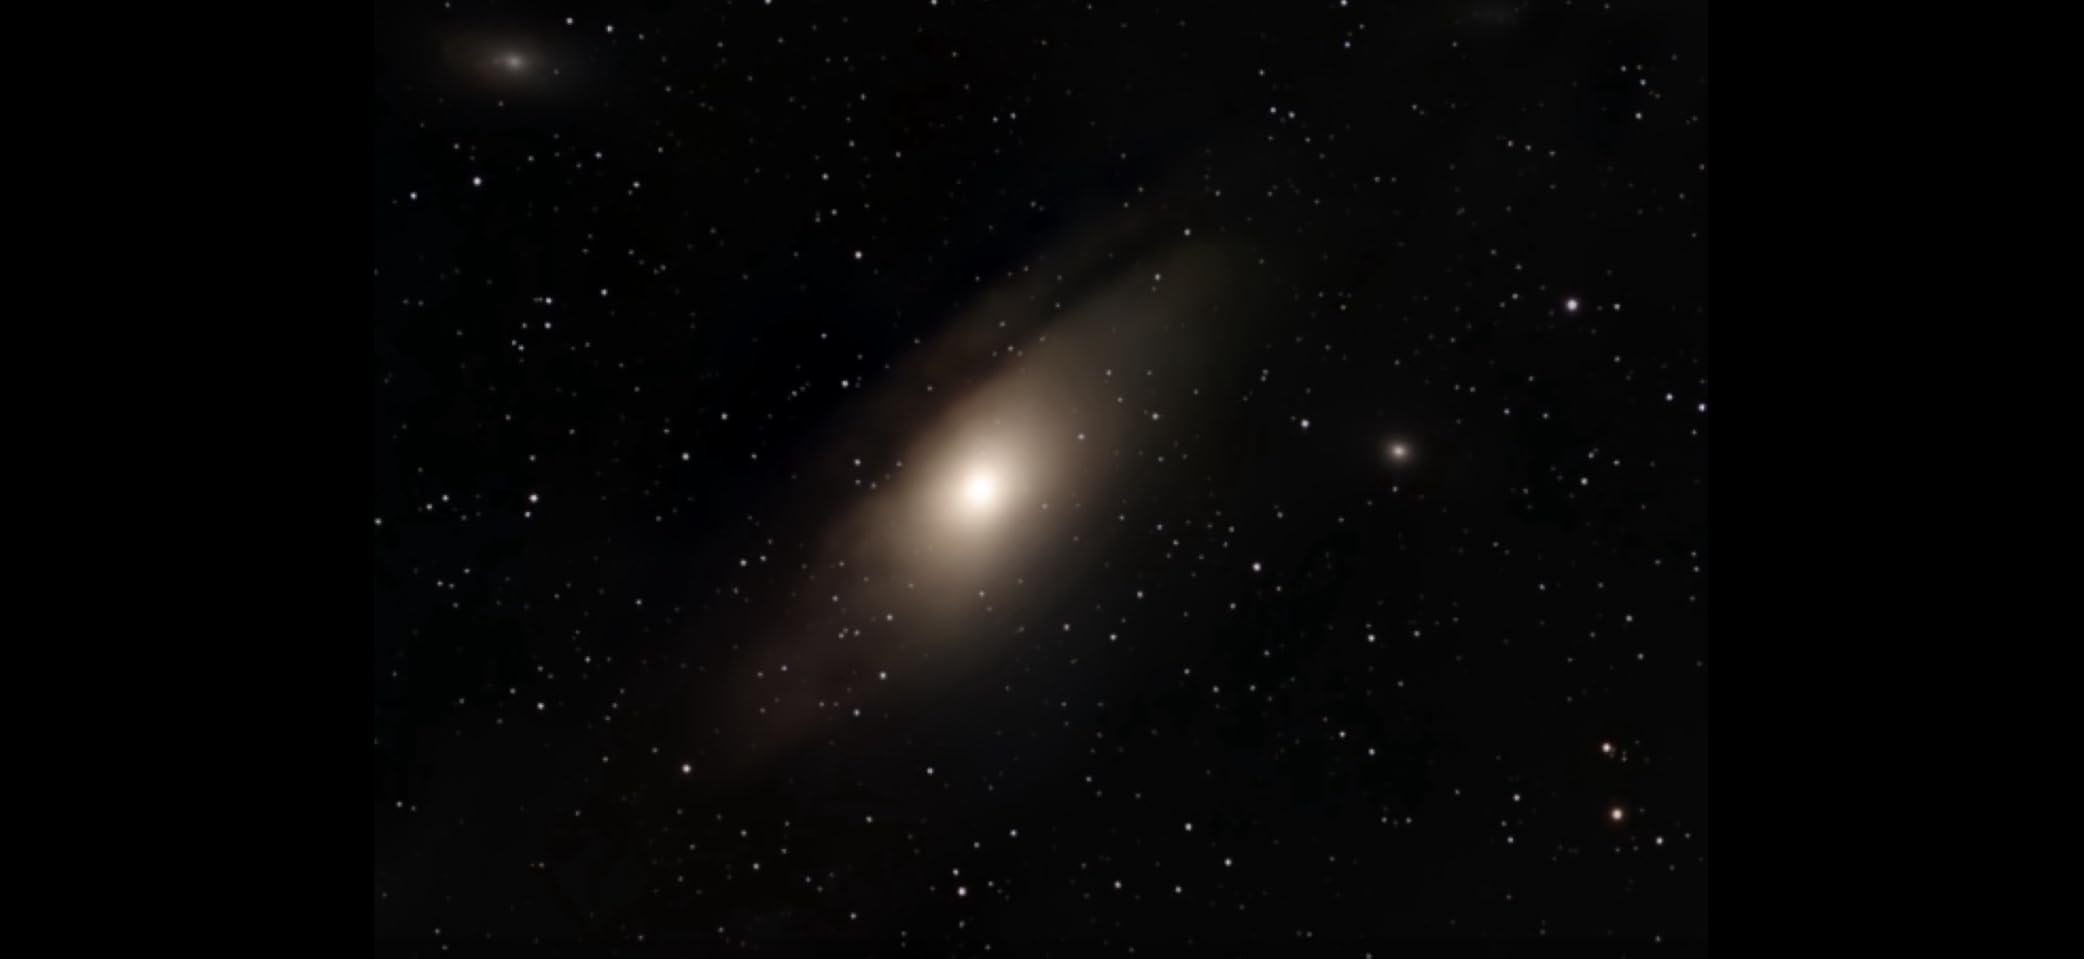
Automatic mosaic stitching from the dual-camera 4K setup means you are not limited to a single frame size when a target is wide. Processing is one tap in the app, with AI noise reduction and sky separation handling the stacking that would otherwise take an evening of manual work.
There is a real tradeoff. You give up manual control of exposure, gain and filter selection, and you depend on the companion app and cloud processing. Serious imagers outgrow that quickly, which is why this sits at number two rather than first.
Who this camera suits
Anyone who wants finished deep sky images without learning capture software, and anyone imaging from a balcony or suburban yard where the built-in light pollution filter earns its place. At 3.6 lb with anti-dew protection, it also travels well for a weekend session away from city skies.
Where it falls short
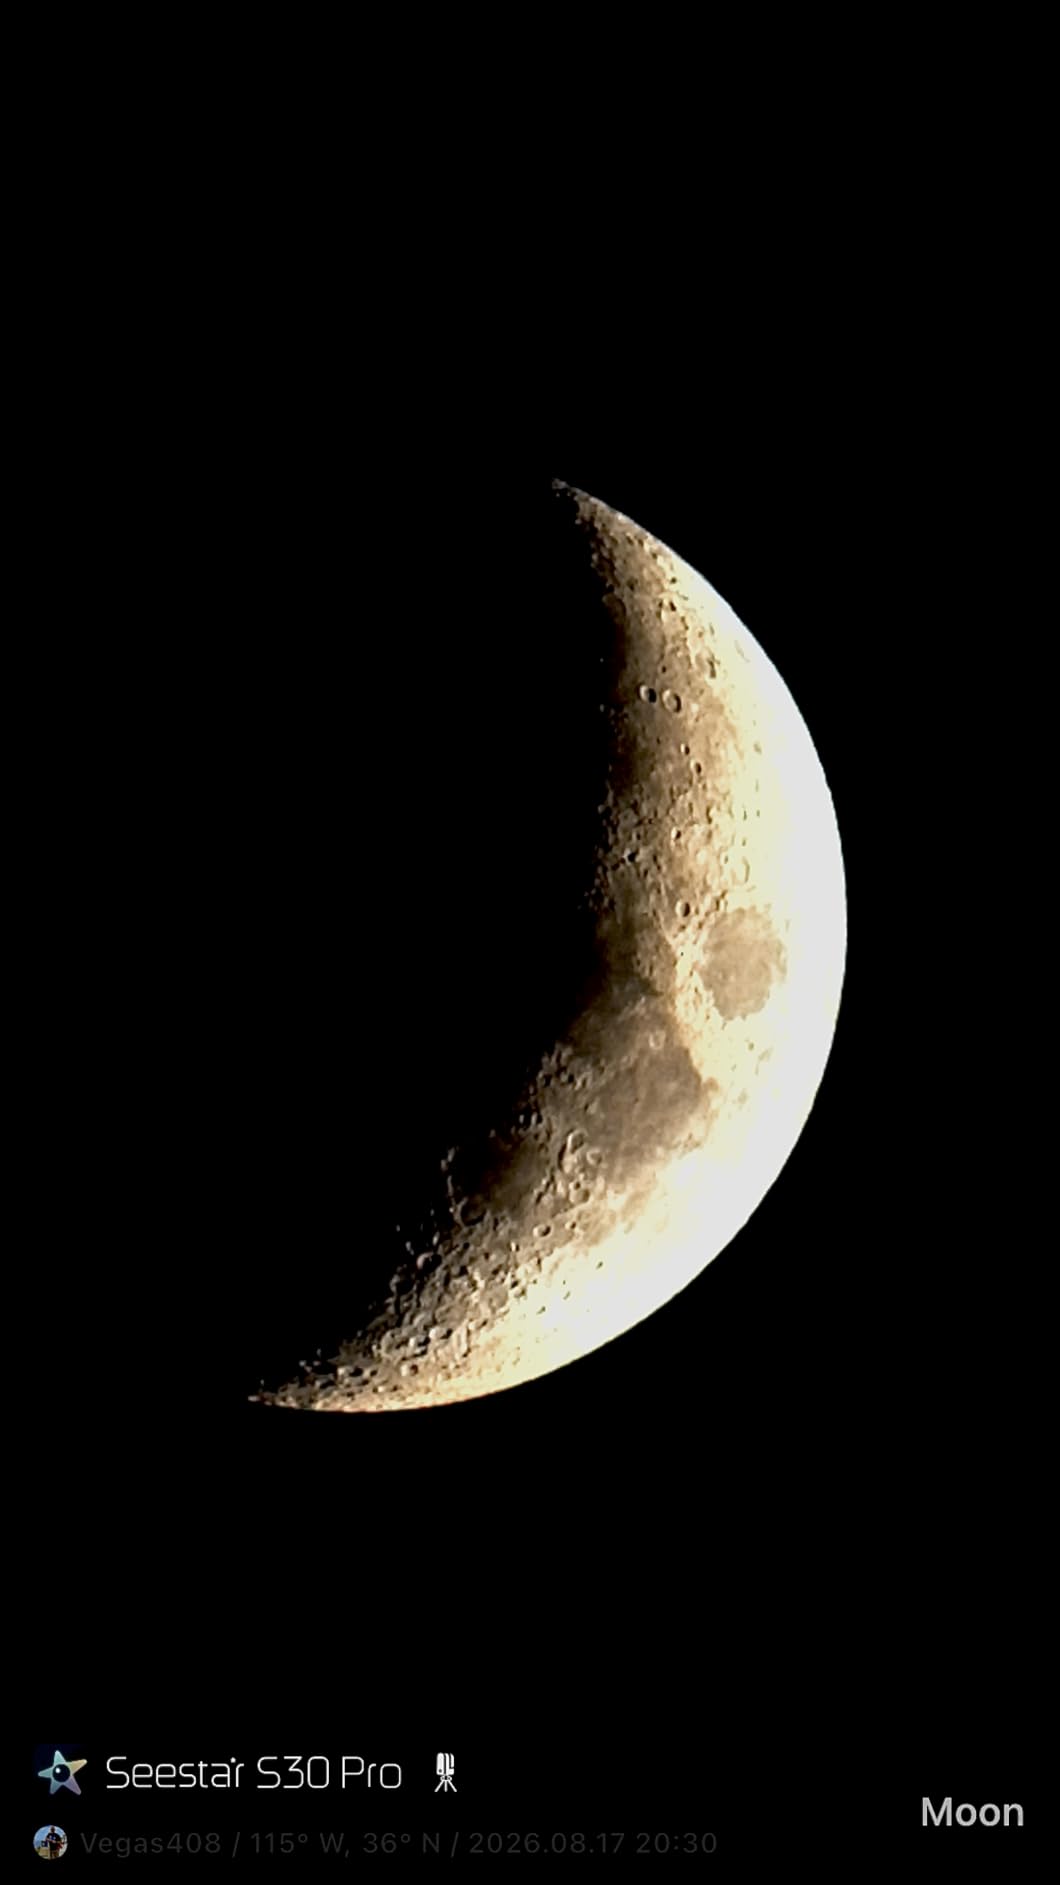
Fine planetary and lunar detail. A 4.6 degree field is a wide-field instrument, and the app workflow is not designed for high frame rate lucky imaging. If your interest is craters and Jupiter bands, this is the wrong tool entirely.
3. ZWO ASI183MC Pro 20.18MP CMOS Color Astronomy Camera
ZWO ASI183MC Pro 20.18 MP CMOS Color Astronomy Camera with USB 3.0 # ASI183MC-P
20.18MP color CMOS
2.4 micron pixels
TEC cooling below ambient
256MB DDR3 buffer
Pros
- 20.18MP sensor with 2.4 micron pixels resolves fine nebula detail
- TEC cooling holds a steady set point well below ambient
- 256MB DDR3 buffer supports 19 fps full-frame transfers
- Includes 1.25 inch and 2 inch adapters
- Works with ASIAIR Plus controllers
Cons
- Needs a separate 12V 3A supply for the cooler
- Amp glow requires a matched dark library
- Older design with newer ZWO bodies available
This is the only dedicated cooled astronomy camera in the group, and that single fact changes everything about how you shoot. The thermoelectric cooler pulls the sensor 40 to 45C below ambient, so dark current stays constant no matter how warm the night gets. That is what lets you shoot many 300-second sub-exposures and stack them without fighting a moving noise floor.
The 20.18MP sensor with 2.4 micron pixels sits in the middle of the deep sky sweet spot. Large enough for a real signal-to-noise ratio, small enough that most focal lengths sample reasonably. Owners pair it with fast astrographs and refractors and rate it as capable for its tier.
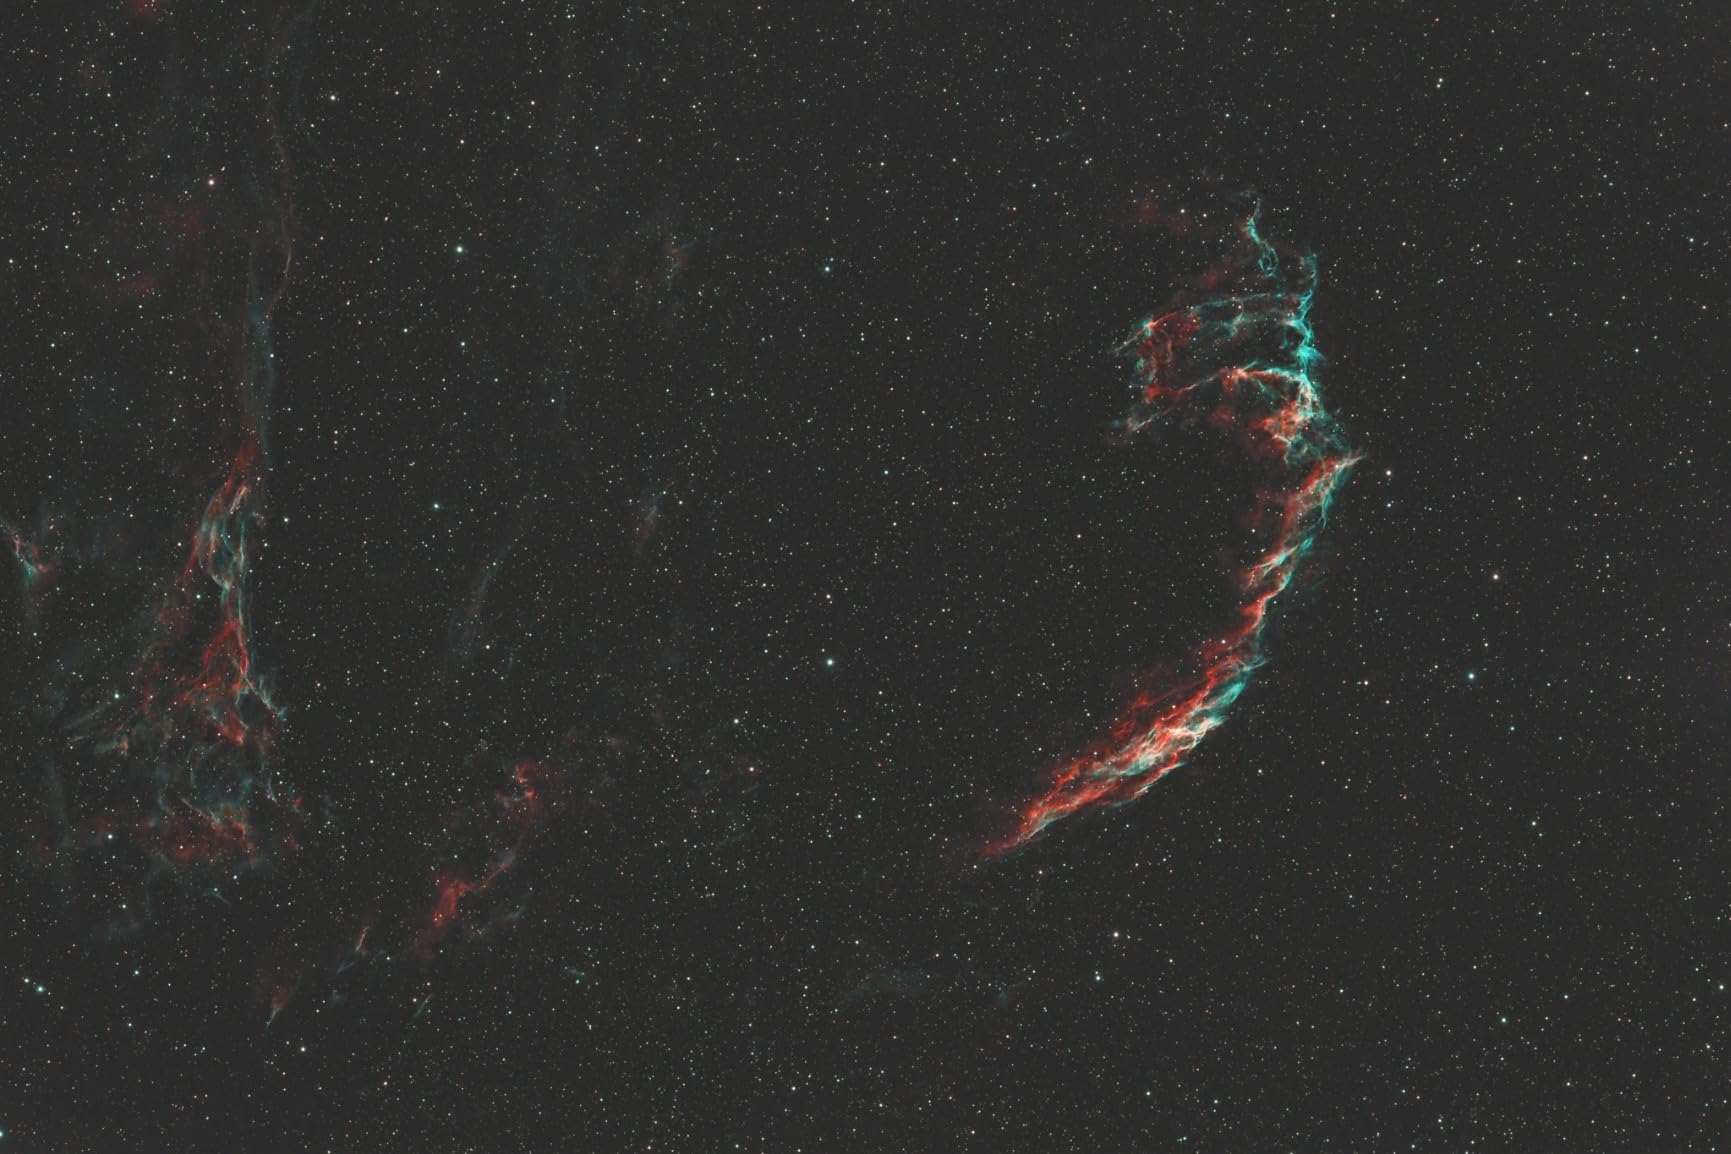
Transfer speed is handled by a 256MB DDR3 buffer and USB 3.0 at up to 19 fps full resolution, which is more than a typical 300-second sub needs but matters for focus and framing. The body ships with both a 1.25 inch nosepiece and a 2 inch adapter, and it integrates with ASIAIR Plus controllers for a minimal-cable rig.
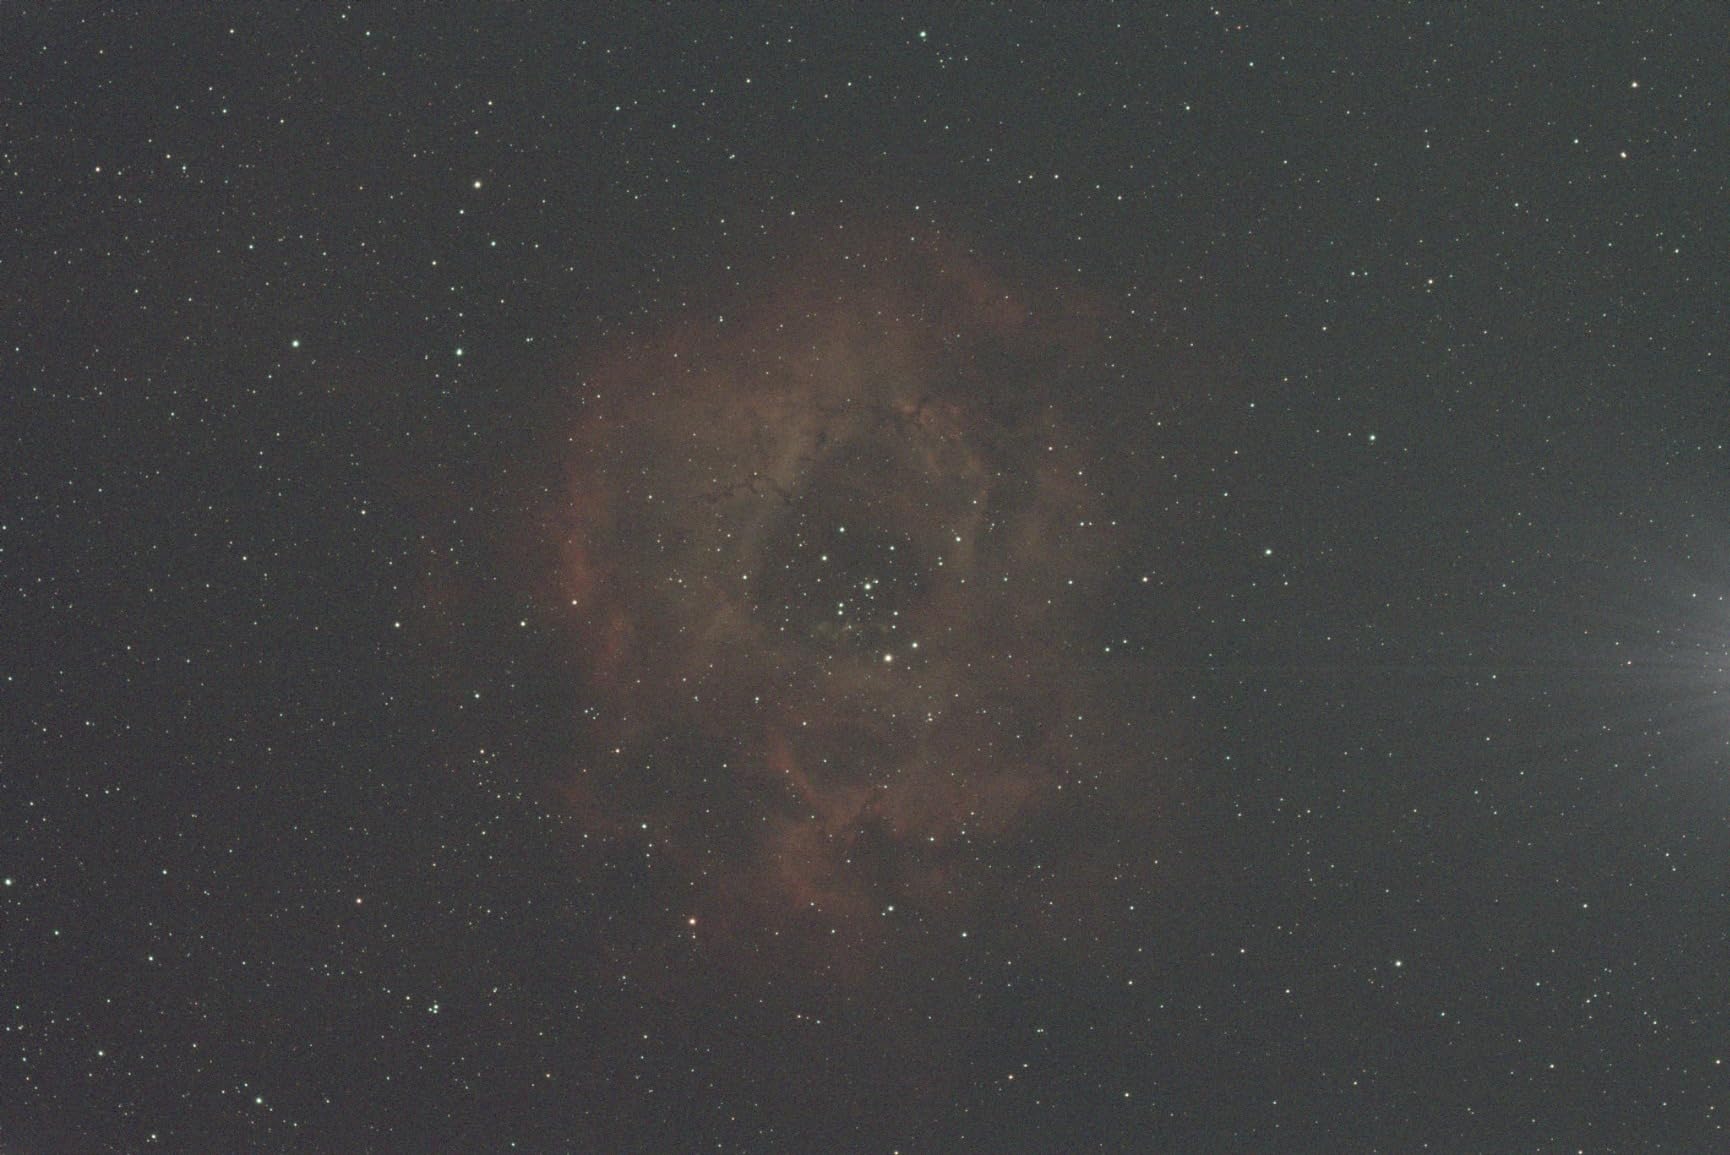
Two practical warnings. The TEC cooler needs its own 12V 3A supply, which is not included, so budget for that before you build the train. And amp glow is present, which means your dark library has to match gain and temperature or the corners of every stacked frame will glow orange.
Why this is the dedicated-camera pick
Stable set point temperature is the whole game for long integrations. Forum consensus is consistent on this: holding a steady temperature matters more than having cooling at all, and this body does that reliably. The Bayer filter also means one camera covers LRGB work, so a beginner does not have to buy a full monochrome filter set on day one.
Why you might skip it
It is an older design. ZWO has released newer bodies since, and the review base here is 39 owners, which is thin compared with the DSLRs in this list. If you are buying fresh and your target list is narrowband emission nebulae from a light-polluted site, a newer mono body would serve you better.
4. OM System Olympus E-M10 Mark IV Mirrorless Camera
OM SYSTEM Olympus E-M10 Mark IV Black Micro Four Thirds System Camera 20MP Sensor 5-Axis Image Stabilization 4K Video Wi-Fi
20MP Live MOS sensor
5-axis stabilization up to 4.5 stops
4K DCI 2160p video
13.44 oz body
Pros
- 20MP sensor with better low-light focus and colour
- 5-axis stabilization up to 4.5 stops is unusually effective
- 13.44 oz body with real manual dials
- 4K capture and a flip-down screen
- USB-C charging simplifies field power
Cons
- Body is plastic and not weather sealed
- USB charging stops when the camera is powered on
- Autofocus can be inconsistent on some targets
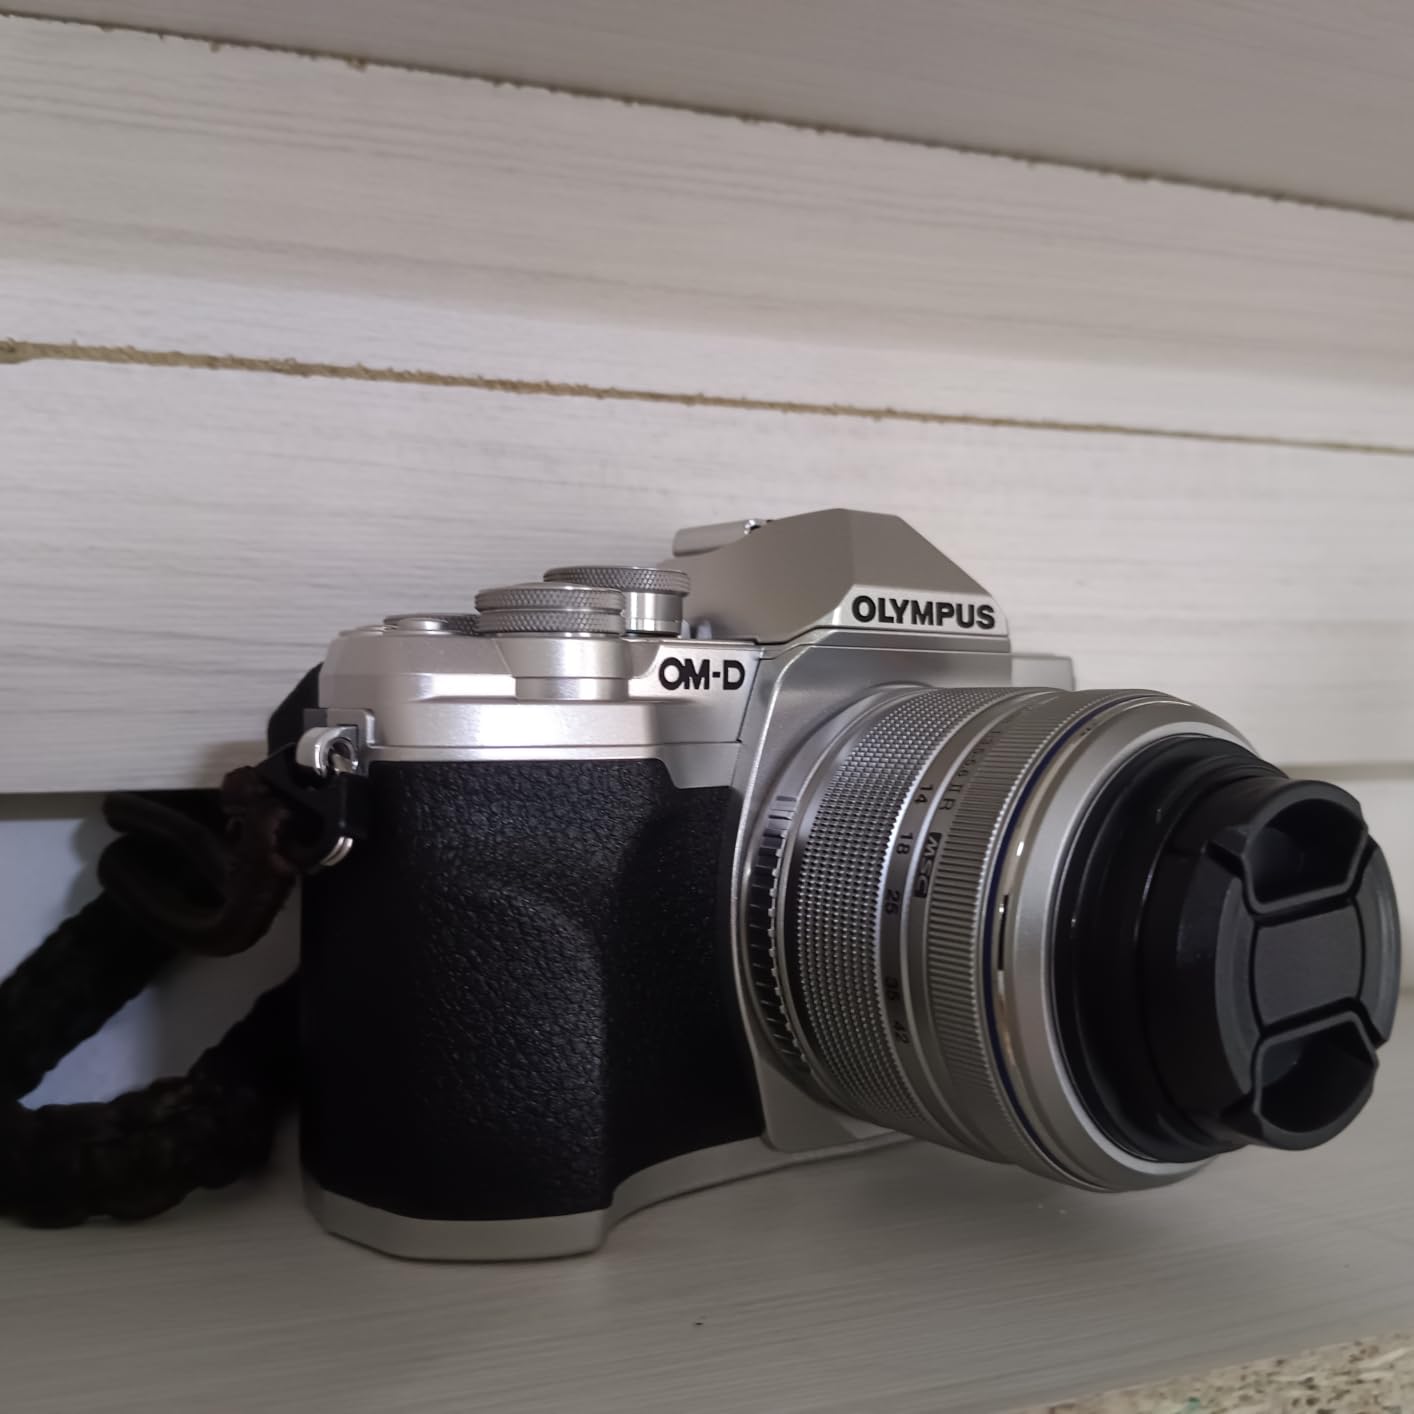
The E-M10 Mark IV is the most interesting general camera here for a specific reason: in-body 5-axis stabilization of up to 4.5 shutter speed steps. On a tripod that stabilizes your frames against vibration and wind, which is a real problem when you are stacking hundreds of two-minute subs from a balcony.
The 20MP Live MOS sensor is 4/3 format, so the field is tighter than the Canon T7. That is not a flaw, it is a trade: less light per frame, but higher pixel density for smaller targets. Paired with a short focal length lens, it still frames emission nebulae comfortably.
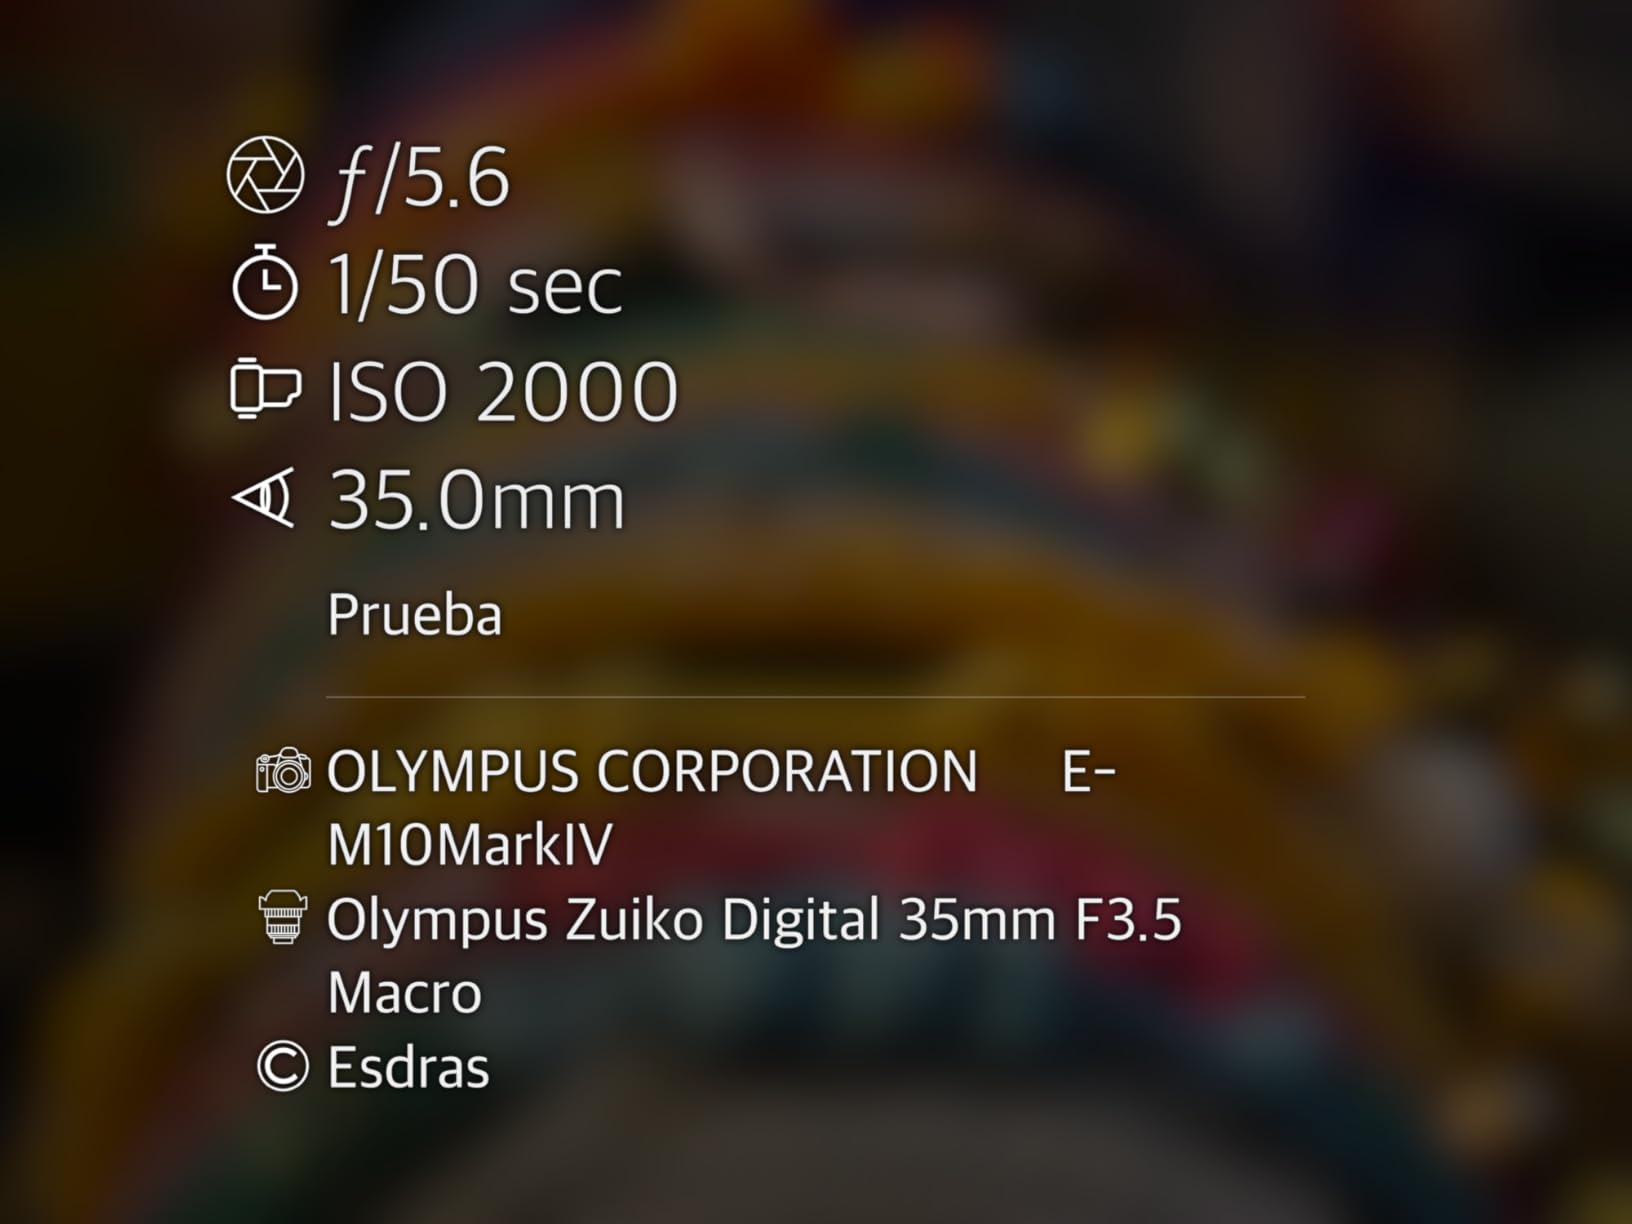
Reviewers love the combination of small size and real manual controls, including dials rather than menu diving. Continuous shooting runs at 8.7 fps with a UHS-II slot, which covers a full sub-exposure sequence without a pause. The 1.23x viewfinder magnification is high for the class and makes manual focusing far less painful.
The complaints cluster around build and power. The body feels plastic and is not weather sealed, so dew and cold field sessions are a risk. And USB charging stops when the camera is powered on, which is exactly the situation you are in during a four-hour night, so plan a separate power source for long runs.
When the E-M10 Mark IV wins
It wins for anyone who wants a small, capable body that also does daytime photography, and for balcony imagers who benefit from sensor-shift stabilization. A flip-down screen plus a bright viewfinder makes framing a faint nebula far easier than a bare DSLR.
When it loses
Signal per frame. A 4/3 sensor with 20MP simply collects fewer photons per sub than an APS-C or full-frame body, so faint galaxies need more total integration time. Uncooled is also still uncooled, so the dark library management problem is identical to the Canon and Nikon bodies.
5. SVBONY SV305C Pro Telescope Camera
SVBONY SV305C Pro Telescope Camera, USB 3.0 High-Speed, 2MP IMX662 Sensor
2MP IMX662 sensor
107 fps at 1080p
0.7e- readout noise
128MB DDR buffer with ST4
Pros
- 0.7e- readout noise keeps short exposures clean
- 128MB DDR buffer prevents dropped frames
- ST4 port drives PHD2 and ASCOM guiding
- USB 3.0 at 5Gbps speeds downloads
- HDR mode helps fast-moving targets
Cons
- 2MP sensor is far short for deep-sky galaxies
- Some software setups report disconnects
- Needs a computer rather than an iPad
Be clear about what this camera is for. A 2MP IMX662 sensor is a guiding and planetary body, not a deep sky imager, and we include it because a complete imaging train needs one. Astro users overwhelmingly recommend it as a guide scope camera, with planetary work as a secondary benefit.
Where it excels is short exposure discipline. At 0.7e- readout noise and 107 fps at 1920×1080, you can capture thousands of high frame rate frames for lucky imaging stacking. The 128MB DDR buffer means those frames keep arriving instead of dropping.
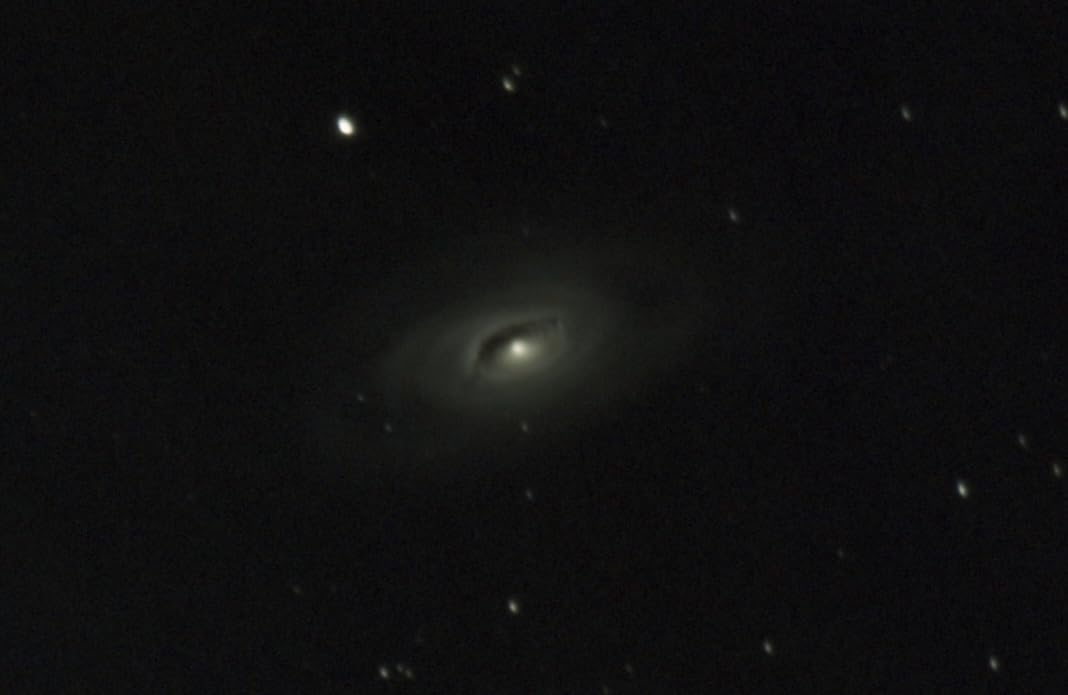
The ST4 guiding interface is the reason to buy it. It works with PHD2, NINA and ASCOM, which means it fits into a normal desktop capture workflow rather than a separate ecosystem. USB 3.0 at 5Gbps keeps guiding data latency low, and an any-area ROI lets you crop to a star for guiding without resizing the full frame.
Reviewers do report occasional disconnects or lockups depending on which capture software they use, and the 2MP resolution is genuinely limiting for anything faint. Long capture runs also fill disk space quickly at these frame rates, so budget storage accordingly.
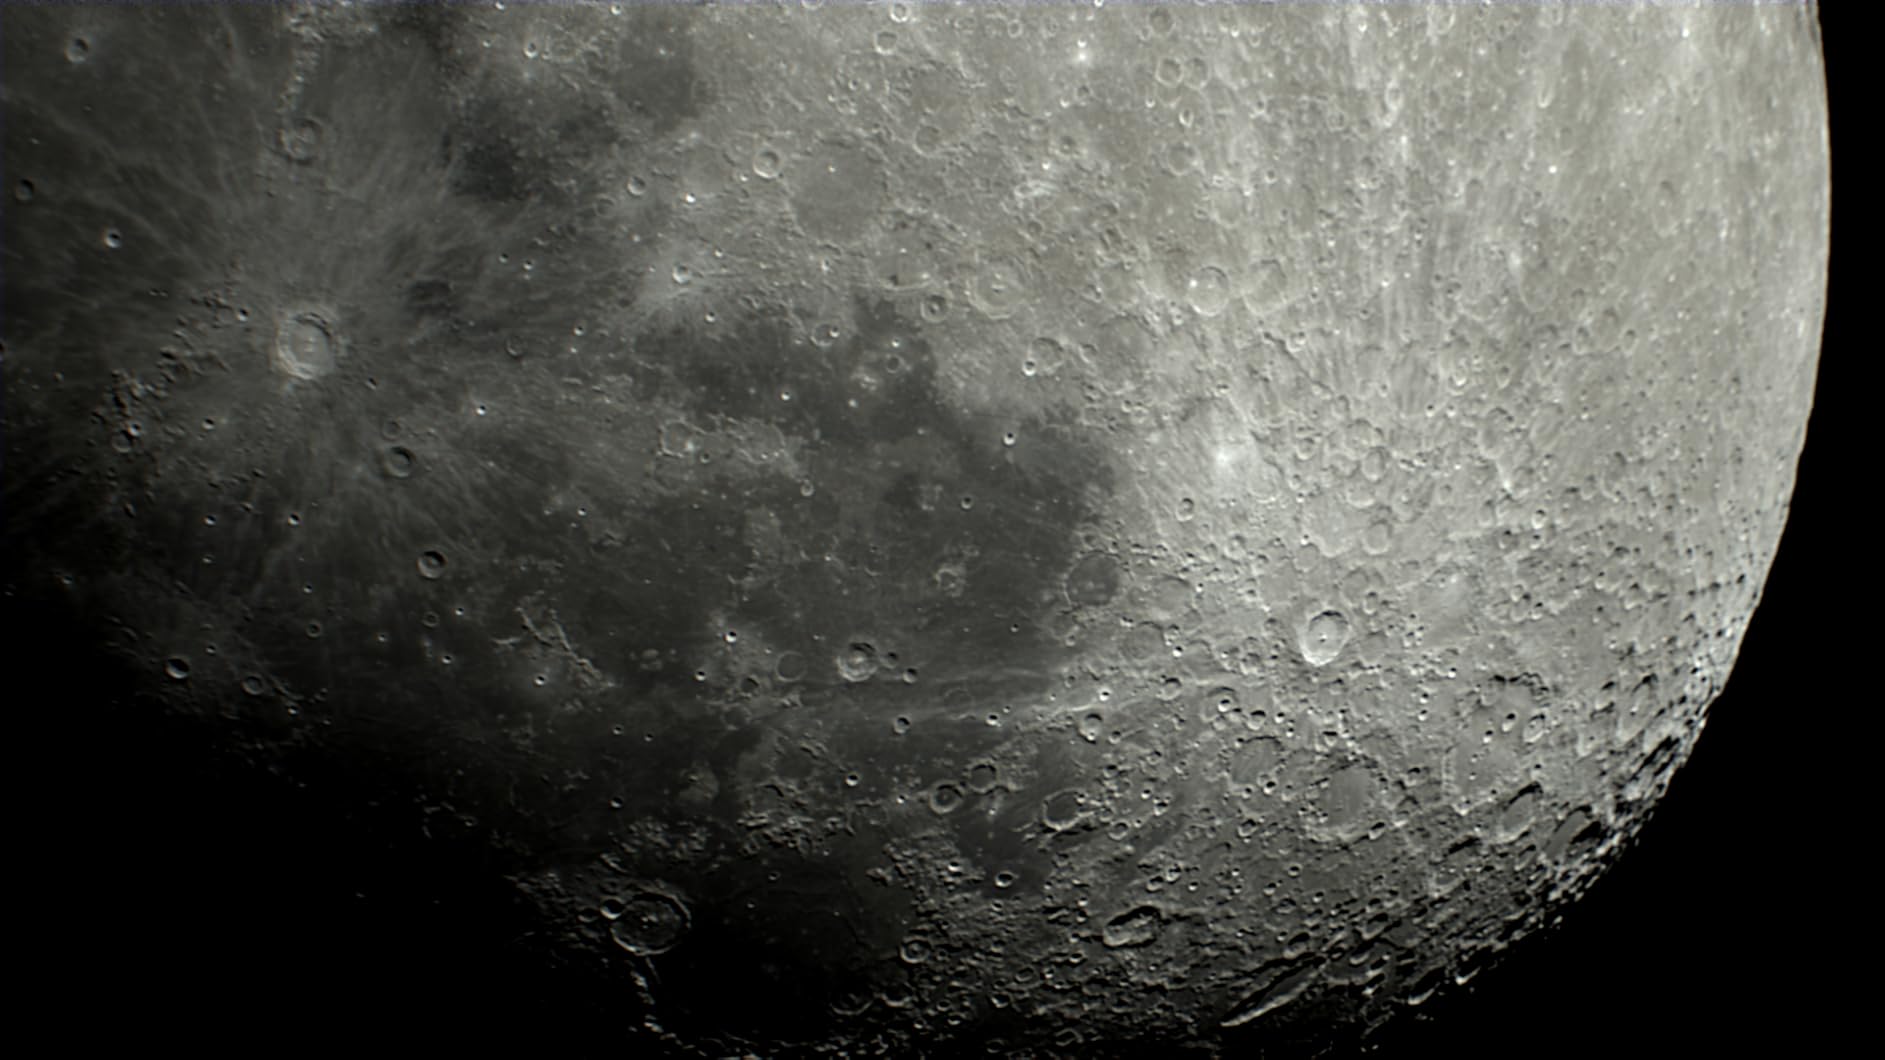
Why it earns a place on the list
Every deep sky rig, at any budget, needs an accurate guide signal. This body delivers that at low readout noise with a buffer deep enough to survive long sequences. It is also a very cheap way to add planetary capability to a kit that already exists.
Why not as your main camera
A 2MP frame cannot resolve a galaxy. Even heavily downsampled and stacked, the detail ceiling is far below what a 20MP or 24MP sensor gives you, and there is no cooling, so thermal noise dominates any long exposure. Buy it as a second camera, not your only one.
6. DWARFLAB Dwarf 3 Smart Telescope
DWARFLAB Dwarf 3 Smart Telescope, App-Controlled Astrophotography Camera
35mm objective
Dual telephoto and wide lenses
4K auto-tracking
3 lb body
Pros
- 3 lb body fits a standard daypack
- Dual lenses cover deep sky and wide Milky Way
- 4K auto-tracking locks onto stars automatically
- Cloud processing returns finished images with no PC
- Auto GoTo plus AZ and EQ modes
Cons
- Control runs through the app and cloud rather than desktop software
- Some 1-star reports cite connection and reliability problems
- No manual exposure or gain control
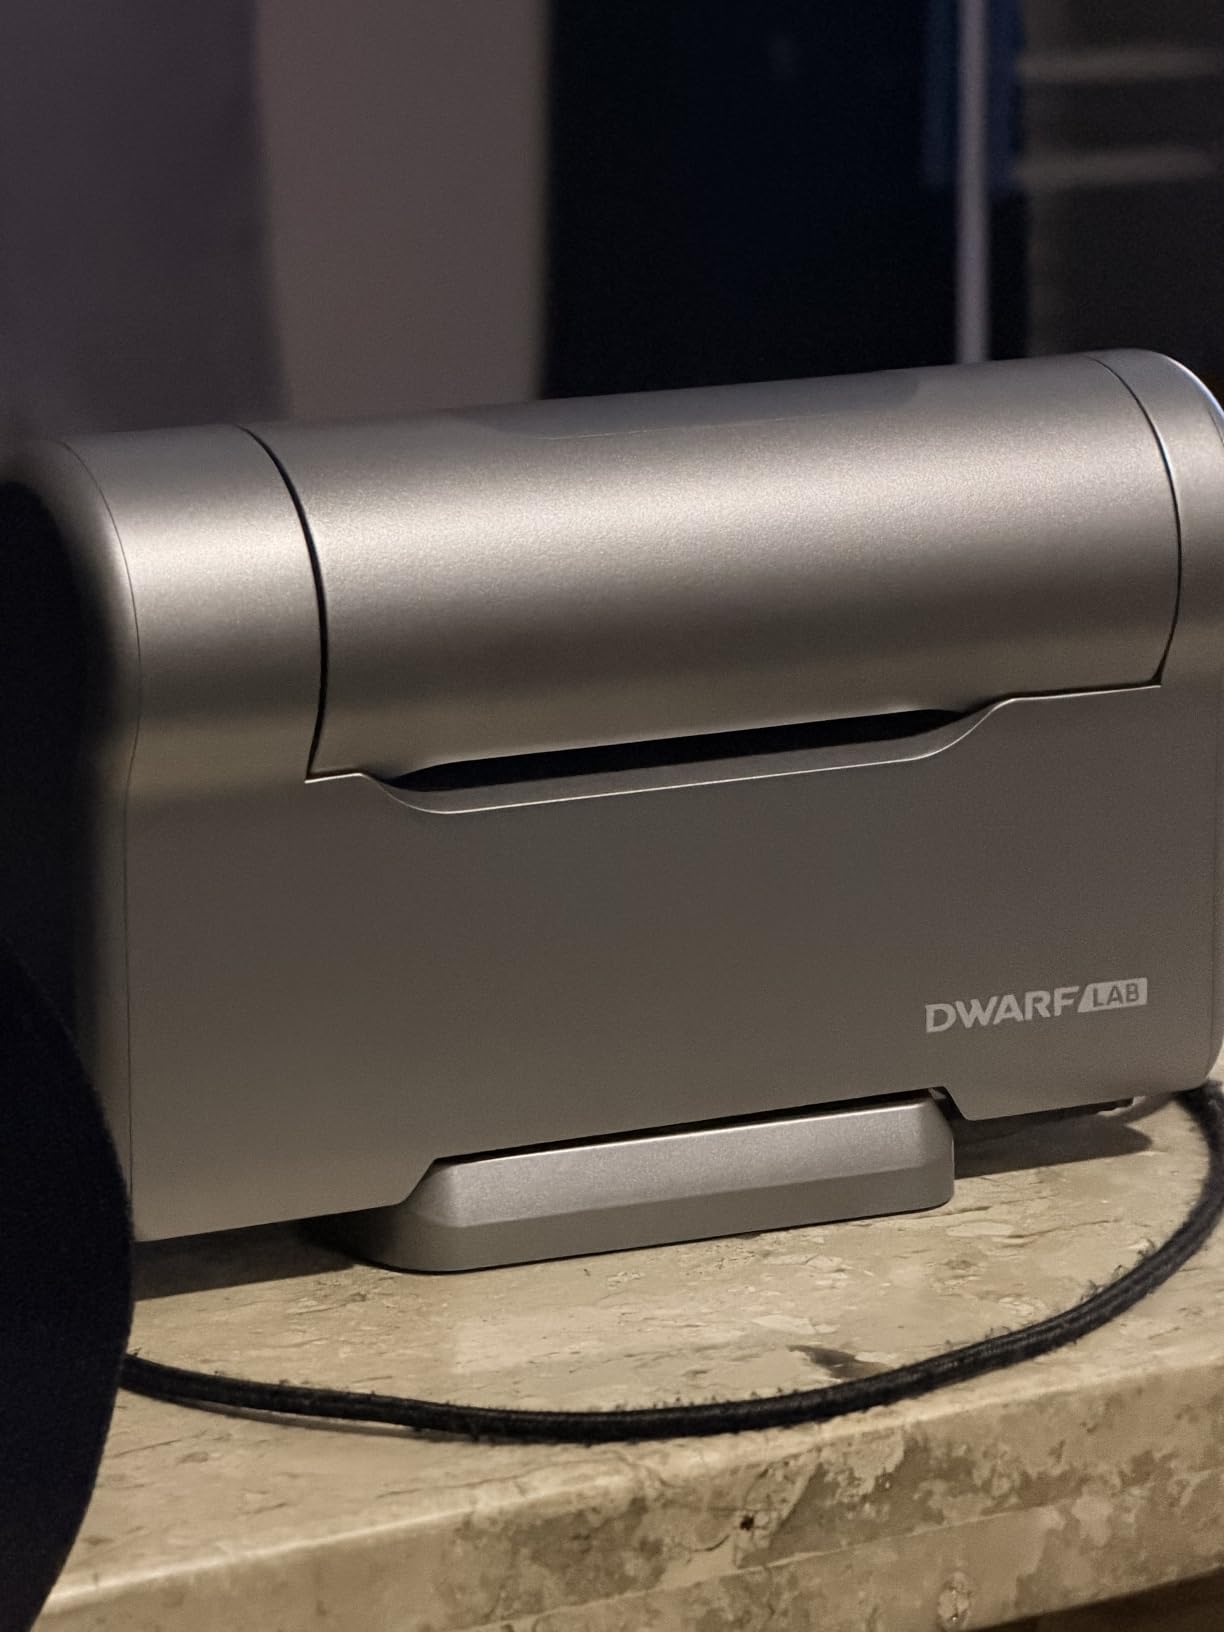
The Dwarf 3 is built around one idea: imaging away from home. At 3 lb, it fits an ordinary daypack, and the dual lens system means a telephoto for deep space and landscape plus a wide angle for Milky Way panoramas and star trails, all from the same body.
Auto GoTo and 4K auto-tracking remove the two hardest parts of a night out: pointing the thing and keeping it pointed. Reviewers focus on grab-and-go convenience rather than imaging control, which tells you exactly what kind of buyer this appeals to.
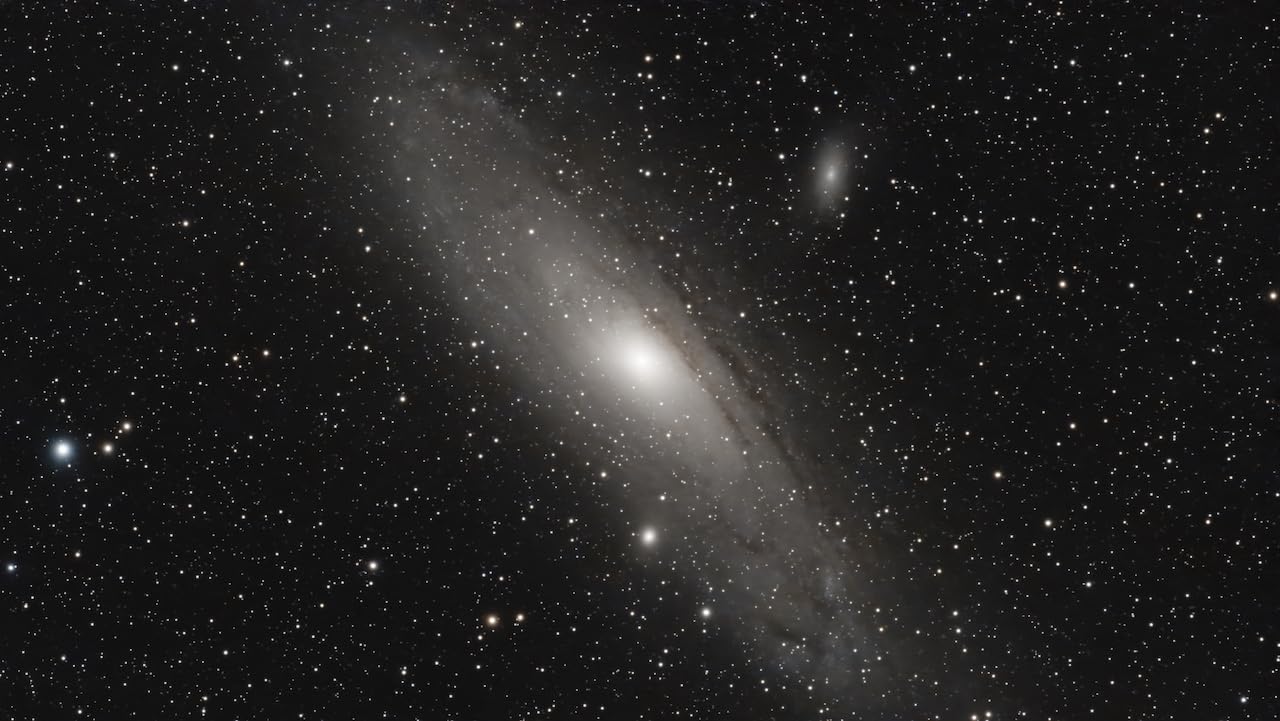
Cloud-powered one-touch processing means you can be back home and drinking coffee while the stack builds. AZ and EQ modes are both available, and a 2 year manufacturer warranty is included. The bundle also carries a bag, magnetic filters, a filter pouch, cloth and USB-C cable.
What you trade away is control. There is no manual exposure, gain or filter workflow, and the one-star reviews we saw cite occasional app connection and imaging reliability problems. If you are the kind of imager who wants to chase a faint target over three nights, that is a real limit.
Who should buy the Dwarf 3
Travel-oriented beginners, dark-sky weekend trippers, and anyone who wants a Milky Way panorama as much as a galaxy. Being able to shoot in the field rather than from a light-polluted backyard is the single biggest image-quality lever you can pull, and this body makes that realistic for people without a car full of gear.
Where it falls down
Cloud and app dependency, plus the absence of manual control. It also produces broadband-ish color rather than a filter-driven palette, so narrowband SHO work is not something you can do with it. Expect good wide-field results, not faint faint targets.
7. Canon EOS 5D Mark IV 30.4MP Full-Frame DSLR
Canon EOS 5D Mark IV 30.4MP Full-Frame DSLR Camera (1483C002) Bundle
30.4MP full-frame CMOS
14-bit RAW
65-point Dual Pixel AF
Sturdy magnesium body
Pros
- 30.4MP full-frame sensor gathers signal fast
- 14-bit RAW holds shadow detail in long stacks
- Sturdy build suits night sessions
- Built-in GPS and Wi-Fi support field workflow
- 7 fps burst with 65-point autofocus
Cons
- Older DSLR architecture with no Pixel Shift resolution boost
- Body-only bundle requires separate lens purchase for any imaging
- Low 17-review count gives limited long-term owner feedback on this bundle
Full frame is the ultimate answer to faint target signal. A 30.4MP full-frame sensor collects light across a much larger area than any APS-C body here, so each sub-exposure carries more signal and your stack reaches lower background faster. That is the single biggest quality difference on this list.
The 14-bit RAW output matters more here than anywhere else. Heavily stretched deep sky stacks from faint nebulae live or die on shadow latitude, and 14-bit files hold it. The magnesium alloy body is also a genuine advantage for a long night in the field.
Autofocus is handled by a 65-point system with Dual Pixel AF, and continuous shooting runs at 7 fps. Built-in GPS is unusual and useful for keeping a session log, and the touchscreen plus Wi-Fi speed up the on-field workflow considerably.
The catch is the same one that applies to every uncooled body, and it is worse with a large sensor: no active cooling, so dark current scales with a bigger, warmer chip. The bundle is also body only, so a lens is a separate purchase, and at 17 reviews the long-term owner feedback here is thin.
Who the full-frame body is for
Imagers targeting large, faint galaxies in a single wide field, and anyone who already owns fast glass and wants the sensor to keep up with it. If your targets are emission nebulae that fit a small field, you do not need a sensor this large.
What you give up
Weight, portability and a modern video and lens ecosystem. This is a stills-first body on a bundle. And for most beginners it is a large outlay on a camera whose main limitation, cooling, it does not solve.
8. Nikon D7500 DSLR with 18-140mm VR Lens
Nikon D7500 20.9MP DSLR Digital Camera with 18-140mm VR Lens (1582) Deluxe Bundle Kit -Includes- Sandisk 64GB SD Card + Large Camera Bag + Filter Kit + Spare Battery + Telephoto Lens + More
20.9MP DX CMOS
8 fps burst up to 100 frames
High ISO ceiling
18-140mm VR lens
Pros
- 8 fps burst with a 100 frame buffer covers full sequences
- High ISO ceiling is usable on faint targets
- 51-point AF with group-area modes tracks reliably
- 18-140mm VR lens covers wide field to long reach
- Tilting touchscreen helps framing
Cons
- 8-bit RAW limits stretch in heavy processing
- No cooling and no in-body stabilization
- Bundle relies on third-party accessories
The D7500 is the odd one out here, and in a useful way. At 8 fps with a buffer that swallows up to 100 frames, it can run a full sub-exposure sequence back to back without a pause, which matters when you are chasing a target through a short imaging window.
The 18-140mm VR lens in the bundle is the underrated part. That range covers everything from wide field nebulae to smaller galaxies and galaxy clusters, and the VR stabilization helps at longer focal lengths where vibration is the limiting factor on a light mount.
The high native ISO ceiling is enough to shoot shorter exposures on faint targets, which reduces the impact of tracking error. The 51-point Multi-CAM 3500FX II system with group-area modes is one of the more capable AF systems in any DSLR, and the 3.2 inch tilting touchscreen makes composing a tracked shot straightforward.
Two limits stand out. The listed bit depth is 8-bit, which is the real constraint for heavily stretched nebulae work, and there is no in-body stabilization of any kind. The bundle also includes third-party accessories rather than manufacturer parts, which is a minor quality question mark.
Where the D7500 fits
Longer focal lengths on a modest mount, and any workflow where saving integration time on faint targets matters more than final stretch latitude. A high native ISO ceiling lets you keep subs short and still reach depth, which is a real advantage on a mid-weight tracker.
Why it is not higher
Eight-bit RAW is the main one. Deep sky stacking from a light-polluted site often demands aggressive histogram stretching, and 8-bit files band before you get there. It is also a 6.6 pound kit body, which is a lot to carry to a dark site for the sake of it.
9. SVBONY SV205 7.05MP IMX415 Telescope Camera
SVBONY SV205 Telescope Camera,1.25″ 7.05MP IMX415 Astrophotography Camera
7.05MP IMX415 sensor
1.45 micron pixels
30 fps 1080p MJPG
Machined 1.25 inch adapter
Pros
- 7.05MP sensor is a real step up from smaller eyepiece cameras
- USB 3.0 included for faster transfers
- Dark light compensation lifts low-light clarity
- Machined aluminum barrel fits most telescopes
- Streams live view to a laptop or PC
Cons
- Built for lunar and planetary work not long integrations
- Needs third-party capture software such as SharpCap
- No iOS support
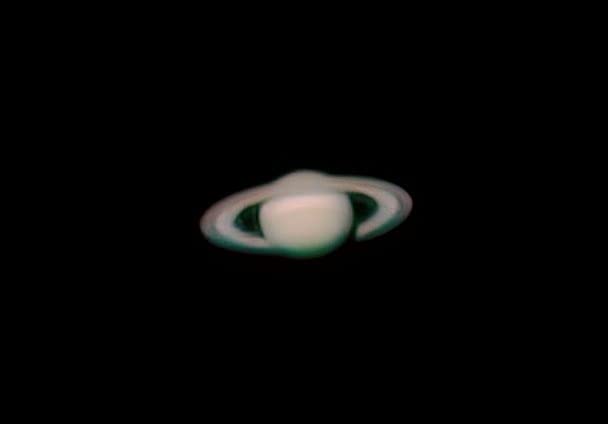
The SV205 is a step up from the simplest eyepiece cameras without jumping to a dedicated astro body. The 7.05MP IMX415 sensor with 1.45 micron pixels records at 30 fps in MJPG at 1080p and 15 fps in YUV at 3264×2160, which is enough resolution to see real structure on the moon and the larger planets.
USB 3.0 is included, and that cable is the single most important accessory here. Owners who upgraded from a USB 2.0 model report a noticeable difference in how smoothly frames arrive during a session, which is the whole game for planetary stacking.
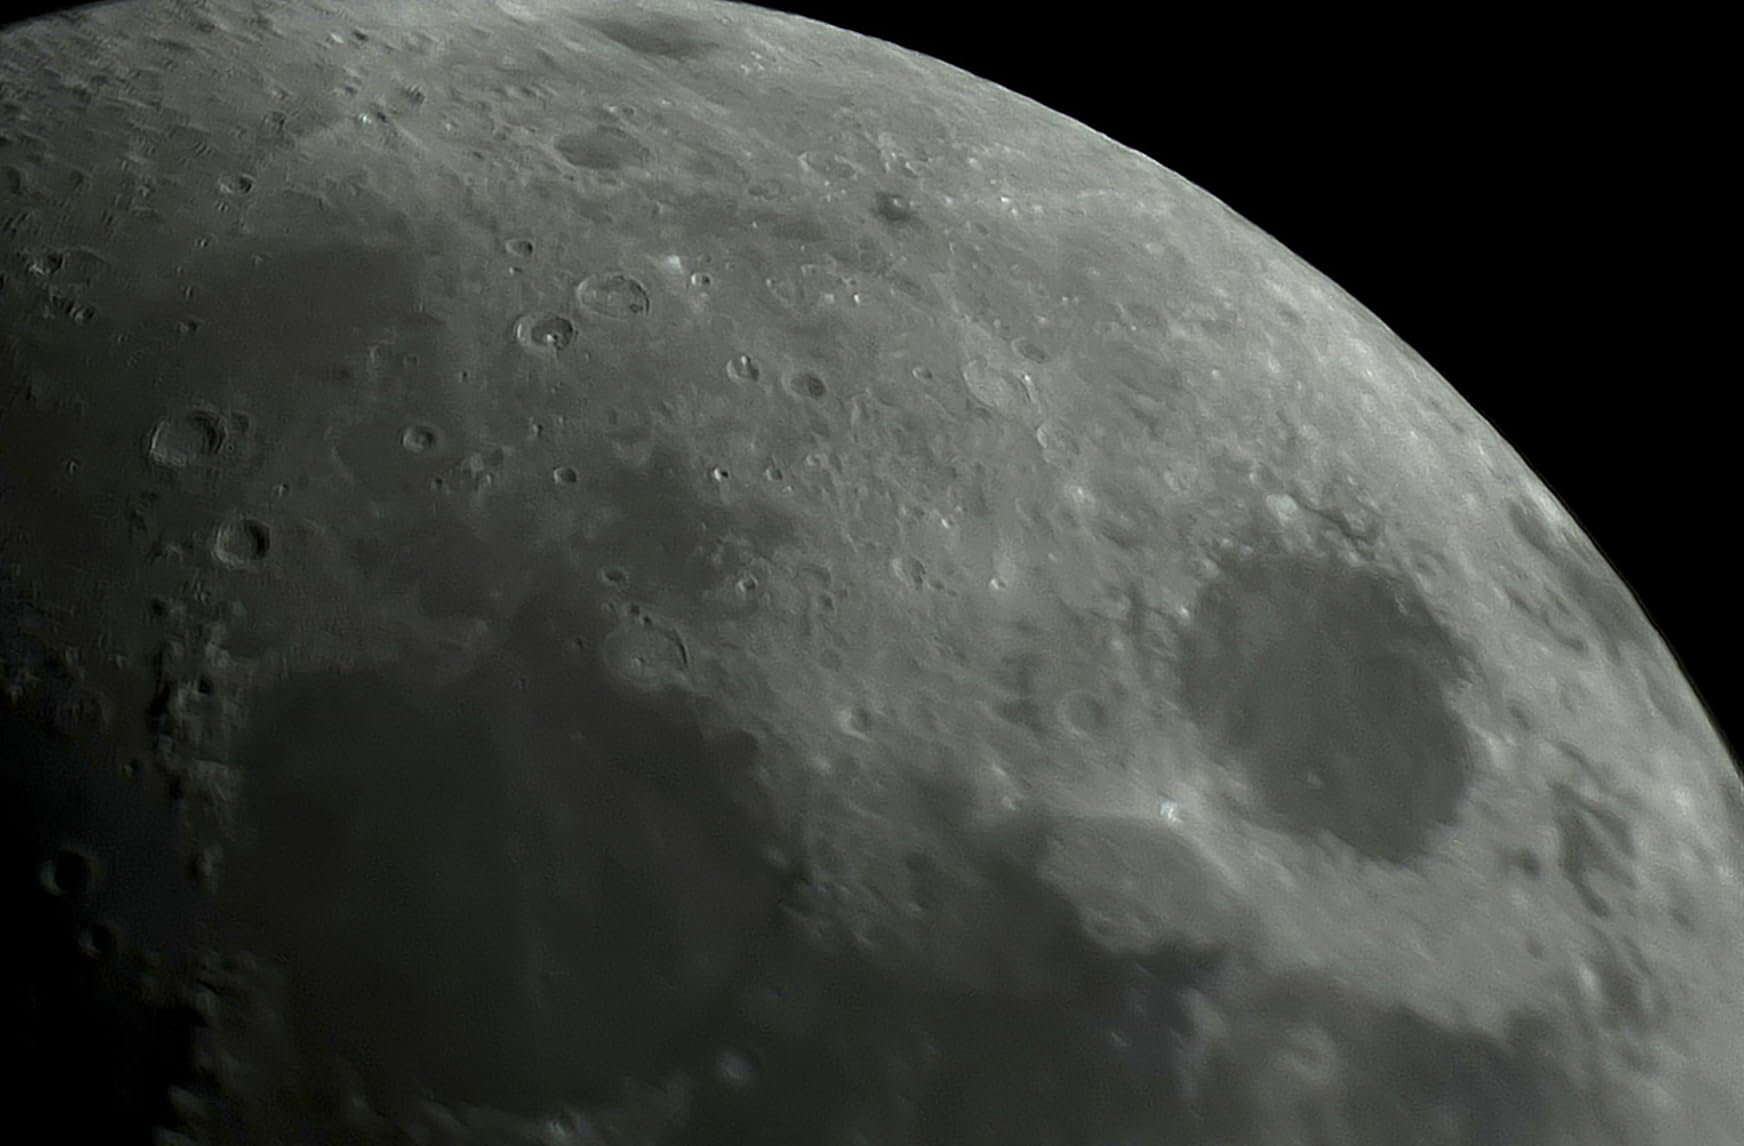
The machined aluminum 1.25 inch adapter barrel threads onto almost any telescope, and the box includes a dust cover, cleaning cloth, manual and a 1.2m USB 3.0 cable. Dark light compensation is applied in software and reviewers note improved clarity in low light.
Set expectations properly. This is a lunar and planetary body, and long deep-sky integrations are not what it was designed for. You will also need third-party capture software such as SharpCap or AstroDMx, and it does not talk to iOS devices at all.
Why it is our planetary pick
It buys resolution and bandwidth at the low end of the market, and the shared software ecosystem means you can move to a dedicated body later without relearning your workflow. For a beginner pairing it with a small refractor on a tabletop mount, it is a low-risk place to start.
Where it stops
Deep sky stacking. With no cooling and a small sensor, a 300-second sub of a faint galaxy will be noise with a trace of signal in it. Manual exposure control also puts more of the burden on you than an app-driven smart telescope would.
10. SVBONY SV105 1.25 inch IMX307 Eyepiece Camera
SVBONY SV105 Telescope Camera, 1.25″ IMX307 CMOS Color Eyepiece Camera
1/2.8 inch IMX307 CMOS
1920x1080 at 30 fps
1.25 inch eyepiece thread
0.29 kg body
Pros
- Plugs in without any driver installation
- 1.25 inch barrel attaches to a telescope directly
- Accepts standard telescope filters
- Dark light compensation improves low-light clarity
- 0.29 kg body is easy to carry
Cons
- Entry-level resolution limits it to lunar and planetary targets
- Needs separate capture software per platform
- USB 2.0 transfer is slow for long sessions
The SV105 is the cheapest way to find out whether electronic eyepiece imaging is for you. It plugs into a laptop, needs no driver installation, and the 1.25 inch barrel with an M28.5×0.6 thread drops straight into an eyepiece slot or a filter holder. At 0.29 kg it is easy to carry to a club night.
The 1/2.8 inch IMX307 sensor records 1920×1080 at up to 30 fps and streams real-time video to a laptop or PC. Buyers consistently describe it as an easy, low-cost entry point with a real learning curve around the software, which is exactly the right expectation to set.
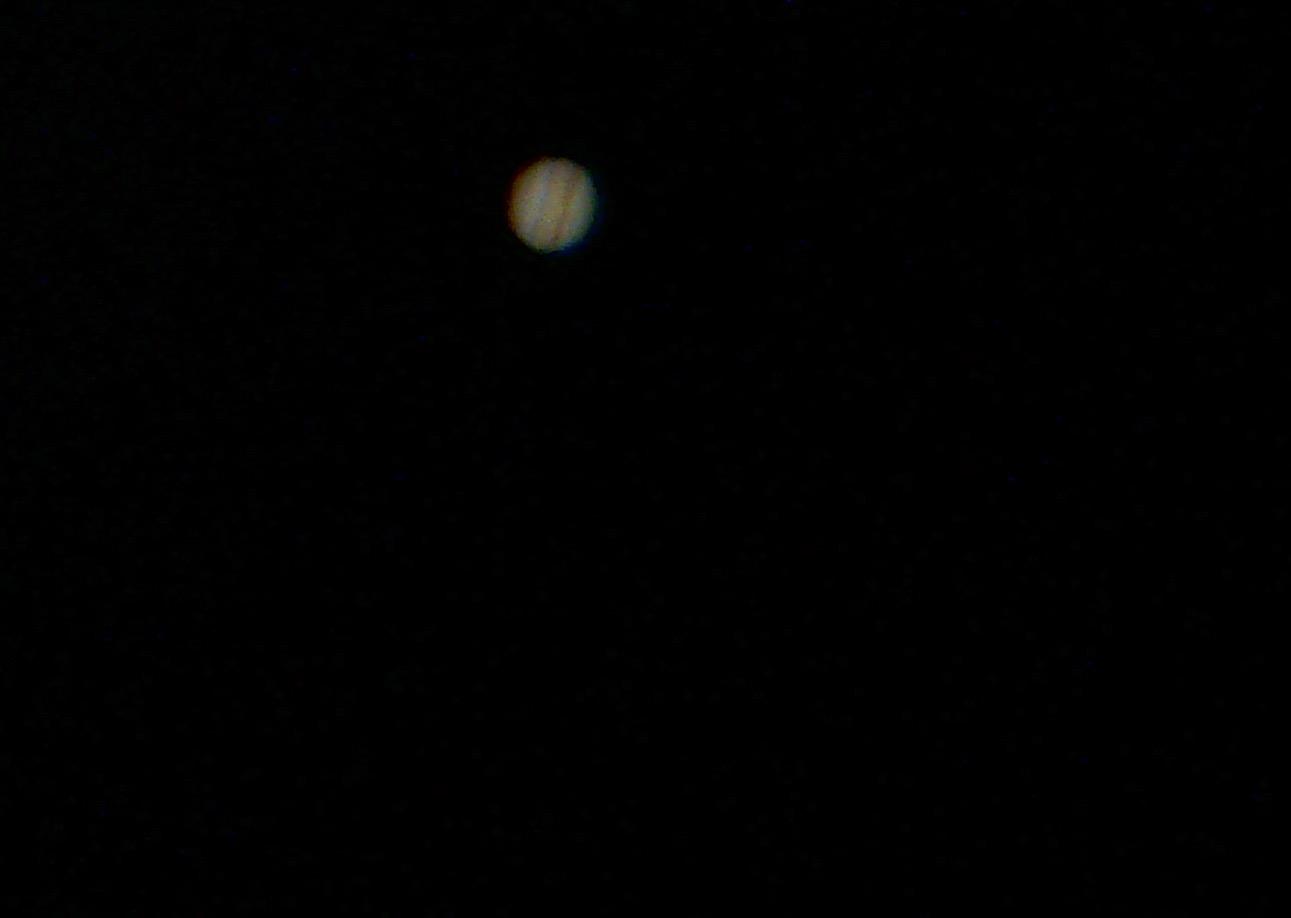
Dark light compensation technology improves clarity in low light, and the barrel accepts standard telescope filters, so you can dim the incoming light or add a planetary filter without extra adapters. It runs on Windows, Linux and macOS, though not iOS.
Two practical constraints. The transfer interface is USB 2.0, which is slow compared with everything else on this list, and 1920×1080 at this sensor size is not enough resolution for fine planetary detail. It is a learning tool, not an imaging workhorse.
What you actually get
With 836 reviews averaging 4.1, this is one of the most widely owned bodies in the hobby, and the feedback is consistent: easy to set up, useful for the moon and brighter planets, and limited by software more than by hardware. It is a good first hour at the eyepiece.
Why it is last
Deep sky imaging needs the opposite of what it does well. Long exposures, no cooling, and a small sensor mean stacking does almost nothing for you. If you know you want galaxies and nebulae, spend the money on a bigger sensor instead of more sessions with this one.
How to Choose a Deep Sky Camera in 2026
Sensor size and pixel size are the two numbers that decide everything else. Ignore marketing adjectives and read these first, because a camera that does not match your telescope wastes money no matter how good its electronics are.
Pixel size decides your sampling. Bigger pixels collect more photons per sub-exposure, which is what lets faint targets rise out of the background when you stack. Around 3 to 4 micron pixels is the comfortable middle for deep sky work on typical focal ratios. Very small pixels need fast, accurate guiding and gain little signal per frame; very large pixels oversample most telescopes and waste resolution.
Sensor format decides your field of view. Full frame gives the widest field and the most signal per sub. APS-C is the balanced choice for most. Four-thirds is smaller and collects less light. The 4.6 degree field on the Seestar S30 Pro and the 30mm objective on the Dwarf 3 put them firmly in the wide-field column, which is why neither suits small galaxy cores.
Cooling decides your noise floor. This is the most misunderstood spec. Forum consensus is nearly unanimous that holding a stable set point temperature matters more than the size of the cooling delta. A camera that holds set point reliably lets you shoot matched darks and stack for eight hours; one that does not forces you to recalibrate constantly. Every uncooled body on this list, DSLRs and mirrorless included, has the same dark-library burden.
One-shot color or monochrome? A Bayer-filter OSC camera produces finished color in one exposure and is far simpler, which is why most beginners should start there. Mono plus an LRGB filter set gives cleaner signal and better resolution on bright targets, and mono plus narrowband filters is the only practical route to SHO palettes from a light-polluted backyard. It also means a filter budget that regularly doubles the real cost of a deep sky setup.
Match the camera to the telescope. Pixel scale in arcseconds per pixel comes from the sensor’s pixel size divided by focal length in millimeters, times 206.265. Aim for roughly 1 to 2 arcseconds per pixel for typical deep sky work. Fast, short-focal-ratio refractors and astrographs pair best with large-pixel cooled cameras because they demand longer subs, while long-focal-ratio scopes suit smaller, faster sensors.
Check the 500 and 400 rules before you commit. The 500 rule says the longest focal length in millimeters you can expose before stars trail is 500 divided by crop factor on an unmodified full-frame camera. The 400 rule is the same idea with a stricter 400 factor, and it is what many imagers use for tight sampling. The point for a camera buyer is that both rules apply to uncooled general cameras, not to tracked deep sky imaging, where guiding accuracy rather than a fixed focal length ceiling decides your maximum sub length.
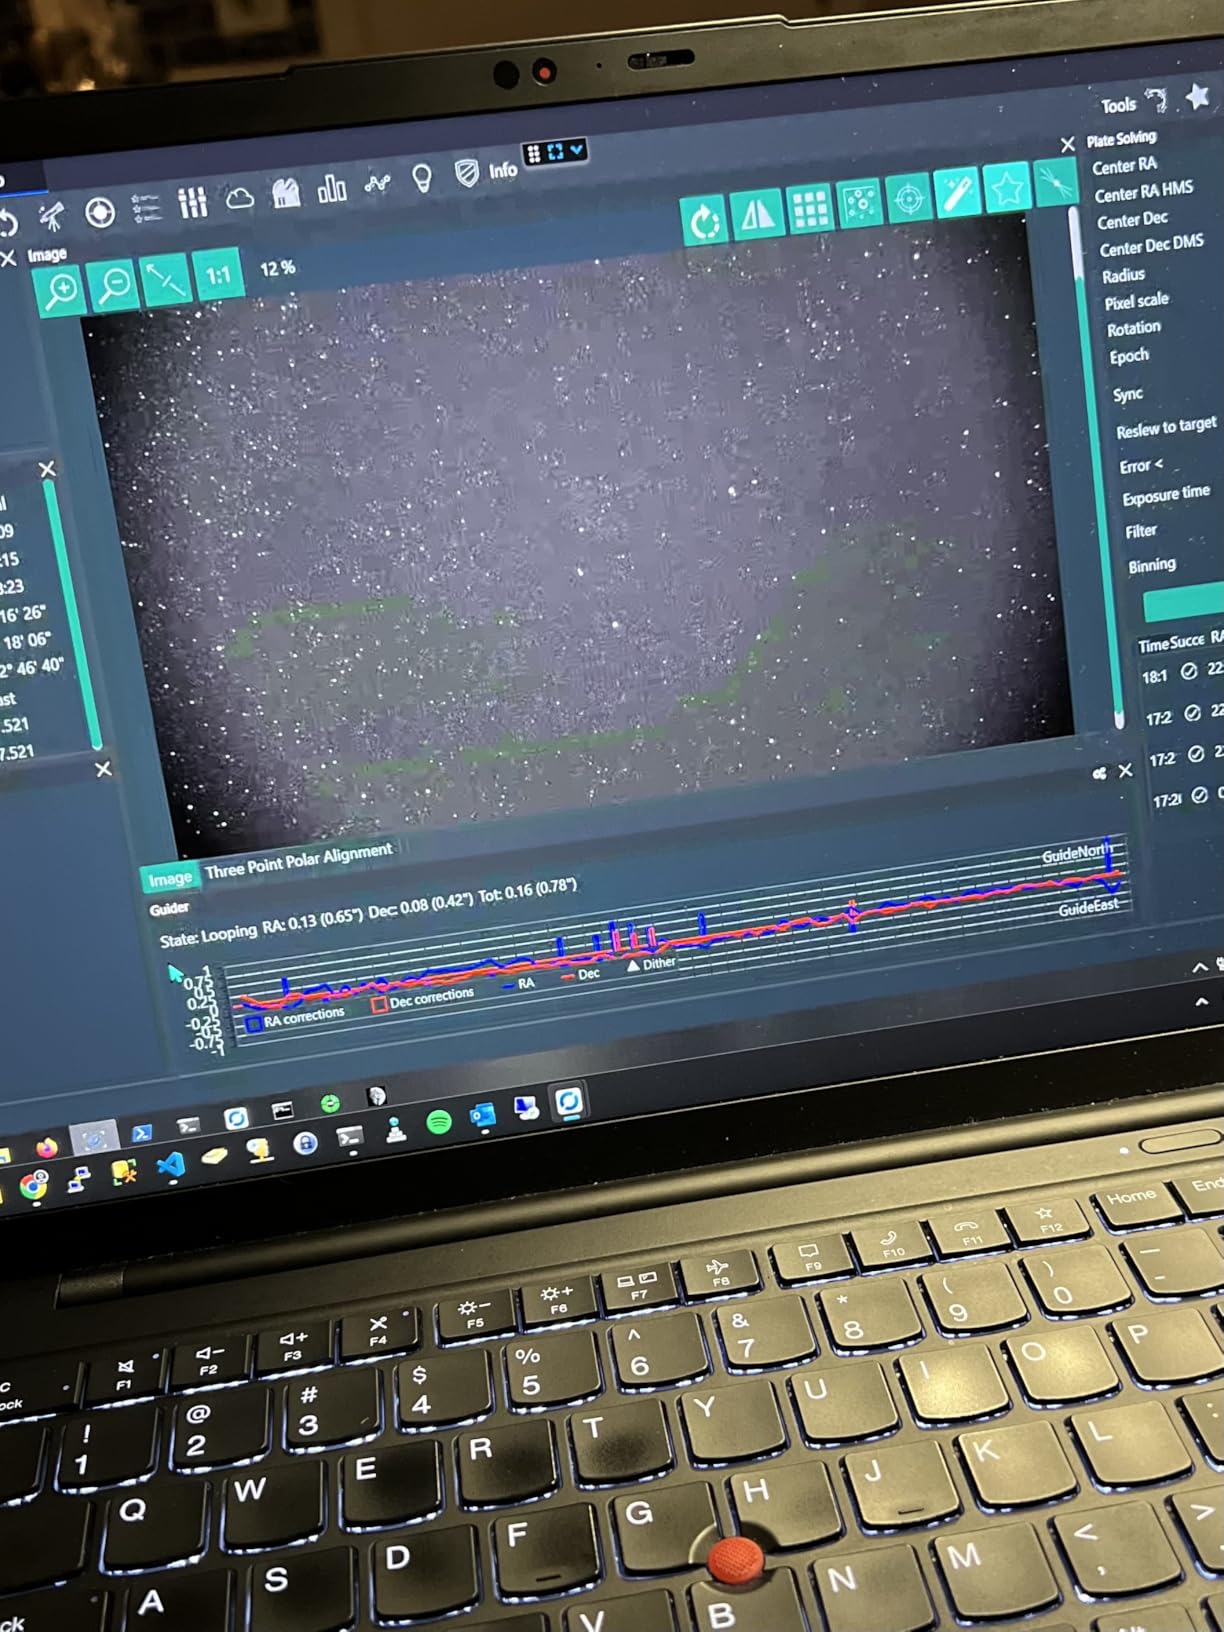
Confirm software support before you buy. Dedicated CMOS cameras from ZWO, QHYCCD and Player One all speak ASCOM, which means they work with NINA, SharpCap and the major sequencers. Smart telescopes like the Seestar S30 Pro and the Dwarf 3 run closed workflows through their own apps, which is simpler but leaves you with no manual control. A few reviewers of the SV305C Pro report disconnects depending on the capture software used, so check compatibility with your specific stack.
Think about the whole train, not the camera. Back focus and spacing are the frustration new imagers hit hardest when a dedicated camera replaces a DSLR, and filters, spacers and software often cost more than the camera itself. A common path in the community is a DSLR or mirrorless plus a tracker first, then a dedicated cooled body later.
Frequently Asked Questions
Do I need a cooled camera for deep sky astrophotography?
Not to start, but you will want one eventually. An uncooled DSLR or mirrorless body can produce very good deep sky images if you manage your dark library and keep subs short enough that dark current stays low. A cooled camera holds the sensor at a stable set point temperature, which is what makes long sub-exposures and reliable stacking possible. Forum consensus treats the move from an uncooled body to a cooled dedicated camera as the single biggest quality jump in a setup.
Is a mono or one-shot color camera better for deep sky imaging?
One-shot color is better for beginners because a Bayer-filter camera gives you finished color in a single exposure with one filter, so the cost of getting started stays low. Monochrome gives cleaner signal and better use of resolution, and it is the practical route to narrowband SHO and OIII imaging from a light-polluted site. Mono means buying an LRGB or narrowband filter set, which is where many people stop partway through a build.
What pixel size is best for deep sky astrophotography?
Around 3 to 4 microns is the comfortable middle for most deep sky rigs. Larger pixels collect more signal per sub-exposure, which helps faint targets, while smaller pixels need fast and accurate guiding and gather very little light each frame. The right size also depends on your focal length, because pixel size sets your pixel scale in arcseconds per pixel.
What is the 500 rule for astrophotography?
The 500 rule is a starting point for the longest focal length in millimeters you can expose before stars visibly trail, calculated by dividing 500 by the camera crop factor. It assumes an unmodified camera on a fixed tripod. For tracked deep sky imaging the rule is far less relevant, because accurate guiding, not a fixed exposure ceiling, decides how long each sub-exposure can be.
What is the 400 rule in astrophotography?
The 400 rule is the 500 rule divided by crop factor, and it gives a shorter, stricter focal length limit than the 500 rule. Many imagers prefer it because stars in the corners of a frame start trailing sooner than the centre suggests. Like the 500 rule, it applies to uncooled general cameras on a fixed tripod rather than to tracked imaging.
Are mirrorless cameras better than dedicated astro cameras for deep sky?
Neither is better in general. A mirrorless or DSLR body gives you a large uncooled sensor and a forgiving workflow, which is why it suits a first setup. A dedicated cooled camera gives you a stable set point temperature, longer subs and cleaner stacking, which is why it suits serious work. The most common upgrade path is to start with a general body on a tracker and move to a cooled camera later.
Can I use a DSLR for deep sky imaging?
Yes. A DSLR on an equatorial tracker is a legitimate deep sky setup, and the Canon Rebel T7 in this roundup is our top pick for exactly that reason. The main limitation is that the sensor is uncooled, so dark current rises with temperature and you need matched dark frames. Shooting shorter subs and stacking many of them keeps the noise manageable.
What software works with ZWO, QHYCCD and Player One astronomy cameras?
All three brands expose standard ASCOM and native camera drivers, so the same capture software covers them. NINA and SharpCap are the two most common choices, and sequencers such as NINA AdvancedSequencer handle automation for multi-night runs. Smart telescopes from the same brands run closed workflows through their own apps instead, so check whether you want manual control before choosing one.
Which Deep Sky Camera Should You Buy in 2026?
The best astrophotography cameras for deep sky imaging in 2026 split into three clear groups, and which one you need depends almost entirely on where you are starting. Our editor’s choice, the Canon EOS Rebel T7 kit, wins on the combination of a 24.1MP APS-C sensor, two included lenses and the deepest owner feedback of anything on this list. Nothing else here gets you a working wide-field deep sky rig with less to figure out.
If setup is what is stopping you, the ZWO Seestar S30 Pro gets you finished images on a first night with automatic GoTo, tracking and on-device stacking, and the DWARFLAB Dwarf 3 does the same at 3 lb for travel imaging. When you are ready for the step that forum veterans call the biggest single quality jump, the cooled ZWO ASI183MC Pro is the dedicated astro body here, and the Canon EOS 5D Mark IV is the uncooled answer for anyone who wants the widest field and most signal per sub.
Everything else in this roundup has a specific job. The OM System E-M10 Mark IV is the mirrorless option with useful stabilization, the Nikon D7500 handles longer focal lengths with its high ISO ceiling and fast burst, and the SV305C Pro, SV205 and SV105 are guiding and planetary bodies rather than deep sky imagers. Use the pricing buttons above for current prices on any of them.