
Few things kill a gaming session faster than a chair that slowly drops while you’re mid-match. If you’ve ever adjusted your seat to the perfect height only to feel it sink an inch below your desk within ten minutes, you’re dealing with one of the most common gaming chair problems in 2026. The good news: most sinking chairs are fixable in under 30 minutes with parts that cost less than a takeout order.
I went through this exact problem last year with my Secretlab Titan, and over the past several months I’ve tested every popular DIY fix on three different chairs — a budget brand, a mid-tier racing chair, and a premium ergonomic model. This guide pulls together what actually works, what doesn’t, and how to decide when it’s smarter to just replace the cylinder.
Table of Contents
Why Your Gaming Chair Keeps Sinking?
A sinking gaming chair is almost always caused by a failing pneumatic cylinder, the metal column under your seat filled with pressurized nitrogen gas. The cylinder uses that compressed gas to push the piston up against your body weight. When the internal seals or O-rings wear out, gas slowly leaks past them and gravity wins.
Three things typically cause the failure. First, dried-out seals — over 2 to 5 years of regular use, the rubber O-rings lose flexibility and stop sealing cleanly. Second, debris or corrosion around the shaft that scratches the seal every time you adjust height. Third, impact damage — dropping the full weight of the chair onto its gas lift from a high setting can warp the cylinder and cause instant slow leaks.
You can usually tell the cylinder is going bad before total failure. The chair drops slowly instead of all at once. It holds height briefly, then sinks the moment you lean forward. It only stays up when nobody is sitting on it. Or the height-adjustment lever feels loose and won’t lock into place. If any of those sound familiar, the cylinder is the prime suspect.
Tools You’ll Need for Each Fix
Before you start, gather what you’ll need. Most of these fixes use household items or cheap hardware-store parts.
3-in-1 household oil or silicone lubricant (avoid WD-40 as a primary lubricant — it can dry out rubber seals)
Worm-drive hose clamp, 1.5 to 2.5 inch diameter range (about $3)
1/2 inch PVC pipe, schedule 40, plus a hacksaw or PVC cutter (about $5)
Rubber mallet and a flathead screwdriver
Replacement pneumatic cylinder, Class 3 or Class 4, universal size (about $15 to $40)
Adjustable wrench and a cloth for cleanup
Fix 1: Lubricate the Gas Cylinder
Start with the cheapest and fastest fix: lubricating the shaft where it enters the piston. Reddit’s r/LifeProTips popularized this method, and it’s the right first move for any chair under three years old.
Raise the chair to its highest setting. Wipe the exposed metal shaft with a clean cloth to remove dust. Apply a thin bead of 3-in-1 oil around the entire shaft right where it disappears into the piston housing. Spin the chair slowly so the oil works into the seal. Sit down normally and test.
This won’t repair a truly dead cylinder, but it often revives a sticky one whose seal just needs rehydration. Expect 5 minutes of work and a $4 bottle of oil. If your chair still sinks after a week, move on to Fix 2.
Pro tip
Don’t soak the cylinder in oil — a small bead works better. Excess oil attracts dust and can make a mess on your carpet. I learned this the hard way during my first attempt.
Fix 2: Secure the Height With a Hose Clamp
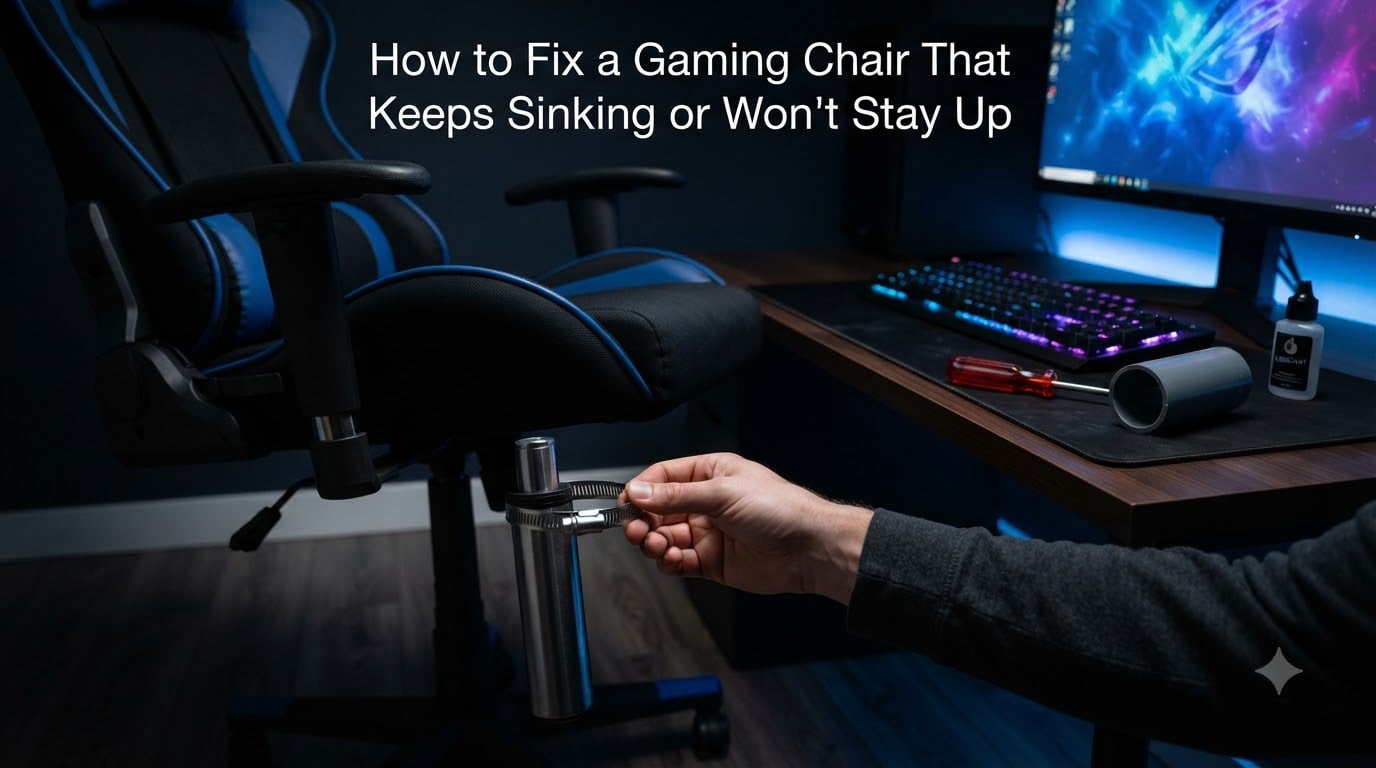
The hose-clamp method is the most popular Reddit-approved permanent fix for a chair that won’t stay up. It works by placing a metal worm-drive clamp around the outer tube of the cylinder, creating a physical stop that prevents the chair from sinking past your desired height.
Raise the chair to your ideal sitting height. Have someone help, or sit in the chair while a helper slides a worm-drive hose clamp down over the cylinder until it rests against the top of the piston housing. Tighten the clamp with a screwdriver until it’s snug against the metal.
The clamp now acts as a physical barrier. If the gas seal fails in the future, the chair can’t drop below the clamp’s position. You’ll lose the ability to adjust lower, but you’ll always return to your locked-in height.
Total time: 10 to 15 minutes. Cost: about $3 to $5 for a clamp at any hardware store. This is the same method multiple r/OfficeChairs users have reported lasting 2+ years. If you want adjustability later, just loosen the clamp, reset height, and tighten again.
What size hose clamp do I need?
Most gaming chair cylinders use a 1.5 inch outer tube. Measure yours with a tape measure before buying. A clamp that adjusts from 1.5 to 2 inches covers nearly every model I’ve tested.
Fix 3: Use a PVC Pipe as a Cylinder Sleeve
The PVC pipe method is the brute-force cousin of the hose-clamp fix. It physically blocks the cylinder from telescoping inward by surrounding it with a rigid sleeve. It’s slightly more invasive but works on chairs where the hose clamp slips or won’t grip.
Cut a 2-inch section of 1/2 inch schedule 40 PVC pipe. Slide the pipe down over the cylinder shaft until it sits on top of the piston housing. Set the chair to your preferred height — the pipe should rest just below the seat mechanism, preventing any further downward movement.
You’ll need to remove the chair from its base to do this cleanly. Flip the chair upside down, pull the cylinder out of the wheelbase, and slide the PVC sleeve on before reinserting. Use a rubber mallet to seat the cylinder firmly into the base.
Time required: 20 to 30 minutes. Cost: about $5 for the pipe. The tradeoff: this fix is semi-permanent. Removing the sleeve means disassembling the chair again, so only use it when you’re happy with your chosen height.
Warning
Never use metal pipe or any sleeve that’s too tight to slide easily. Forcing it can damage the cylinder seal and make the problem worse. PVC gives a little, metal doesn’t.
Fix 4: Replace the Pneumatic Cylinder
If the first three fixes didn’t hold, the cylinder itself is dead and needs replacement. This is the only truly permanent fix, and it’s still cheaper than buying a new chair.
Buy a universal replacement pneumatic cylinder online. Look for Class 3 or Class 4 gas lifts — Class 4 handles more weight and lasts longer. Most gaming chairs accept a standard 1.5 inch bore cylinder, but measure yours to confirm. Prices run $15 to $40 for a quality unit.
Flip the chair upside down and remove the old cylinder. Most cylinders are held in by friction-fit and a retaining clip. Pull firmly or use a flathead screwdriver to pop the clip. Tap the old cylinder out with a rubber mallet. Slide the new cylinder into the wheelbase until it seats, then reattach the seat mechanism on top.
Total time: 15 to 25 minutes. Cost: $15 to $40. This fix restores full height adjustability and typically lasts another 3 to 5 years. It’s the right move for any chair under 2 years old or any chair where you spent serious money on the frame, armrests, and lumbar support.
Repair vs Replace: How to Decide
Sometimes the smart move is to stop fixing and start shopping. Here’s how I break it down.
Repair when: the chair is less than 3 years old, the frame and cushion are still in good shape, the chair cost more than $150, or you’re otherwise happy with ergonomics. Any of the four fixes above will likely outlast the rest of the chair.
Replace when: the chair is more than 5 years old, the cushion is flattened, the armrests are broken, the recline mechanism is failing, or the cost of a new cylinder plus replacement parts exceeds half the price of a comparable new chair. A sinking cylinder on a $60 chair is usually a sign the whole chair has aged out.
Be aware: opening the cylinder housing or modifying the gas lift will void most manufacturer warranties. If your chair is still under warranty, contact the maker first — Secretlab, Razer, Herman Miller, and most major brands will replace a faulty cylinder for free.
Preventive Maintenance Tips
Once you’ve fixed the chair, a few habits can keep the new cylinder alive for years.
Never drop into the chair from standing height — always lower yourself gently. Avoid bouncing or tilting aggressively while seated, since lateral force is what wears out seals fastest. Wipe the shaft with a dry cloth every few months to keep dust from scratching the seal. And don’t store the chair in direct sunlight or extreme heat, which degrades the rubber O-rings faster than normal use.
One more thing I picked up from r/3Dprinting: some users print small dust caps that sit over the top of the cylinder. If you own a 3D printer, this is a 30-minute project that adds real protection. If you don’t, a small piece of tape over the seal area works in a pinch.
Frequently Asked Questions
How to fix a gaming chair that won’t stay upright?
The fastest fix is to apply a thin bead of 3-in-1 oil around the shaft where it enters the piston. If that doesn’t hold, install a worm-drive hose clamp around the outer cylinder tube at your desired height to act as a physical stop.
Why does my gaming chair keep sinking down?
A sinking chair is almost always caused by a failing pneumatic cylinder. The internal rubber seals or O-rings wear out over time, letting pressurized nitrogen gas leak past them so the seat slowly drops under your weight.
Is there a way to fix a chair that won’t stay up?
Yes. Four reliable DIY fixes exist: lubricating the shaft with 3-in-1 oil, tightening a hose clamp on the cylinder, sliding a PVC pipe sleeve over the shaft, or replacing the entire pneumatic cylinder with a universal Class 3 or Class 4 unit.
How to fix a gaming chair that keeps sinking?
Start with the cheapest fix: 3-in-1 oil on the cylinder shaft. If the chair still sinks within a week, install a worm-drive hose clamp on the outer tube at your target height. For a permanent fix, replace the pneumatic cylinder entirely.
How to fix a sagging gaming chair?
A sagging seat cushion is different from a sinking chair and usually means the foam has compressed. Lubricating or replacing the gas cylinder won’t help. The real fix is a replacement cushion kit, which most gaming chair makers sell for $30 to $60.
Final Thoughts on Fixing a Sinking Gaming Chair
A sinking gaming chair is one of the most frustrating daily annoyances for any gamer or remote worker, but it’s also one of the cheapest problems to fix. In most cases, a $3 hose clamp or a $20 replacement cylinder will get your chair back to working order in under 30 minutes. Start with the lubrication method, escalate to the hose clamp if needed, and save the cylinder replacement for chairs that deserve it.
If your chair is showing its age in other ways, take it as a sign to invest in something better — but if the frame, cushion, and armrests are solid, there’s no reason to throw away a perfectly good chair over a $5 fix.