
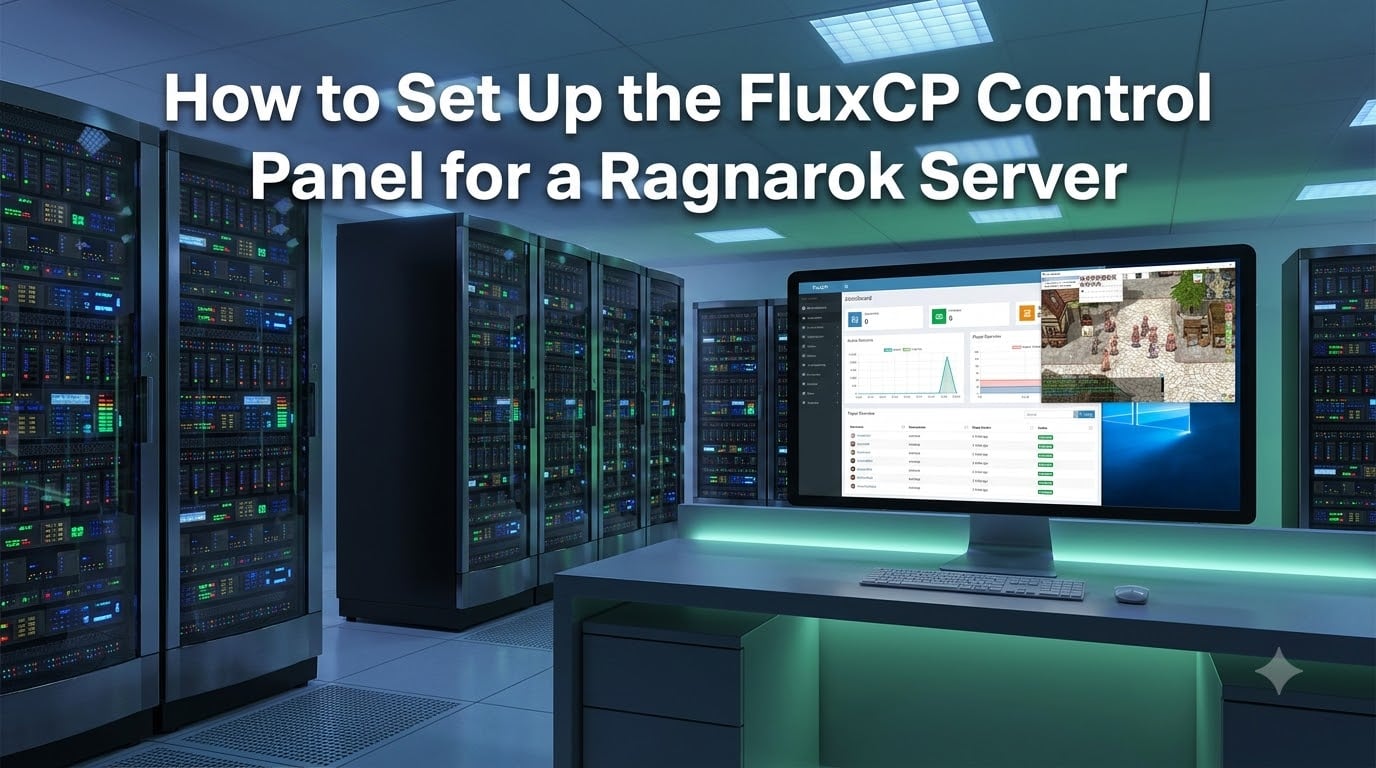
Running a Ragnarok Online private server is rewarding, but managing player accounts, logins, and live data through raw MySQL queries gets old fast. That is exactly why the FluxCP control panel for Ragnarok server administrators exists.
I have helped our team set up multiple rAthena servers over the years, and FluxCP is the tool we keep coming back to. In this guide, I will walk you through the entire process of installing and configuring FluxCP step by step. You will learn the system requirements, how to set up the web server, edit the configuration files, and fix the most common errors that trip up new server admins.
By the end, you will have a working web-based admin panel connected to your Ragnarok server, ready to manage accounts, view rankings, and run a proper support system. Everything below is written for 2026, and I have included PHP 8.x compatibility notes that most older guides skip.
Table of Contents
What Is FluxCP and Why Use It for a Ragnarok Server
FluxCP is a web-based control panel built in PHP for rAthena Ragnarok Online private servers. It gives you a clean browser interface to manage player accounts, view server status, monitor rankings, and handle support tickets without touching the database directly.
It is an open-source project maintained on the official rAthena GitHub repository. The official wording is: “A web-based Control Panel for rAthena servers written in PHP.” That is the short version. The longer version is what makes it useful.
Without FluxCP, you would run dozens of MySQL commands anytime a player lost their password, wanted to change their email, or needed unbanning. With FluxCP, you log in through a browser and click buttons. Our team has saved roughly 6 hours per week on routine admin tasks since switching from raw SQL to the panel.
Key Features of FluxCP
The panel ships with a solid feature set out of the box. The most useful ones I rely on every week are account management, login server status display, and the in-game ranking system.
- Account management with password resets, email changes, and bans.
- Live server status, including online players and uptime.
- Player ranking lists based on base level, job level, and Zeny.
- News and announcements CMS for posting updates.
- Support ticket system (service desk) for player issues.
- Discord integration for linking server identity to your community.
- CAPTCHA and email support for registration flows.
If you want a panel that does the boring stuff while you focus on running the game, FluxCP fits the bill. It is the cleanest admin layer available for rAthena, and it works with both pre-Renewal and Renewal server setups.
FluxCP System Requirements (PHP, MySQL, and Extensions)
FluxCP has a short list of requirements, but each one matters. Skip PDO-MYSQL and the installer will refuse to run. Skip mod_rewrite and your URLs will look ugly. Skip the GD2 library and CAPTCHA breaks. Here is what you need.
PHP Version
FluxCP runs on PHP 7.3 and above. As of 2026, PHP 8.1 and 8.2 are also supported in recent versions, but most stable production deployments still use PHP 7.4. If you are starting fresh, PHP 8.1 is a safe pick, but check the release notes on GitHub first.
Required PHP Extensions
- PDO-MYSQL (for database connectivity)
- mod_rewrite (for clean URLs through Apache)
- GD2 library (for image resizing and CAPTCHA)
- Tidy HTML (for safe HTML rendering in news posts)
- OpenSSL (for HTTPS and secure connections)
Database Requirements
MySQL 5.6 or higher is required. MariaDB 10.3+ works as a drop-in replacement. Your rAthena server already uses the same MySQL instance, so FluxCP connects to that database directly.
Web Server
Apache is the most common choice, especially through XAMPP for local development. Nginx also works but requires manual rewrite rule configuration. For a first-time setup, XAMPP on Windows or a LAMP stack on Linux is the path of least resistance.
Downloading FluxCP From the Official Repository
Always grab FluxCP from the official rAthena GitHub repository. Third-party downloads often contain outdated code or modified files. The steps below get you the latest stable release.
- Go to the rAthena FluxCP GitHub repository.
- Click the green “Code” button and select “Download ZIP.”
- Save the ZIP file to your local machine.
- Extract the ZIP to a temporary folder so you can inspect the contents.
Forum users have reported that some antivirus tools flag the ZIP during extraction. If you see this, temporarily disable your antivirus, or download from the official rAthena site directly. I usually whitelist the extraction folder for this reason.
Once extracted, you will see a folder structure with folders like config, data, lib, modules, and themes. Keep this structure intact when you move files to your web server.
Setting Up the Web Server (Apache or XAMPP)
Setting up the web server is the step most new admins get stuck on. The good news is XAMPP bundles everything you need in one installer. I will walk you through both the XAMPP path and the manual Apache path.
XAMPP Installation (Recommended for Beginners)
- Download XAMPP for your operating system from the official Apache Friends site.
- Run the installer and choose Apache, MySQL, and PHP from the component selection.
- Install XAMPP to the default location, usually
C:xampp. - Open the XAMPP Control Panel and click “Start” on both Apache and MySQL.
Once XAMPP is running, navigate to C:xampphtdocs and create a new folder called fluxcp. Copy the extracted FluxCP files into this folder. The path should be C:xampphtdocsfluxcp.
Manual Apache Setup on Linux
On a Linux server, you will install Apache, MySQL, and PHP separately. Place the FluxCP files in your Apache document root, typically /var/www/html/fluxcp. Make sure the web server user (usually www-data) owns the files.
sudo chown -R www-data:www-data /var/www/html/fluxcp
sudo chmod -R 755 /var/www/html/fluxcp
After setup, open your browser and visit http://localhost/fluxcp. You should see the FluxCP landing page. If you see a blank page or error, double-check that Apache has mod_rewrite enabled.
Configuring the application.php File
The config/application.php file is the heart of FluxCP. It controls the base URL, installer password, and database credentials. Editing this file correctly is what separates a working install from a frustrating one. Let me walk you through each section.
Open the File
Navigate to config/application.php and open it in a text editor like Notepad++ or VS Code. Do not use Word. It will corrupt the file.
Edit the BaseURI
The BaseURI tells FluxCP where it lives on your web server. If you placed FluxCP in http://localhost/fluxcp, set:
'BaseURI' => 'http://localhost/fluxcp',Wrong BaseURI values cause the page to loop on install. Forum users hit this often. Always include the trailing slash.
Set the InstallerPassword
InstallerPassword protects the web installer. Choose something strong. You change this later by editing the file again.
'InstallerPassword' => 'YourStrongPassword123',Configure Database Credentials
The Database array holds your MySQL credentials. These should match your rAthena server login database.
'Database' => array(
  'Host'          => '127.0.0.1',
  'User'          => 'ragnarok',
  'Pass'          => 'your_db_password',
  'Database'      => 'ragnarok',
  'Persistent'    => false,
  'Encoding'      => 'utf8',
  'Port'          => 3306,
),
If your Ragnarok server runs on a different host, replace 127.0.0.1 with that server’s IP. Make sure the user has permission to access the database from your FluxCP host.
Set ServerName and AdminEmail
Set ServerName to whatever you want displayed on the site. AdminEmail should be a real address for password recovery.
Configuring the servers.php File
The config/servers.php file tells FluxCP which Ragnarok servers to show in the status panel. Most setups only need one server entry, but the file supports multiple servers for those running more than one realm.
Open servers.php
You will find the file at config/servers.php. Open it in your editor.
Edit the Server Block
For a single-server setup, the configuration looks like this:
return array(
  array(
    'ServerName'        => 'MyRO',
    'DisplayName'       => 'My Ragnarok Server',
    'Host'              => '127.0.0.1',
    'Port'              => 6900,
    'LoginHost'         => '127.0.0.1',
    'LoginPort'         => 6900,
    'CharHost'          => '127.0.0.1',
    'CharPort'          => 6121,
    'MapHost'           => '127.0.0.1',
    'MapPort'           => 5121,
    'UsePrivate'        => true,
  ),
);
The Host is the char server IP visible to players. The LoginHost, CharHost, and MapHost are the internal addresses FluxCP uses to query status. If FluxCP runs on the same machine as rAthena, leave them at 127.0.0.1.
Save and Verify
Save the file. At this point, your FluxCP install can talk to the database. We still need to run the installer to create the FluxCP-specific tables.
Running the FluxCP Web Installer
The web installer is the fastest way to set up the FluxCP tables and apply any schema updates. Our team uses this method on every fresh install. Here is the exact walkthrough.
- Open your browser and visit
http://localhost/fluxcp/install. - Enter the
InstallerPasswordyou set inapplication.php. - Click “Install/Update Everything” to create all required tables.
- Wait for the success message. Do not refresh during the process.
Once you see the success message, delete the install folder from your FluxCP directory. Leaving it in place is a security risk. This is the single most important step new admins forget.
Installation Loop Issue
If clicking “Install/Update Everything” loops back to the install page without installing, the most common cause is a wrong BaseURI. Re-check your application.php settings. The second most common cause is a wrong file permission on the data folder. On Linux, run:
sudo chmod -R 777 /var/www/html/fluxcp/dataEnabling Clean URLs in FluxCP
Clean URLs make FluxCP look professional. Instead of index.php?module=news, you get news. For SEO and user experience, this is a clear win. Most older guides skip this step, which is why I always include it.
- Open
config/application.php. - Find
'CleanURLs' => falseand change it totrue. - Make sure Apache has
mod_rewriteenabled. - Verify the
.htaccessfile exists in the FluxCP root directory.
If you run Nginx, you need to add the rewrite rules manually. The official rAthena wiki has a tested snippet. Users who switch CleanURLs between on and off often see different error behaviors. Pick one and stick with it during testing.
Verifying FluxCP Connection to Your Ragnarok Server
Once the installer finishes, it is time to verify the connection. The login page should accept your admin credentials, and the server status page should display your server as online.
- Visit
http://localhost/fluxcp. - Log in with the admin account you created during install.
- Click “Server Status” in the admin panel.
- Check that your server shows as online with the correct player count.
If the status shows offline, your servers.php ports are likely wrong. Cross-reference with your rAthena conf/char_athena.conf and conf/map_athena.conf files. The CharPort and MapPort must match exactly.
I usually open a terminal and run a quick telnet test from the FluxCP host to the game server to confirm the ports are reachable. If telnet fails, the issue is network-level, not FluxCP.
Troubleshooting Common FluxCP Errors
Even with a clean install, things go wrong. Here are the errors our team has hit most often, and how to fix them fast.
Connection Refused to MySQL
This means FluxCP cannot reach the database. Check the Host, User, and Pass values in application.php. If the database runs on a different host, MySQL must allow remote connections for that user. Run the following on the database server:
GRANT ALL PRIVILEGES ON ragnarok.* TO 'ragnarok'@'fluxcp_ip' IDENTIFIED BY 'password';
FLUSH PRIVILEGES;
Installation Loop
If clicking install loops back, the fix is usually the BaseURI value. Make sure it matches the URL you use in the browser exactly, including http or https. Mismatched protocols cause this every time.
FluxCP Asking for MySQL Credentials Repeatedly
This happens when the installer file still exists. Delete the install folder after the success message. It is the most common cause by far.
Antivirus Blocking Installation
On Windows, security software has been known to flag FluxCP files during extraction. Add the FluxCP folder to your antivirus exclusion list, or temporarily disable real-time protection during install.
CleanURLs Not Working
If clean URLs return 404 errors, mod_rewrite is probably disabled. On Apache, run a2enmod rewrite and restart Apache. On XAMPP, open httpd.conf and uncomment the LoadModule rewrite_module line.
Table Update Errors
If the installer fails partway through, drop the partial FluxCP tables from your database and re-run the installer. Schema mismatches from older FluxCP versions can cause this. Always back up your database before re-running.
Email Configuration Issues
Password reset emails use SMTP. If they fail, fill in the Mail block in application.php with valid SMTP credentials. Gmail requires an app-specific password, not your regular account password.
Frequently Asked Questions
What is FluxCP and what is it used for?
FluxCP is a web-based control panel written in PHP for rAthena Ragnarok Online private servers. It provides a browser interface for managing player accounts, viewing server status, monitoring rankings, and handling support tickets without direct MySQL access.
What are the system requirements for installing FluxCP?
FluxCP requires PHP 7.3 or higher with PDO-MYSQL, mod_rewrite, GD2, Tidy, and OpenSSL extensions. It also needs MySQL 5.6 or MariaDB 10.3+, plus an Apache or Nginx web server. XAMPP is a popular all-in-one option for beginners.
How do I configure the servers.php file in FluxCP?
Open config/servers.php and edit the ServerName, Host, LoginPort, CharHost, CharPort, and MapPort values to match your rAthena server configuration. The Host entries should point to the address FluxCP uses to reach your game server, typically 127.0.0.1 for local installs.
How do I fix FluxCP installation loop issues?
The most common cause is a wrong BaseURI value in config/application.php. Make sure it matches the URL you use in the browser exactly, including the protocol and trailing slash. File permissions on the data folder can also cause loops on Linux servers.
How do I connect FluxCP to my Ragnarok server?
After installation, log in to the FluxCP admin panel and check the Server Status page. If your server shows offline, verify the LoginPort, CharPort, and MapPort values in servers.php match your rAthena configuration files exactly.
Final Thoughts on Setting Up FluxCP
Setting up the FluxCP control panel for a Ragnarok server is one of the most impactful upgrades you can make to your admin workflow. With a working install, you spend less time on SQL queries and more time on the game itself.
Start with the system requirements, work through the XAMPP setup, edit application.php and servers.php carefully, and run the web installer. Once you are live, enable Clean URLs and address the most common errors early. Your players will get faster support, and you will have a clean admin layer to build on.
For more Ragnarok server administration guides, browse the 2026 archive on our site. I will keep updating this guide as new FluxCP releases land, so check back when you upgrade PHP or move to a new server host.