
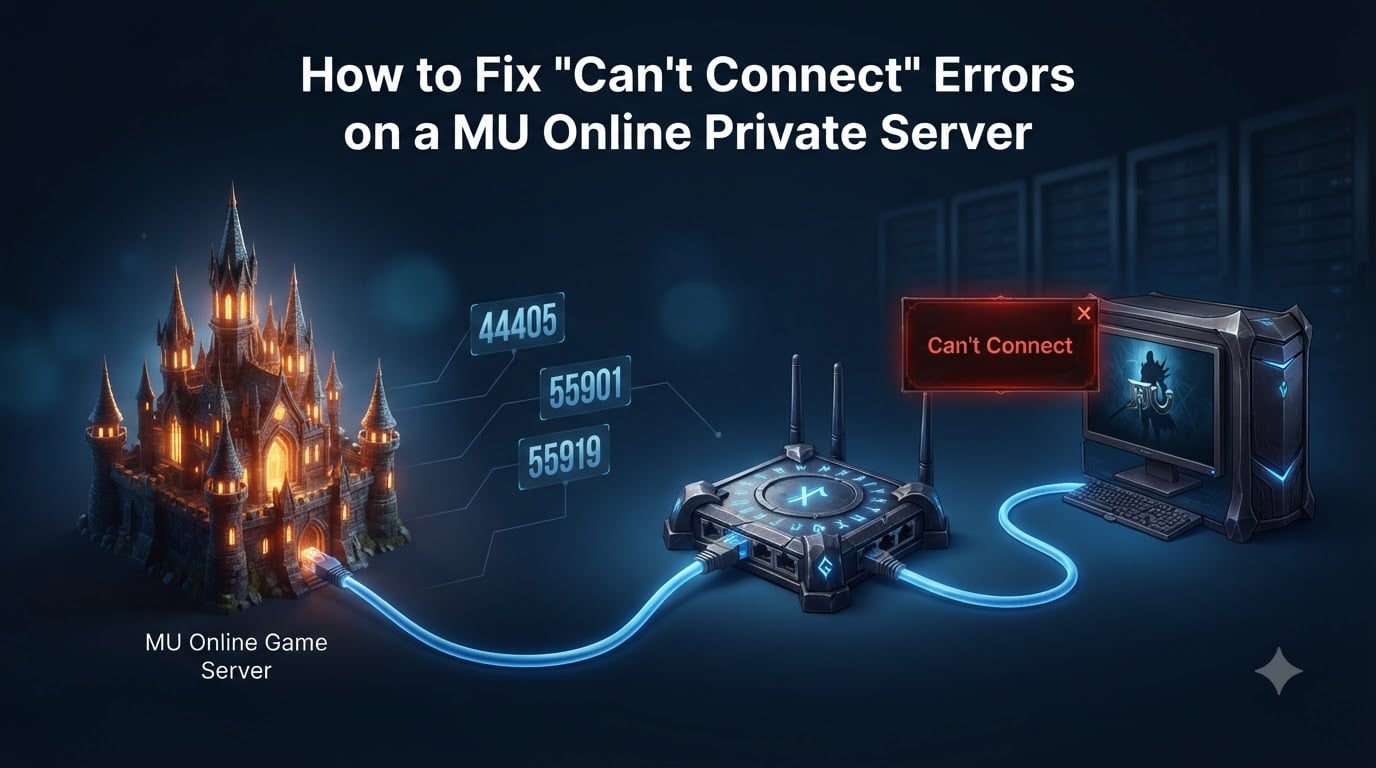
If you have ever clicked your MU Online launcher, watched the loading bar crawl, and then got hit with a “Can’t Connect” or “Failed to Connect to Server” message, you know how frustrating it is. The error is vague, the forums are scattered, and the official client was never designed to talk you through it.
I have spent the last several years running MU Online private servers and helping players connect to them. In this guide I will walk you through the same checklist our team uses when someone reports a MU Online can’t connect error, whether you are the player stuck on the loading screen or the server admin wondering why nobody can join your freshly hosted server.
You will learn which ports actually need to be open (44405, 55901, 55919, plus a few extras), how the difference between a local IP and a global IP silently breaks connections, where to edit clientinfo.xml, and what to check on the server side when players cannot get in. Every step uses real, currently working methods.
Table of Contents
What Causes ‘Can’t Connect to Server’ Errors on MU Online?
A MU Online connection error almost always comes from one of three layers: the player side (firewall, antivirus, VPN, broken client files), the network side (router ports, ISP blocks, DNS issues), or the server side (server not running, wrong IP in server files, MSSQL not connected). The trick is finding which layer is actually broken.
When a player types in a server and clicks Connect, the launcher reads clientinfo.xml, resolves the IP, and tries to reach the ConnectServer on port 44405. If that handshake fails, you see the error. If port 44405 works but the GameServer on 55901 is down, you see a different disconnect right after character select.
Common causes our team sees every week:
Firewall or antivirus blocking
play.exeormain.exeRouter ports 44405, 55901, or 55919 not forwarded or still closed by ISP
Wrong IP address pasted into
clientinfo.xml(local IP used for external players)Server admin used 127.0.0.1 in server configs but advertised a public IP
Client version mismatch after server update
VPN or “gaming booster” app intercepting the connection
Database (MSSQL) offline on the server, blocking the login handshake
Once you understand which layer is failing, the rest of this guide gives you the exact commands and clicks to fix it.
Quick Diagnostic Steps Before Troubleshooting
Before you change any settings, run these five checks. They take about two minutes and tell you whether the problem is on your side, the network, or the server itself.
Confirm the server is actually online. Ask in the server’s Discord or check the website status page. If nobody can connect, it is a server issue, not yours.
Restart your router and modem. Power off for 30 seconds, then power back on. A surprising number of “mysterious” connection errors disappear after a fresh DHCP lease.
Switch from Wi-Fi to Ethernet. Wireless interference is a top cause of disconnects and connect failures on private MU servers.
Disable any VPN or gaming booster. Apps like ExitLag, NoPing, or a generic VPN often break older games like MU Online that use custom ports.
Open Command Prompt and ping the server IP. Type
ping SERVER_IP. If you get replies, your network reaches the server. If you get “Request timed out,” the problem is network or server-side, not your client.
If ping succeeds but the game still says can’t connect to MU Online server, the issue is almost always ports or firewall. Jump to the firewall section.
Client-Side Fixes: How to Solve MU Online Connection Errors as a Player
These fixes cover the player side of the MU Online private server connection error. Try them in order. Most players fix the issue within the first three steps.
1. Allow play.exe and main.exe Through Windows Firewall
Windows Firewall silently blocks MU Online more often than people realize. Open Windows Security > Firewall & network protection > Allow an app through firewall. Click Change settings, then Allow another app and browse to your MU Online folder. Add both play.exe and main.exe, and tick the boxes for Private and Public networks.
2. Add MU Online to Your Antivirus Exclusions
Third-party antivirus apps (Kaspersky, Bitdefender, ESET, Avast) often quarantine MU Online files because they look suspicious. Open your antivirus dashboard and add the entire MU Online folder as an exclusion. Also exclude play.exe and main.exe specifically.
3. Disable VPNs and Gaming Boosters
VPNs route traffic through extra hops and often block the non-standard ports MU Online uses. Gaming booster apps that promise to reduce ping sometimes inject themselves as a proxy and break the connection entirely. Turn them off and reconnect.
4. Use Ethernet Instead of Wi-Fi
Wi-Fi adds latency spikes and packet loss. Both cause the MU Online connection to drop right after login or during character select. Plug directly into your router with a Cat5e or Cat6 cable.
5. Run tracert to the Server IP
Open Command Prompt and type tracert SERVER_IP. This shows every network hop between you and the server. If you see more than 25 hops or timeouts starting at hop 4 or 5, your ISP is routing traffic poorly to that server’s host. Switch to a wired connection or a different network.
If none of the above fixes the issue, the next most common cause is a wrong or mismatched IP in the client’s configuration files.
Editing clientinfo.xml and main.exe for the Correct Server IP
Your MU Online client does not magically know where the server is. It reads an IP from clientinfo.xml inside the launcher folder. If that file points to the wrong IP, you cannot connect no matter how healthy your firewall or router is.
Locate the clientinfo.xml File
Open your MU Online installation folder (typically C:MuOnline or D:MU). Find clientinfo.xml. Right-click it and open with Notepad or Notepad++.
Understand What Each Field Means
The file looks like this:
<ClientInfo>
  <ServerInfo>
    <IP>127.0.0.1</IP>
    <Port>44405</Port>
  </ServerInfo>
</ClientInfo>
The <IP> tag tells the client where to connect. 127.0.0.1 means “this computer” and only works if the server runs on the same machine. For a remote private server, replace it with the server’s public (global) IP address provided by the admin.
Set the Right IP for Your Situation
Local testing on the same PC as the server: use
127.0.0.1Playing on a server hosted on your home network: use the server machine’s local IP (e.g.,
192.168.1.50) only if you are on the same network. Use the global IP for everyone else.Joining a remote public server: use the global IP or hostname the admin gave you.
Save and Test
After saving clientinfo.xml, fully close the launcher and reopen it. Do not just click “Connect” again. A stale cached connection can mask the new IP.
If the file looks correct but you still cannot connect, you may be dealing with a client version mismatch. Confirm with the admin that your client matches the server’s expected season and version (for example, season 6 episode 3).
MU Online Ports You Must Open: 44405, 55901, and 55919 Explained
MU Online uses several TCP ports for the login and game flow. Knowing which one does what helps you troubleshoot. When a player reports a connection error, ask which step they get stuck on, and you will know which port is suspect.
Port 44405 (TCP): ConnectServer. This is the very first handshake. If you cannot reach 44405, you will never see the server list.
Port 55901 (TCP): GameServer. The character lives on this port. A “connection failed” right after character select usually means 55901 is closed.
Port 55919 (TCP): JoinServer. Handles account and character authentication between the GameServer and the DataServer.
Port 55557 (TCP): Older clients use this for the ConnectServer. If you are on a legacy season 1-3 server, double-check which port the clientinfo.xml points to.
Port 55903 and 55904 (TCP): DataServer communication. Less commonly blocked by firewalls, but worth opening if you are a server admin.
All these ports are TCP. MU Online does not use UDP for gameplay traffic in standard server files. Opening UDP ports is not required and will not help.
Firewall Configuration: Windows Firewall and Third-Party Security Apps
Even if your router is forwarding ports correctly, your local software firewall can still block MU Online. This is the single most common cause of “server is online, ports show as open, but I still cannot connect.”
Step-by-Step: Allow MU Online Through Windows Firewall
Press Win + R, type
wf.msc, press Enter.Click Inbound Rules on the left.
Click New Rule on the right.
Select Port, click Next.
Choose TCP, then type 44405, 55901, 55919, 55557 in the “Specific local ports” box (separate by commas).
Select Allow the connection, click Next.
Tick Domain, Private, and Public. Click Next.
Name the rule “MU Online Ports” and click Finish.
Repeat the same steps for Outbound Rules on the right side. Outbound rules are rarely the cause, but on locked-down corporate machines they are sometimes the culprit.
Add play.exe as an Allowed Program
Even when ports are open, Windows Firewall can still block play.exe specifically. Go to Windows Security > Firewall & network protection > Allow an app through firewall. Find MU Online in the list and tick both Private and Public. If it is not listed, click Allow another app and browse to play.exe.
Do the same for your third-party antivirus. Add play.exe, main.exe, and the entire MU Online folder to the exclusions list.
Router Port Forwarding for MU Online Private Servers
Port forwarding tells your router to send incoming traffic on a specific port to a specific device on your home network. Without it, players outside your home network cannot reach your MU Online server.
Step 1: Set a Static Local IP for the Server Machine
Open Control Panel > Network and Sharing Center > Change adapter settings. Right-click your Ethernet adapter, choose Properties > IPv4 > Properties. Select Use the following IP address and set:
IP address:
192.168.1.50(or any unused address in your router’s range)Subnet mask:
255.255.255.0Default gateway: your router’s IP, usually
192.168.1.1
This prevents the server machine’s local IP from changing after a router reboot, which would break port forwarding.
Step 2: Forward the Ports in Your Router
Log in to your router at 192.168.1.1 (or 192.168.0.1). Find the Port Forwarding, NAT, or Virtual Server section. Add a new rule for each port:
External port 44405 → Internal IP 192.168.1.50, Port 44405, TCP
External port 55901 → Internal IP 192.168.1.50, Port 55901, TCP
External port 55919 → Internal IP 192.168.1.50, Port 55919, TCP
External port 55557 → Internal IP 192.168.1.50, Port 55557, TCP (if your server uses the legacy port)
Save and reboot the router if required.
Step 3: Verify the Ports Are Open from Outside
Go to a site like portchecker.co or yougetsignal.com from a device on a different network (use your phone’s 4G/5G, not your home Wi-Fi). Test each port. If the tool reports “Open,” your forwarding works. If it says “Closed” or “Filtered,” your ISP or the router is still blocking the port.
Step 4: Use the Loopback Adapter for Local Testing
If you cannot test from outside your network (no second device, or your ISP uses Carrier-Grade NAT), install the Microsoft Loopback Adapter. It tricks Windows into thinking a second network interface exists, so you can test your port forwarding locally.
Server-Side Fixes: What Admins Check When Players Can’t Connect
When players report a “can’t connect to MU Online server” error and the ports are confirmed open, the problem is almost always on the server itself. Here is the admin-side checklist our team runs through.
1. Verify the Server Processes Are Running
Open your server’s DataServer, JoinServer, GameServer, and ConnectServer windows or services. They should all be running without error messages. If DataServer is offline, the GameServer cannot authenticate accounts, and players will see a generic “connection failed” message right after they pick a character.
2. Check MSSQL Connectivity
If any DataServer window shows a SQL connection error, your MSSQL service is not running, or the SA password in your config files does not match. Open SQL Server Configuration Manager and confirm the MSSQLSERVER service is started. Then verify the password in DataServer.cfg matches the SA password you set in SQL Server Management Studio.
3. Confirm the Server IP in Server Config Files
Open the following files in your server’s main directory:
ConnectServer.iniorServerList.datGameServer.iniorGameServer.cfgJoinServer.cfgDataServer.cfg
Look for the IP field. It should contain your server’s global IP, not 127.0.0.1 and not your local IP. If it says 127.0.0.1, the server only listens locally and external players will never connect. Replace it with your global IP and restart all server processes.
4. Check Whitelist and Blacklist Files
Many server files include a whitelist or blacklist that controls which IPs can connect. Check Whitelist.txt or BlackList.txt (location varies by source). If your tester’s IP is on the blacklist, they will see a connection failure with no other explanation.
5. Look for Firewall Rules on the Server Itself
If you are running the server on Windows Server or a Windows desktop, the OS firewall applies even on dedicated hardware. Repeat the firewall inbound rule steps from earlier, but on the server machine this time.
If everything above checks out and players still cannot connect, jump to the hosting-specific section below.
OVH and Dedicated Server Optimization for MU Online Hosts
If you rent a dedicated server from OVH, Hetzner, or similar providers, the most common connection issues are different from home hosting. You usually do not have a router to configure. The provider handles that. But OVH’s Game DDoS Protection and the hosting panel’s firewall can silently block ports.
Disable OVH Game Firewall or Add Rules
OVH’s Game DDoS Protection runs an additional firewall in front of your server. By default it can block ports that MU Online needs. In the OVH control panel, go to your dedicated server and disable Game DDoS Protection, or whitelist ports 44405, 55901, 55919, and 55557.
Verify the Public IP Is Actually Yours
On a dedicated server, your public IP is the one shown in the OVH control panel, not what your OS sometimes reports after a network stack reset. After every OS reinstall, confirm the IP using ipconfig /all (Windows) or ip addr (Linux) matches the panel.
Open Ports in the Hosting Provider Firewall
Some providers (Hetzner, Contabo, OVH) have a separate network firewall in their control panel. Even if Windows Firewall is open, the provider’s firewall can drop traffic. Add inbound TCP rules for the four key ports.
Set the Right Power Plan
MU Online’s database calls are CPU-sensitive. On Windows Server, change the power plan to High Performance via powercfg /setactive 8c5e7fda-e8bf-4a96-9a85-a6e23a8c635c. A “Balanced” or “Power Saver” plan throttles the CPU under load, which can cause the GameServer to miss heartbeats and disconnect players.
Local IP vs Global IP: When to Use Each for MU Online
This confusion causes more failed servers than any other single issue. Get this wrong and nothing else will work, no matter how perfectly your ports and firewall are configured.
Local IP (127.0.0.1 or 192.168.x.x): Only works on the same machine or the same home network. Players across the internet cannot reach it.
Global IP (public IP from your ISP or hosting provider): What the rest of the world uses to reach your server. This is what you put in
clientinfo.xmlfor external players.
Concrete rule of thumb:
Server admin on the same PC as the server, testing alone: use 127.0.0.1.
Server admin testing from a laptop in the same house: use the server’s local IP (e.g.,
192.168.1.50).Anyone outside your network: use your global IP.
To find your global IP, visit whatismyip.com from the server machine. That is the IP to give your players.
If your global IP changes every time your router reboots, you have a dynamic IP. Either contact your ISP for a static IP or use a free dynamic DNS service (No-IP, DuckDNS) so players can use a hostname instead.
FAQs
How do I fix the ‘failed to connect to server’ error on MU Online?
Allow play.exe and main.exe through Windows Firewall and your antivirus, open TCP ports 44405, 55901, and 55919 on your router, and confirm the IP address in clientinfo.xml matches the server’s global IP. These three steps fix the error in roughly 90% of cases.
Why does it keep saying ‘Can’t connect to server’ on MU Online?
The error usually means the client cannot reach the ConnectServer on port 44405. The most common causes are firewall blocking play.exe, router ports not forwarded, wrong IP in clientinfo.xml, or the server being offline.
Why is my MU Online game not connecting to the server?
Start by pinging the server IP from Command Prompt. If ping fails, the problem is network or server-side. If ping succeeds, the issue is almost always a blocked port, a blocked executable in your firewall, or an antivirus quarantine.
How do I check if a MU Online port is firewalled?
From a device on a different network than the server, use an online port checker such as portchecker.co and test TCP ports 44405, 55901, and 55919. A result of ‘Open’ means the port is reachable. ‘Closed’ or ‘Filtered’ means your firewall or router is still blocking it.
How do I check firewall ports in Windows?
Press Win+R, type wf.msc, and press Enter to open Windows Firewall with Advanced Security. Under Inbound Rules, look for any rule named ‘MU Online’ or scroll to the right to see which ports each rule covers. You can also right-click Inbound Rules, choose New Rule, and walk through the wizard to add one.
What ports does MU Online actually use?
MU Online uses TCP port 44405 for the ConnectServer (server list and login), 55901 for the GameServer (character and map world), 55919 for the JoinServer (authentication between servers), and 55557 on older season 1-3 clients. UDP is not used by standard MU Online server files.
Conclusion
Fixing a MU Online can’t connect error is mostly about checking the right layer in the right order. Players should start with firewall and antivirus exclusions, then verify the IP in clientinfo.xml, and only then worry about router ports. Server admins should confirm their server processes are running, MSSQL is connected, and the global IP is correctly set in every server config file.
If you are still stuck after walking through this guide, post your ping and tracert results in your server’s community. Those two outputs tell experienced admins almost everything they need to point you at the broken layer in minutes.