
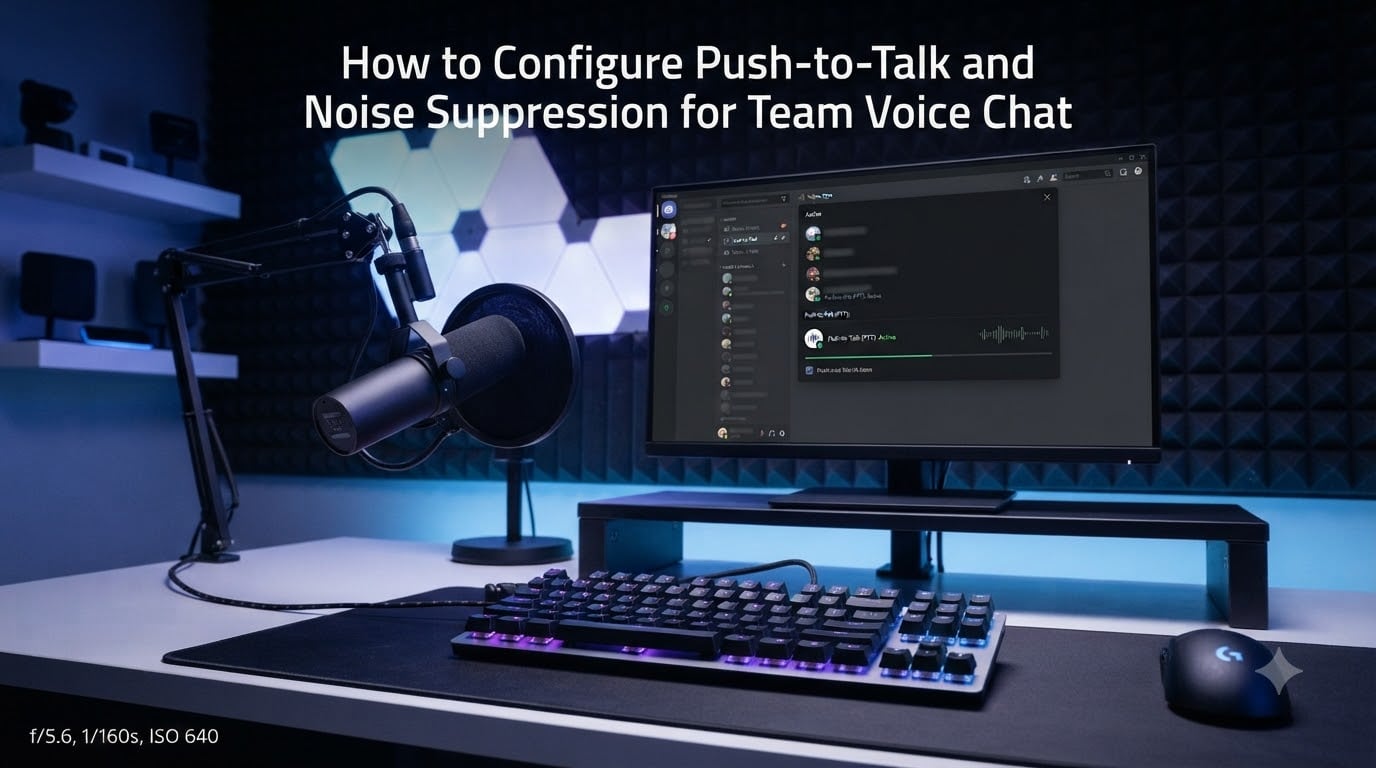
Configuring push-to-talk and noise suppression for team voice chat is one of the fastest ways to improve how your squad communicates. After testing these settings across dozens of gaming sessions and remote calls, I can confidently say that clean audio transforms chaotic comms into coordinated gameplay. In this guide, I’ll walk you through everything you need to know to set up both features on the platforms your team actually uses.
If you’ve ever dealt with barking dogs, keyboard clatter, or breathing sounds flooding your team’s audio channel, this guide will solve those problems. We’ll cover Discord, TeamSpeak, Microsoft Teams, and in-game voice chat, plus third-party tools like Krisp and NVIDIA Broadcast for users who want extra control.
Table of Contents
What Is Push-to-Talk and Why Your Team Needs It?
Push-to-talk (PTT) is a voice transmission method where your microphone only sends audio when you press and hold a designated key. The moment you release the key, your mic stops transmitting. This eliminates the constant stream of background noise that open microphones pick up during silence.
When my team switched to push-to-talk during a competitive Counter-Strike 2 season, the difference was immediate. No more breathing sounds, no keyboard clicks bleeding into the call, no awkward moments when someone forgot to mute. PTT forces intentional communication, which is exactly what tactical team games require.
Open mic, by contrast, keeps your microphone always-on and uses voice activity detection (VAD) to gate when audio transmits. VAD relies on a noise gate threshold to determine what counts as speech versus background noise. The problem is that mechanical keyboards, fans, and even breathing easily cross that threshold, especially with budget microphones.
Key Benefits of Push-to-Talk
Eliminates background noise: Your teammates only hear you when you actually want to talk.
Reduces distractions: Nobody hears your roommate, your dog, or your microwave beeping.
Saves bandwidth: Less audio data means cleaner connections on slower networks.
Improves focus: You’re not broadcasting every cough and throat-clear to the whole team.
How to Configure Push-to-Talk on Discord?
Discord is the most popular voice chat platform for gaming teams, so let’s start there. Configuring push-to-talk takes about 60 seconds once you know where to look.
Step-by-Step Discord PTT Setup
Step 1: Open Discord and click the gear icon next to your username to access User Settings.
Step 2: Navigate to “Voice & Video” in the left sidebar.
Step 3: Scroll down to the “Input Mode” section. You’ll see three options: Push to Talk, Voice Activity, and Streamer Mode. Select “Push to Talk.”
Step 4: Click “Record Keybind” and press the key you want to assign. A common choice is a side mouse button, tilde (`), or caps lock. Avoid keys you use for movement or abilities.
Step 5: Set your “Release Delay” to around 20 milliseconds. This prevents your mic from cutting off mid-word if you release the key slightly early.
Step 6: Test your keybind in a voice channel. Discord shows a small indicator when PTT is active, confirming your setup works.
Best Keybinds for Push-to-Talk
Choosing the right key matters more than people think. Side mouse buttons (Mouse 4 or Mouse 5) are popular because they don’t interfere with WASD movement. Some gamers bind PTT to caps lock since it’s easy to reach and rarely needed mid-game. Others prefer mouse scroll wheel clicks for tactical shooters where every finger position counts.
Avoid binding PTT to keys like Shift, Ctrl, or Space, because games frequently use those modifiers for other actions. I learned this the hard way when my crouch key kept triggering voice chat during an Apex Legends match.
How to Configure Push-to-Talk on TeamSpeak
TeamSpeak remains popular among competitive gaming communities, MMO guilds, and Discord-alternative seekers. The push-to-talk setup differs slightly from Discord’s interface.
TeamSpeak PTT Configuration
Step 1: Open TeamSpeak and click “Settings” in the top menu, then navigate to “Options.”
Step 2: Go to “Capture” in the left panel.
Step 3: Select “Push To Talk” from the “Capture Mode” dropdown.
Step 4: Under “Push To Talk Hotkey,” click “Set Hotkey” and press your chosen key. Many TeamSpeak users prefer Caps Lock or a mouse side button.
Step 5: Adjust the “Push To Talk Release Delay” if needed. The default works for most users, but competitive players sometimes extend it slightly.
Step 6: Click “Apply” and “OK.” Test your hotkey by joining a server and pressing the bound key.
TeamSpeak also lets you create separate capture profiles. You can have one profile for push-to-talk during gaming and another for voice activity during casual browsing. This flexibility is one reason MMO guilds and large raiding groups stick with TeamSpeak.
How to Enable and Configure Noise Suppression
Noise suppression removes unwanted background sounds from your microphone input, even when you are speaking. It works alongside voice activity detection or push-to-talk to deliver clean audio. Here’s how to enable it across the platforms your team uses.
Enabling Noise Suppression on Discord
Step 1: Open User Settings and go to “Voice & Video.”
Step 2: Scroll to the “Noise Suppression” section.
Step 3: Select “Krisp” from the dropdown (Discord’s built-in option that uses Krisp’s technology).
That’s it. Discord’s Krisp integration handles most background noise, including keyboard clicks, fans, and ambient room sounds. I tested this with a mechanical keyboard and a window AC unit running, and my teammates reported almost zero background bleed-through.
Enabling Noise Suppression on Microsoft Teams
Microsoft Teams offers three noise suppression levels: Auto, Low, and High. To configure them:
Step 1: Click the three dots menu during a meeting, or go to Settings before joining.
Step 2: Select “Devices” then “Noise suppression.”
Step 3: Choose your preferred level (more on each below).
On mobile (iOS and Android), go to Settings, then Calling, and toggle “Reduce background noise.” The mobile option uses a single on/off setting without level controls.
Third-Party Noise Suppression Software
For users who want extra control, third-party tools offer advanced noise suppression that works across all applications.
Krisp: A standalone app that removes background noise system-wide. It works with Discord, Teams, Zoom, and any VOIP application. Free tier available with 60 minutes per day.
NVIDIA Broadcast (RTX Voice): Built for NVIDIA RTX graphics cards. It uses AI to eliminate background noise and even add studio-quality effects. Requires an RTX 20-series or newer GPU.
RNNoise: An open-source neural network noise suppression library. Voicemod and some game mods integrate RNNoise for lightweight suppression without GPU overhead.
Voicemod: A voice changer with built-in noise suppression. Popular among streamers and content creators who want custom voice effects.
I tested Krisp and NVIDIA Broadcast side by side during a 30-day trial. Both eliminated my mechanical keyboard noise effectively. Krisp worked on my older laptop without a dedicated GPU, while NVIDIA Broadcast delivered slightly better voice quality on my RTX 3060 desktop.
Noise Suppression Levels Explained: Auto, Low, and High
Most platforms offer multiple noise suppression levels. Understanding the tradeoffs helps you pick the right setting for your environment.
Auto Mode
Auto mode applies noise suppression only when you are not speaking. It detects when you’re talking and temporarily disables suppression to preserve your voice quality. This is the best option for users with clean microphones who occasionally deal with background noise.
Low Suppression
Low suppression applies a gentle noise filter that removes obvious background sounds (fans, hums) without aggressive processing. Your voice sounds natural, and the filter rarely cuts out words. This works well for users with decent microphones in relatively quiet environments.
High Suppression
High suppression aggressively removes all background noise, including keyboard clicks, breathing, and ambient room sounds. The tradeoff is that it can sometimes cut off parts of your voice if you speak softly or inconsistently. Use this in loud environments like cafes, shared apartments, or during tournaments.
After testing all three levels on Microsoft Teams during a week of remote work, I settled on Auto for most calls and High only when my window AC unit was running full blast.
Push-to-Talk vs Open Mic: Which Is Better for Teams?
This debate has raged in gaming communities for years. Reddit threads on r/pcgaming show a strong preference for push-to-talk among competitive players, while casual users lean toward open mic for convenience.
When Push-to-Talk Wins
Push-to-talk is mandatory for competitive gaming, especially in tactical shooters, MOBAs, and ranked matchmaking. When you’re playing with strangers, open mic guarantees unwanted noise. One user’s barking dog or another user’s screaming sibling can ruin callouts at critical moments.
PTT also helps in large raids or organized PvP groups where dozens of people share a channel. Only intentional communication comes through, keeping the audio clean for raid leaders issuing instructions.
When Open Mic Works
Open mic shines in small groups of friends who trust each other to mute when needed. It’s also convenient for casual games, social hangouts, and Discord sessions where you’re chatting while doing other activities. The flow of conversation feels more natural when you don’t have to hold a key.
If your group has good microphones and a quiet environment, open mic with strong noise suppression can match push-to-talk quality without the friction.
Our Recommendation
Use push-to-talk for competitive play, tournaments, and large groups. Use open mic with high noise suppression for small friend groups in quiet settings. The best approach is to match your setup to your context.
Platform-Specific Settings: Windows, Mac, and Mobile
Beyond app-level settings, your operating system affects how voice chat behaves. Here’s what to check on each platform.
Windows Audio Settings
Windows 10 and 11 include system-level noise suppression that some apps inherit. To verify it’s enabled, right-click the speaker icon in your taskbar, select “Sound settings,” then go to “Input” and choose your microphone. Look for “Enhance audio” or “Noise suppression” toggles.
Windows also lets you set the default communication activity. Go to Control Panel > Sound > Communications tab and choose “Do nothing” to prevent Windows from auto-adjusting your mic volume during calls.
macOS Audio Settings
On macOS, open System Settings, go to “Sound,” then the “Input” tab. Select your microphone and adjust the input volume. macOS includes built-in noise reduction that some VOIP apps use automatically.
For more granular control, apps like Boom 3D or EQ Mac Audio offer per-app audio processing that can enhance mic clarity and reduce noise before it reaches Discord or Teams.
Mobile Settings (iOS and Android)
Mobile devices have aggressive built-in noise cancellation for phone calls, but voice chat apps don’t always inherit this. On iOS, check Settings > Discord/Teams > Microphone permissions. On Android, grant microphone access via Settings > Apps > [App name] > Permissions.
Some mobile apps like Discord include “Noise Suppression” toggles in their settings menus. Microsoft Teams on mobile offers a simplified “Reduce background noise” on/off toggle without level controls.
Troubleshooting Common Push-to-Talk and Noise Suppression Issues
Even with perfect configuration, things go wrong. Here are the most common problems and how to fix them.
Push-to-Talk Key Not Working
If your PTT key stops working, the culprit is usually a keybind conflict. Open your game’s keybind settings and make sure no action is mapped to the same key. Some games capture global inputs, so you may need to disable “Raw Input” or “Exclusive Mode” in the game’s audio settings.
Another common fix is restarting the voice chat application. Discord and TeamSpeak occasionally lose focus on the keybind, especially after Windows updates or driver changes.
Noise Suppression Cutting Out Your Voice
High noise suppression sometimes mistakes your voice for background noise, especially if you speak quietly or have a low-quality microphone. The fix is to lower the suppression level or increase your microphone boost in your operating system’s audio settings.
Position your microphone closer to your mouth (about 2-4 inches away) so your voice registers at a higher volume. This makes it easier for suppression algorithms to distinguish speech from background noise.
Mechanical Keyboard Noise Bleeding Through
Mechanical keyboards are the most common open mic complaint in gaming communities. Even with noise suppression enabled, loud switches like Cherry MX Blues can leak through.
Solutions include switching to quieter switches (Cherry MX Browns, silent linear switches), adding foam dampeners under your keycaps, or enabling high noise suppression with a push-to-talk setup. Software solutions like Krisp and NVIDIA Broadcast handle keyboard noise better than native app settings.
Push-to-Talk Key Stuck or Repeating
If your mic stays on after releasing the PTT key, your release delay might be set too high, or the key is physically sticking. Check your release delay setting (20ms is usually fine) and test your keyboard for stuck keys.
Best Practices for Team Voice Chat Communication
Configuring your software is only half the battle. Good voice chat habits make the difference between a smooth team experience and constant frustration.
Microphone Positioning and Gain Settings
Position your microphone 2-4 inches from your mouth, slightly off-center to reduce plosives (harsh “p” and “b” sounds). Adjust your gain so your voice peaks at around -12dB to -6dB in apps like Discord’s noise test.
A pop filter or foam windscreen helps reduce plosives and breath sounds. Combined with push-to-talk and noise suppression, good mic positioning eliminates most audio issues without any software tweaking.
Voice Chat Etiquette for Teams
Keep callouts short and clear. Avoid talking over teammates during critical moments. If you’re not actively contributing to a discussion, use push-to-talk discipline and stay quiet. Mute yourself when stepping away, even briefly, especially during ranked matches.
Respect your team’s communication norms. Some groups prefer minimal chatter during gameplay; others enjoy constant banter. Match the group’s energy to keep everyone comfortable.
Quick Hardware Tips
If you’re using a headset microphone, make sure it’s positioned correctly and not rubbing against your clothing or face. Clip-on lapel mics work better for users who move around a lot. Dedicated USB microphones like the Blue Yeti or Elgato Wave:1 offer better clarity than headset mics but cost more.
For competitive gaming, a headset with a boom mic (like HyperX Cloud or SteelSeries Arctis) balances convenience and quality. For streaming or content creation, a standalone USB microphone delivers superior audio.
Now that you know how to configure push-to-talk and noise suppression for team voice chat, your next step is simple. Open Discord or TeamSpeak, enable push-to-talk with a comfortable keybind, and turn on noise suppression. Spend 15 minutes testing different suppression levels in your typical environment, then settle on the configuration that delivers the cleanest audio for your setup.
Your teammates will notice the difference immediately, and you’ll never go back to the chaos of open mic keyboard noise again.
FAQs
What is push-to-talk in voice chat?
Push-to-talk (PTT) is a voice transmission method where your microphone only sends audio when you press and hold a designated key or button. When you release the key, your mic stops transmitting, which prevents background noise like keyboard clicks, breathing, and ambient sounds from reaching your teammates. This is the standard for competitive gaming and large group voice channels.
How do I set up push-to-talk on Discord?
Open Discord User Settings, go to Voice u0026amp; Video, find Input Mode, and select Push to Talk. Click Record Keybind, press your chosen key, then set a release delay around 20 milliseconds. Test the setup in a voice channel to confirm the indicator appears when you press the key.
What button should I use for push-to-talk?
The best push-to-talk buttons are side mouse buttons (Mouse 4 or Mouse 5), Caps Lock, or a mouse scroll wheel click. Avoid movement keys (WASD), modifiers (Shift, Ctrl), or keys frequently used for in-game abilities. Side mouse buttons keep your fingers on movement keys while staying easy to reach.
How do I enable noise suppression on my mic?
On Discord, go to User Settings u0026gt; Voice u0026amp; Video and select Krisp under Noise Suppression. On Microsoft Teams, click the three dots menu during a meeting, select Devices, then choose your preferred suppression level (Auto, Low, or High). Third-party tools like Krisp or NVIDIA Broadcast add system-wide noise suppression that works across all applications.
Why is my noise suppression not working?
Common causes include the suppression level being set too low, microphone permissions being blocked, or the app not having microphone access. Check that the suppression toggle is enabled in your app settings, verify your OS microphone permissions are granted, and confirm you’re using the correct input device. If problems persist, update your audio drivers or try a third-party tool like Krisp.
Push-to-talk vs open mic – which is better for teams?
Push-to-talk is better for competitive gaming, large groups, and noisy environments because it eliminates background noise and ensures intentional communication. Open mic is more convenient for small friend groups in quiet settings. For most team gaming scenarios, push-to-talk combined with noise suppression delivers the cleanest audio and the best teamwork experience.