
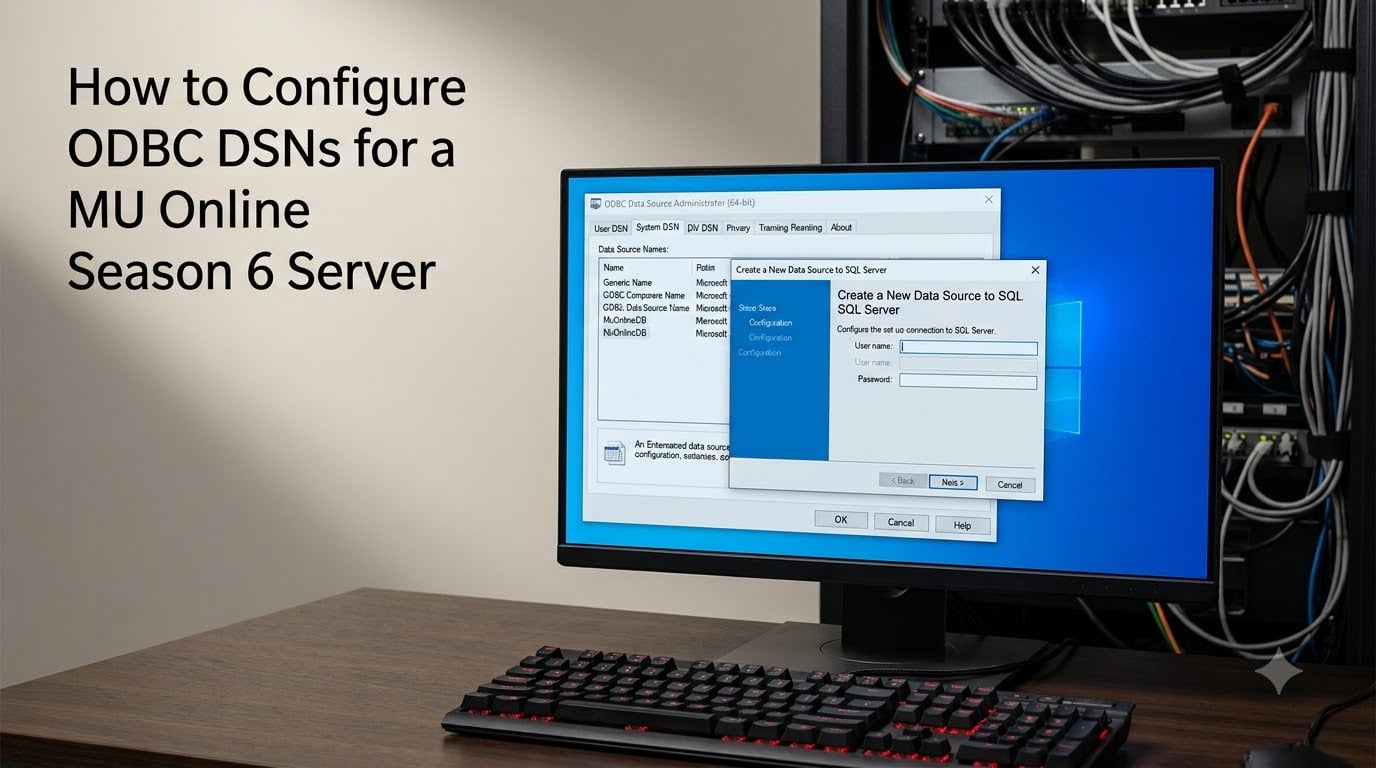
If you are setting up a MU Online Season 6 private server, configuring ODBC DSNs is one of the most critical steps in the entire process. Without proper DSN entries, your server files cannot communicate with the SQL Server database. Every server component, from JoinServer to GameServer, depends on these connections to read and write player data, events, rankings, and logs.
The biggest stumbling block for most server administrators is using the wrong ODBC administrator path on 64-bit Windows. I have seen this single mistake cause hours of frustration, with error messages like “Data source name not found” and “GSDBSET ODBC CONNECT FAIL” that give no obvious clue about the real problem.
In this guide, I will walk you through exactly how to configure ODBC DSNs for a MU Online Season 6 Server from start to finish. You will learn the correct executable path, the field-by-field wizard process for all four required DSN entries, how to test each connection, and how to fix the most common errors that trip up server admins.
Whether you are running a local test environment or building a production server for a community, this walkthrough covers everything you need. Let me break it down step by step so you can get your Season 6 server online without the typical headaches.
Table of Contents
What Are ODBC DSNs and Why Your MU Online Server Needs Them
ODBC stands for Open Database Connectivity. A DSN (Data Source Name) is a connection alias that tells applications how to find and authenticate with a specific database. Think of it as a saved shortcut containing the server address, database name, credentials, and driver information all in one named entry.
Your MU Online Season 6 server files are built to connect to SQL Server databases through these DSN entries. The server executables do not read raw connection strings. Instead, they reference DSN names that Windows manages through the ODBC Driver Manager. When GameServer starts, it looks up a DSN called “MuOnline” and uses whatever connection details are stored there.
Season 6 specifically requires four separate DSN entries. Each one points to a different database that handles a distinct part of the server operation:
MuOnline – The main database containing characters, inventory, accounts, and game-world data. This is the primary DSN that every server component references.
Event – Stores event-related data including Blood Castle, Devil Square, Chaos Castle, and other Season 6 event systems that track participation and rewards.
Ranking – Handles player ranking data, guild rankings, and competitive ladder information displayed in-game.
Log – Captures server logs, transaction records, and diagnostic data that help you monitor server health and investigate issues.
Missing any one of these four DSNs will cause the corresponding server component to fail on startup. This is why a complete ODBC configuration is non-negotiable for a working Season 6 server.
Prerequisites Before You Configure ODBC DSNs
Before you touch the ODBC administrator, make sure your environment is fully prepared. I cannot count how many times I have seen admins skip these steps and then chase ODBC errors that were actually SQL Server configuration problems.
Install SQL Server
You need SQL Server installed and running on your machine. The most commonly used versions for MU Online Season 6 servers are SQL Server 2008 R2, SQL Server 2012, and SQL Server 2014 Express. SQL Server 2019 also works if you apply the correct compatibility settings.
During installation, make sure you select Mixed Mode authentication. This enables both Windows Authentication and SQL Server Authentication. Your MU Online server files use the “sa” (system administrator) account with a password, which requires SQL Server Authentication to be enabled.
If you installed SQL Server with Windows Authentication only, you will need to change the authentication mode afterward. Open SQL Server Management Studio, right-click your server instance, select Properties, go to Security, and switch to “SQL Server and Windows Authentication mode.” Then restart the SQL Server service.
Restore Your Databases
Your Season 6 server package should include four database backup files (.bak) for MuOnline, Event, Ranking, and Log. Restore all four databases in SQL Server Management Studio before creating any DSN entries. If the databases do not exist yet, the ODBC wizard will fail the connection test.
Enable TCP/IP Protocol
Open SQL Server Configuration Manager and make sure the TCP/IP protocol is enabled for your SQL Server instance. This is disabled by default on some installations, and without it, your ODBC connections will fail even when everything else is configured correctly.
After enabling TCP/IP, verify that it is listening on port 1433 (the default). Right-click TCP/IP in Properties, go to the IP Addresses tab, and confirm that IPAll TCP Port is set to 1433. Restart the SQL Server service for changes to take effect.
Check Your Windows Architecture
Determine whether you are running 32-bit or 64-bit Windows. On 64-bit Windows, the default ODBC administrator accessible through Control Panel opens the 64-bit version. Your MU Online Season 6 server files are 32-bit applications, so they require 32-bit ODBC drivers. This distinction is the single most common source of ODBC configuration failures, and I will cover the fix in detail in the next section.
Press Win+Pause to check your system type. If it says “64-bit Operating System,” you must use the SysWOW64 path I describe below. If it says “32-bit Operating System,” you can use the standard Control Panel ODBC administrator.
How to Configure ODBC DSNs for a MU Online Season 6 Server
This is the core procedure. Follow each step exactly, and do not skip ahead. I am going to walk you through finding the correct ODBC administrator, then creating all four required DSN entries one by one.
Step 1: Open the Correct ODBC Administrator
This step determines everything that follows. On 64-bit Windows, do NOT use the ODBC Data Source Administrator from Control Panel. That opens the 64-bit version, and your 32-bit MU Online server files will not see any DSNs you create there.
Instead, open the Run dialog by pressing Win+R and enter this exact path:
C:WindowsSysWOW64odbcad32.exe
Press Enter. The 32-bit ODBC Data Source Administrator window opens. You can verify you have the right one by checking the title bar. It should say “ODBC Data Source Administrator (32-bit)” or simply look identical to the standard window but launched from the SysWOW64 directory.
On 32-bit Windows, you can use either method. Press Win+R, type odbcad32.exe, and press Enter. Alternatively, go to Control Panel > Administrative Tools > Data Sources (ODBC).
Step 2: Go to the System DSN Tab
When the ODBC Data Source Administrator opens, you will see several tabs: User DSN, System DSN, File DSN, Drivers, Tracing, and About. Click the System DSN tab.
You must use System DSN, not User DSN. System DSN entries are available to all Windows users and all system services. Since your MU Online server components often run as services or under different user contexts, only System DSN entries will work reliably.
If you already have existing DSN entries from previous attempts, I recommend removing them before starting fresh. Select each one and click Remove to avoid conflicts.
Step 3: Add a New System DSN for MuOnline
Click the Add button on the System DSN tab. A “Create New Data Source” wizard appears showing a list of installed drivers. Scroll down and select SQL Server from the list. Click Finish.
If you do not see SQL Server in the driver list, you need to install the SQL Server Native Client or SQL Server ODBC Driver. It typically installs alongside SQL Server, but if you are using a standalone driver package, download and install the 32-bit version of “Microsoft ODBC Driver for SQL Server.”
Step 4: Name and Configure the MuOnline DSN
The wizard now presents three fields. Fill them in as follows:
Name: MuOnline
Description: MU Online Season 6 Main Database (optional field)
Server: (local) or localhost or your server IP address
Use (local) if SQL Server is running on the same machine as the MU Online server. If your SQL Server uses a named instance like SQLEXPRESS, enter (local)SQLEXPRESS or localhostSQLEXPRESS.
Click Next.
Step 5: Set Authentication
The next wizard page asks how to verify the authenticity of the connection ID. Choose “With SQL Server authentication using a login ID and password entered by the user.”
Enter your SQL Server credentials:
Login ID: sa
Password: (the password you set during SQL Server installation)
Check the box that says “Connect to SQL Server to obtain default settings for the additional configuration options.” Click Next.
If you get an error at this point saying the connection failed, see the Troubleshooting section below. The most common causes are TCP/IP not enabled, wrong server name, or SQL Server service not running.
Step 6: Select the Default Database
The next page lets you change the default database. Check the box that says “Change the default database to:” and select MuOnline from the dropdown. Leave “Use ANSI quoted identifiers” and “Use ANSI nulls, paddings and warnings” checked. Click Next.
Step 7: Final Settings and Test
The final wizard page has language and regional settings. Leave everything at default. Click Finish.
A summary window appears showing all your configuration details. Click Test Data Source. If everything is correct, you will see “TESTS COMPLETED SUCCESSFULLY!” with a green indicator. Click OK to close the summary, then OK again to save the DSN.
You should now see “MuOnline” listed in your System DSN entries.
Step 8: Repeat for the Remaining Three DSNs
Now create the other three DSN entries using the exact same process. The only difference for each one is the DSN Name and the default database you select:
DSN Name: Event – Change default database to “Event”
DSN Name: Ranking – Change default database to “Ranking”
DSN Name: Log – Change default database to “Log”
For all three, use the same SQL Server instance, the same “sa” login credentials, and the same authentication method. The server name, login, and password are identical across all four DSNs. Only the name and default database change.
Step 9: Verify All Four Entries
After completing all four DSNs, your System DSN tab should show four entries: MuOnline, Event, Ranking, and Log. All should be using the SQL Server driver. If any are missing or misnamed, the corresponding server component will fail to connect.
Take a moment to test each one. Select each DSN, click Configure, click Test Data Source at the summary screen, and confirm the connection succeeds. This takes two minutes and saves you from debugging startup errors later.
System DSN vs User DSN: Which One to Use
Always use System DSN for MU Online servers. The difference is simple but important. User DSN entries are stored per Windows user account and are only visible when that specific user is logged in. System DSN entries are stored at the system level and are available to all users and all services regardless of who is logged in.
Your MU Online server components frequently run under different contexts. JoinServer might run as a service, GameServer might run from a different user session, and automated restart scripts might run under yet another account. If you create User DSN entries, any component running under a different user will fail to find the connection.
I have seen servers work perfectly during testing, then fail on a restart because the wrong user was logged in. System DSN eliminates this problem entirely. Always click the System DSN tab and never the User DSN tab when creating entries for your MU Online server.
How to Test Your ODBC DSN Connection
After creating all four DSN entries, testing them is essential before starting your server. The built-in ODBC test gives you immediate feedback on whether each connection works.
Here is the testing procedure I use for every MU Online server I configure:
Open the 32-bit ODBC Administrator using
C:WindowsSysWOW64odbcad32.exeon 64-bit Windows.Select the System DSN tab.
Select the MuOnline DSN and click Configure.
Click Test Data Source at the bottom of the summary window.
Check the result. A successful test shows “TESTS COMPLETED SUCCESSFULLY!”
Repeat for Event, Ranking, and Log. Test each one individually.
If any test fails, the error message will tell you exactly what went wrong. Common failure messages include “Specified SQL server not found” (wrong server name or TCP/IP not enabled), “Login failed for user ‘sa'” (wrong password or Windows-only auth), and “Cannot open database requested by login” (database not restored or misspelled).
Beyond the ODBC test, I also recommend doing a real-world test by starting JoinServer first. If it connects and runs without errors, your MuOnline DSN is working. Then start GameServer. If both start cleanly, your ODBC configuration is solid.
Do not skip this step. Five minutes of testing prevents hours of debugging later when your server crashes mid-operation due to a silent connection failure.
Troubleshooting Common ODBC Errors for MU Online Season 6
Even with careful setup, ODBC errors happen. Here are the most common problems I encounter and their solutions, based on years of forum discussions and real server configurations.
Error: “Data Source Name Not Found and No Default Driver Specified”
This is the number one error MU Online server admins face. It means the application cannot find the DSN it is looking for. Nine times out of ten, the cause is using the 64-bit ODBC administrator instead of the 32-bit one on a 64-bit Windows system.
The fix: close any ODBC administrator you have open. Open Run (Win+R), type C:WindowsSysWOW64odbcad32.exe, and press Enter. Check the System DSN tab. If your DSN entries are not there, recreate them using this 32-bit administrator. Your server files are 32-bit applications and can only see DSNs created through the 32-bit ODBC manager.
Another possible cause is a typo in the DSN name. The server files expect exact names: MuOnline, Event, Ranking, and Log. Check your server configuration files (commonly in files like commonserver.cfg or server files INI configurations) to confirm the expected DSN names match what you created.
Error: “GSDBSET ODBC CONNECT FAIL”
This error appears when GameServer tries to connect to the database and fails. The most common causes are an incorrect password for the “sa” account, the MuOnline database not being restored, or TCP/IP not being enabled in SQL Server.
Fix it step by step. First, verify the “sa” password by logging into SQL Server Management Studio with that account. If it fails there, reset the password. Second, confirm the MuOnline database exists and is accessible. Third, open SQL Server Configuration Manager and make sure TCP/IP is enabled under SQL Server Network Configuration > Protocols.
Error: JoinServer Crashes Immediately After Starting
If JoinServer crashes right after launch, it is almost always an ODBC issue. The JoinServer component connects to the MuOnline database on startup. If that DSN is missing, misconfigured, or created in the wrong (64-bit) ODBC administrator, JoinServer will crash.
Recreate the MuOnline System DSN using the 32-bit ODBC administrator. Test the connection. Verify the database name matches exactly. Then restart JoinServer.
Error: “.reg File Did Not Work on My 64-bit System”
Many MU Online server distributions include a .reg file that is supposed to create ODBC entries automatically. On 64-bit Windows, these files often write to the wrong registry location. They create entries under the 64-bit ODBC registry path instead of the 32-bit one.
The 32-bit ODBC entries live under HKEY_LOCAL_MACHINESOFTWAREWow6432NodeODBCODBC.INI. The 64-bit entries live under HKEY_LOCAL_MACHINESOFTWAREODBCODBC.INI. If your .reg file wrote to the standard path, your 32-bit server files cannot see the entries.
The cleanest fix: ignore the .reg file entirely and create all four DSNs manually using C:WindowsSysWOW64odbcad32.exe. Manual creation is more reliable and gives you full control over every setting.
Error: “SQL Server Does Not Exist or Access Denied”
This error means the ODBC driver cannot reach the SQL Server instance at all. Check three things. First, confirm the SQL Server service is running (check Services or use sqlservr.exe in Task Manager). Second, verify the server name in your DSN matches your actual instance name. Third, check that port 1433 is open in Windows Firewall.
If you are using a named instance like SQLEXPRESS, make sure the SQL Server Browser service is also running. The Browser service resolves named instances to their dynamic ports.
Error: ODBC SQL Server Wire Protocol Driver SSL Is Required
This error occurs when the driver enforces SSL encryption but the server is not configured for it, or when a newer driver version has stricter defaults. To fix it, either install a matching driver version (SQL Server Native Client 10 or 11), or adjust the DSN to encrypt optional by checking “Encrypt” off in the advanced DSN settings.
FAQs
How many DSN entries do I need for MU Online Season 6?
You need exactly four System DSN entries: MuOnline, Event, Ranking, and Log. Each connects to its corresponding SQL Server database. Missing any one of these will cause the related server component to fail on startup.
Why do I get ‘Data source name not found’ error on my MU Online server?
The most common cause is using the 64-bit ODBC administrator instead of the 32-bit one on 64-bit Windows. Run C:u005cWindowsu005cSysWOW64u005codbcad32.exe to open the correct 32-bit ODBC administrator, then create your System DSN entries there. Your 32-bit server files can only see DSNs created through the 32-bit manager.
Can I configure ODBC DSNs on 64-bit Windows for MU Online?
Yes, MU Online Season 6 servers run perfectly on 64-bit Windows. The key is to always use the 32-bit ODBC administrator located at C:u005cWindowsu005cSysWOW64u005codbcad32.exe. Do not use the ODBC administrator from Control Panel, which opens the 64-bit version.
What SQL Server driver should I use for MU Online ODBC?
Use the standard SQL Server ODBC driver or SQL Server Native Client. The most reliable versions for MU Online Season 6 are SQL Server Native Client 10.0 and 11.0. Select SQL Server from the driver list when creating each DSN entry.
Should I use a .reg file or manually create ODBC DSNs?
Manual creation is strongly recommended, especially on 64-bit Windows. Many .reg files write to the wrong registry path on 64-bit systems, causing entries to be invisible to your 32-bit server files. Manually creating the four DSNs through C:u005cWindowsu005cSysWOW64u005codbcad32.exe takes about 10 minutes and eliminates this entire class of errors.
Conclusion
Configuring ODBC DSNs for a MU Online Season 6 server comes down to four things: using the correct 32-bit ODBC administrator path, creating four System DSN entries (MuOnline, Event, Ranking, and Log), setting proper SQL Server authentication, and testing each connection before launching your server.
The single most important takeaway from this guide is the executable path. On 64-bit Windows, always run C:WindowsSysWOW64odbcad32.exe to open the 32-bit ODBC administrator. This one detail prevents the vast majority of connection errors that plague server administrators.
Once all four DSNs test successfully, your database connectivity layer is complete. The next steps are configuring your server files, setting up the ConnectServer and GameServer, and running your first local test. With the ODBC layer properly configured, those steps become significantly smoother.