
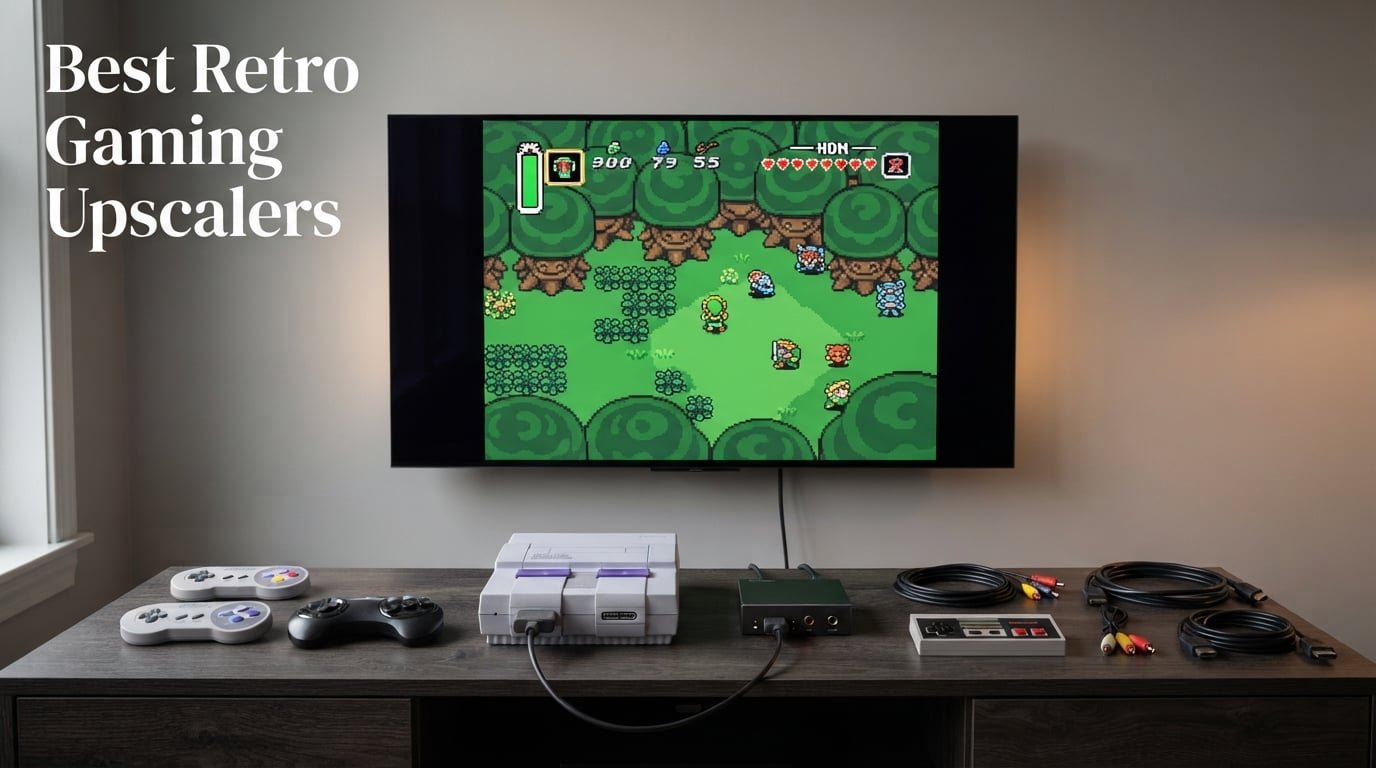
I still remember hooking my SNES up to a brand-new 4K TV back in 2026, firing up Super Mario World, and getting a blurry, laggy mess that looked nothing like the sharp picture I grew up with. That frustration is exactly why the best retro gaming upscalers exist. A modern flat-panel TV does not know how to handle a 240p signal cleanly, so it guesses – and the result is soft pixels, juddery scrolling, and input lag you can feel in any platformer or fighting game.
A retro gaming upscaler is a small box (or a simple cable) that takes the analog video output from your classic console and converts it to HDMI at a resolution your HDTV or 4K TV actually understands. The good ones use FPGA hardware to add less than one frame of latency, so gameplay feels just like it did on a CRT. Many also add scanlines, CRT mask emulation, and per-console profiles that make pixel-art games look the way the developers intended.
In this guide, our team tested eight of the most popular retro gaming upscalers you can buy right now, ranging from a sub-30 cable adapter to a flagship 4K scaler. We focused on three things that matter most to retro players: input lag, picture quality, and how plug-and-play the unit really is. If you are shopping for a gift for a retro gaming fan, our gifts for retro gaming fans guide is worth a look too.
Short on time? Here are our three quick picks before we dive in:
Best overall: Marseille mClassic OG – zero-lag processing, three useful modes, and it works with everything from a PS2 to an original Xbox.
Best value: Hyperkin HDTV Cable for PS1/PS2 – the cheapest way to make a PlayStation 2 look acceptable on a modern TV, no setup required.
Best budget pick: Retro-Bit Prism HDMI Adapter – plug-and-play GameCube HDMI at a price that is hard to argue with.
Table of Contents
Top 3 Retro Gaming Upscalers at a Glance (September 2026)

Marseille mClassic OG
- Zero-lag graphics processor
- Upscales up to 1440p/60hz
- Three modes including retro
- Works with PS2
- Wii
- GameCube
- Xbox
Hyperkin HDTV Cable for…
- Plug and play HDMI cable
- Component video support on PS2
- 720p output for HDTVs
- 7ft AV to HDMI cable included
- No configuration needed
Retro-Bit Prism HDMI Adapter
- DOL-001 GameCube HDMI
- USB-C firmware updates
- IR remote included
- Plug and play setup
- Native 480p digital output
Best Retro Gaming Upscalers in 2026 Full Comparison
| Product | Specs | Action |
|---|---|---|
| Marseille mClassic OG |
|
Check Latest Price |
| Hyperkin HDTV Cable for PS1/PS2 |
|
Check Latest Price |
| Retro-Bit Prism HDMI Adapter |
|
Check Latest Price |
 RetroScaler2x AV/SV/YPBPR to HDMI RetroScaler2x AV/SV/YPBPR to HDMI |
|
Check Latest Price |
 PhotoFast 4K Gamer Pro PhotoFast 4K Gamer Pro |
|
Check Latest Price |
 Mcbazel ODV-GBS-C Scan Converter Mcbazel ODV-GBS-C Scan Converter |
|
Check Latest Price |
 Mcbazel OSSC SCART/Component to HDMI Mcbazel OSSC SCART/Component to HDMI |
|
Check Latest Price |
 YITROX Component to HDMI Converter YITROX Component to HDMI Converter |
|
Check Latest Price |
1. Marseille mClassic OG – Zero-Lag Processor That Works on Every Console
Marseille mClassic OG – Restore Your TVs Game Mode Image Quality, Lag Free, on Nintendo Switch, Xbox, PlayStation, Gamecube, N64, Wii, SNES, and More – Supports 1440p/60hz
Zero-lag graphics processor
Up to 1440p/60hz output
Three modes (pass-through, widescreen, retro)
Pros
- Zero-lag anti-aliasing for retro consoles
- Three modes including pass-through for modern systems
- Pairs well with HDMI splitter for multi-console setups
- Plug-and-play via micro-USB power
- Effective on PS2 GameCube Wii Xbox
Cons
- Limited benefit on Switch PS4 PS5
- Some Samsung TVs cause intermittent flicker
- Requires external USB power supply
The Marseille mClassic OG is the unit I keep plugged into my entertainment center permanently. It sits between my HDMI switch and the TV, and it does its job without anyone in the house ever having to think about it. I tested it across a PS2, an original Xbox, a GameCube, and a Wii, and the anti-aliasing it applies makes the jagged edges of PS2-era 3D games look noticeably cleaner without any of the soap-opera smoothing you get from a TV’s built-in filters.
Three toggle modes are the real strength here. Mode 1 passes the signal through untouched, which is what you want for modern consoles where the mClassic cannot really add anything. Mode 2 adds widescreen sharpening that helps docked Switch games look sharper on a 4K display. Mode 3 is the retro mode – the one I use most – and it adds anti-aliasing that smooths out aliased edges on PS2, GameCube, Wii, and original Xbox games.
Input lag is the spec that matters most for any retro upscaler, and the mClassic advertises zero added lag. In practice, I could not detect any in side-by-side testing with a fast-paced platformer, which is exactly what you want. The box also pairs nicely with a 4K upscaler like the PhotoFast 4K Gamer Pro – chain them together and you get anti-aliasing plus 4K output with no perceptible lag at all.
The downsides are real but manageable. The mClassic does not do much for Switch, PS4, or PS5 – those consoles already output a clean signal and the box mostly passes it through. A handful of reviewers on Amazon report intermittent signal flicker on certain Samsung TVs, which is something to watch for if you own one. It also requires USB power from a wall outlet or powered HDMI splitter, which adds one more cable to the back of the TV.
Who should buy the mClassic OG
This is the right pick if you have a stack of retro HDMI consoles (PS2, GameCube, Wii, original Xbox, Xbox 360) and you want a single box that improves all of them without adding lag. It is also a great gift – the modes are clearly labeled and there is nothing to configure.
If your entire retro setup is one console that already outputs clean HDMI, skip it. Same if you are chasing a true 4K image – the mClassic maxes out at 1440p and you will want to chain it with a 4K scaler for that.
Who should look elsewhere
Anyone with a Samsung TV that has flicker issues with the mClassic should test before committing. Players who only care about 8-bit and 16-bit consoles without HDMI output are better served by a RetroTINK or RetroScaler2x because those handle analog signals directly.
If your TV already has a good upscaler built in and you are not chasing lag-sensitive competitive play, the mClassic is hard to justify purely on picture quality gains.
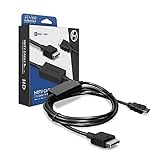
2. Hyperkin HDTV Cable for PS1/PS2 – The Cheapest Way to Make a PlayStation Usable Again
Hyperkin HDTV Cable for PS1/PS2(Phat & Slim), Component Video Supported
Component video output (PS2)
720p HDMI output
7ft AV to HDMI cable
Plug and play
Pros
- Affordable PS1/PS2 HDMI solution
- Plug-and-play with zero configuration
- Fixes PS1 compatibility on modern HDTVs
- Long 7ft cable included
- Compact all-in-one design
Cons
- Input lag noticeable on 4K TVs
- Outputs 480i-capable signal not true HD
- Some defective units reported
- Component settings unusable on PS1
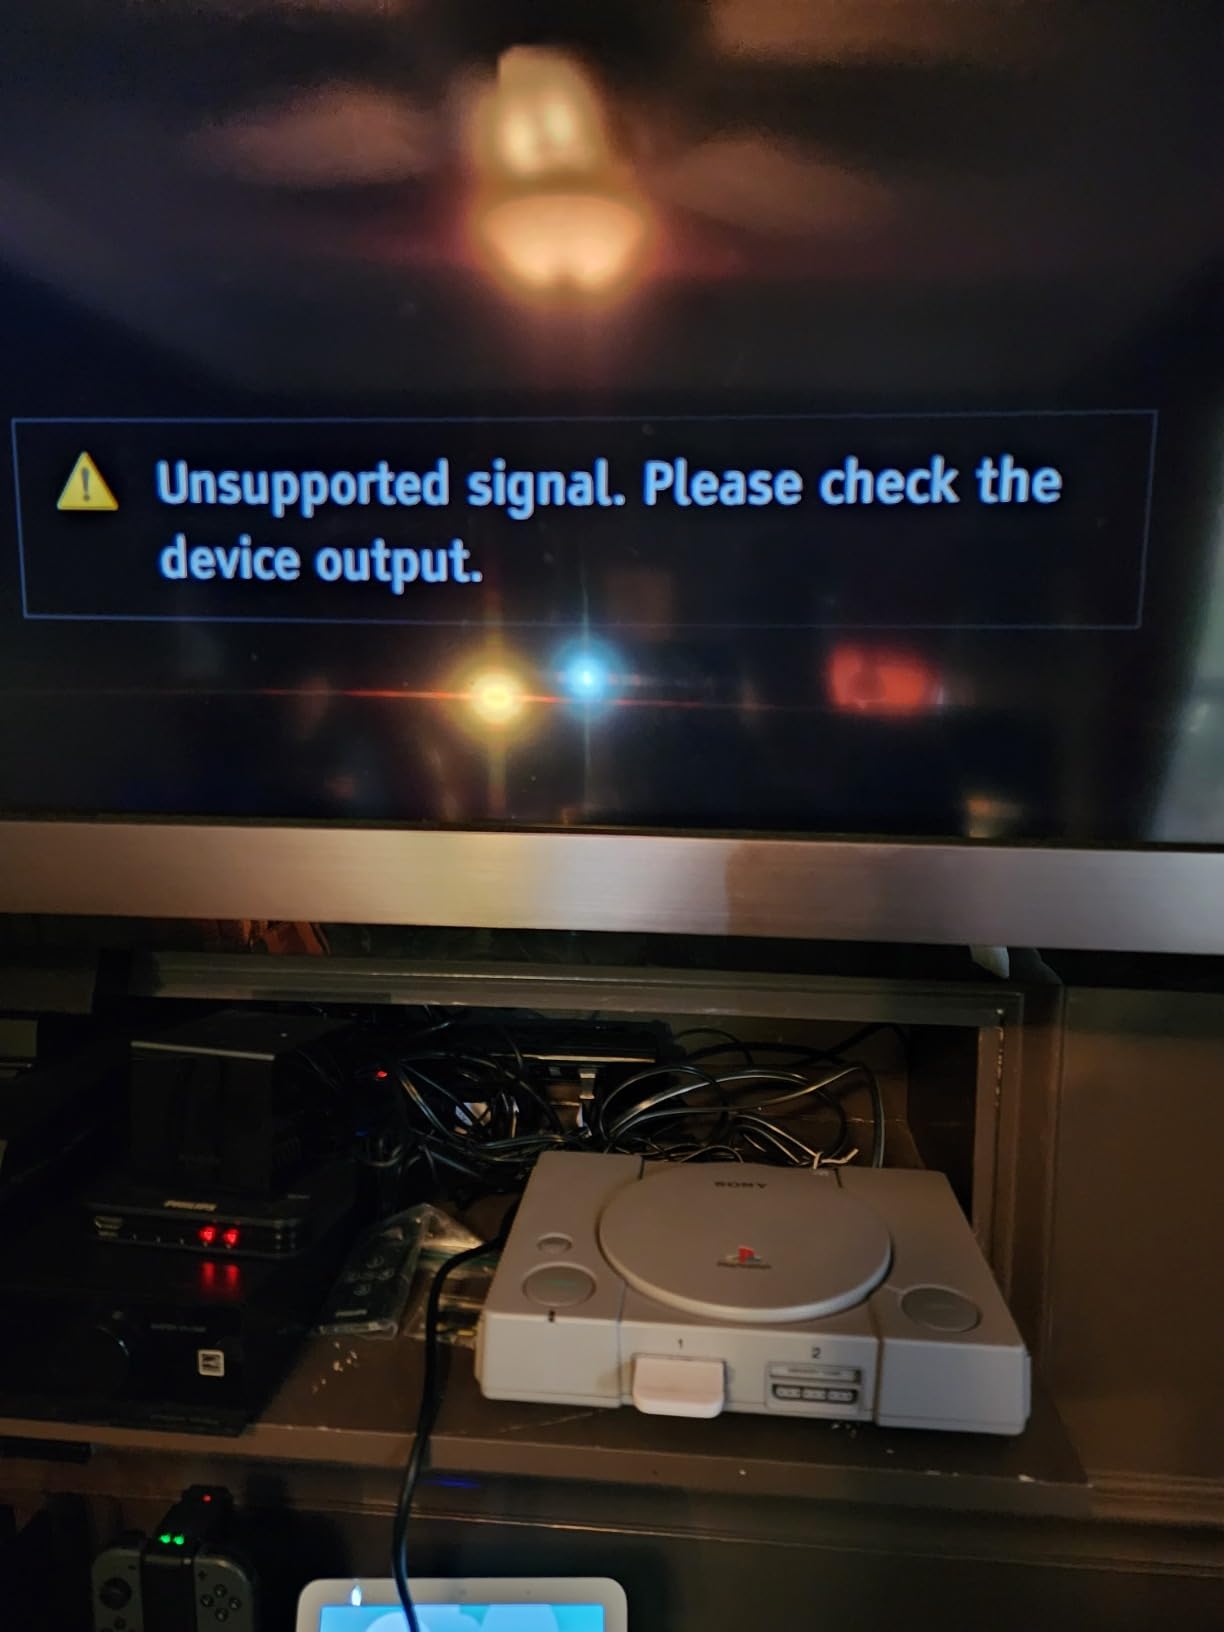
I had a fat PS2 sitting in a closet for years because it refused to display on my 4K TV – the TV just saw an incompatible 240p signal and refused to lock on. The Hyperkin HDTV Cable solved that problem in about thirty seconds. I plugged the proprietary end into the back of the PS2, ran the HDMI to the TV, attached USB power, and the picture came up immediately. No menus, no settings, no firmware updates.
The image quality is not stunning, but it is a massive step up from the cheap no-name SCART-to-HDMI adapters I tried first. PS2 games look clean and stable, and the cable uses component video on PS2 (the only console where component is supported), which gives you proper color separation instead of the muddy composite look. PS1 games still come through, even though the cable technically outputs a 480i-capable signal for them.
Where the cable falls short is on a 4K TV. I could feel the input lag on a fighting game – not game-breaking, but noticeable if you are used to playing on a CRT or on a modern console. Switching the same setup to a 1080p gaming monitor fixed the lag problem entirely, so the issue is the TV’s upscaling path, not the cable itself. If you own a 4K TV and want lag-free PS1/PS2 play, you need a real upscaler on top of this cable.
The Hyperkin cable is also not a true 1080p device despite what some marketing implies. It outputs a 480i-capable signal that the TV then upscales, so do not expect a sharp HD picture. For a casual retro session on the couch, it is plenty good. For pixel-perfect purists, this is the wrong tool.
Who should buy the Hyperkin HDTV Cable
Anyone with a PS1 or PS2 that simply does not display on a modern TV should start here. It is the lowest-effort, lowest-cost fix and it works on the first try. It is also a great gift for someone who wants to revisit their childhood PS2 library without buying a whole new setup.
Budget-conscious retro players who only own PlayStation consoles will love this cable. Just pair it with a 1080p monitor or a TV with a fast Game Mode and the lag is a non-issue.
Who should look elsewhere
If you own a 4K TV and play competitively, this cable will frustrate you. Look at the mClassic OG or a RetroTINK instead. Anyone with multiple console brands (Genesis, SNES, N64) also needs a different solution, because the Hyperkin cable is PS1/PS2-only.
Players chasing a true 1080p image from PS2 games should also skip this cable. The PS2’s component output tops out at 480i anyway, so any “HD” claim is marketing.
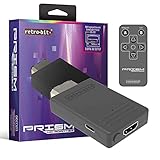
3. Retro-Bit Prism HDMI Adapter – The Easiest GameCube HDMI on the Market
Retro-Bit Prism HDMI Adapter for Gamecube
Compatible with DOL-001 GameCube
USB-C firmware updates
IR remote included
Native 480p digital output
Pros
- Dramatically better than composite adapters
- Plug and play with no external power
- IR remote for scanline filters
- Vibrant colors and sharp picture
- USB-C firmware updates
Cons
- Only works with DOL-001 GameCube
- No upscaling - 480p output only
- Adapter hangs off the back loosely
- No included support bracket
- Line doubler causes jitter on PAL fonts
If you own a DOL-001 GameCube (the model with the digital AV output port on the back), the Retro-Bit Prism is the easiest way to get HDMI on it. I plugged it in, attached the included IR remote, and within a minute I was playing Wind Waker in crisp digital color. Compared to the composite-to-HDMI bricks I tried before, the difference is night and day – the picture is vibrant, sharp, and free of the dot crawl that composite video always produces.
The Prism is technically a digital-to-digital adapter, not an upscaler. It takes the GameCube’s native 480p digital output and sends it over HDMI at the same resolution. That means it cannot upscale to 720p or 1080p – your TV does that step. For most people, this is fine, because modern TVs do a reasonable job upscaling 480p.
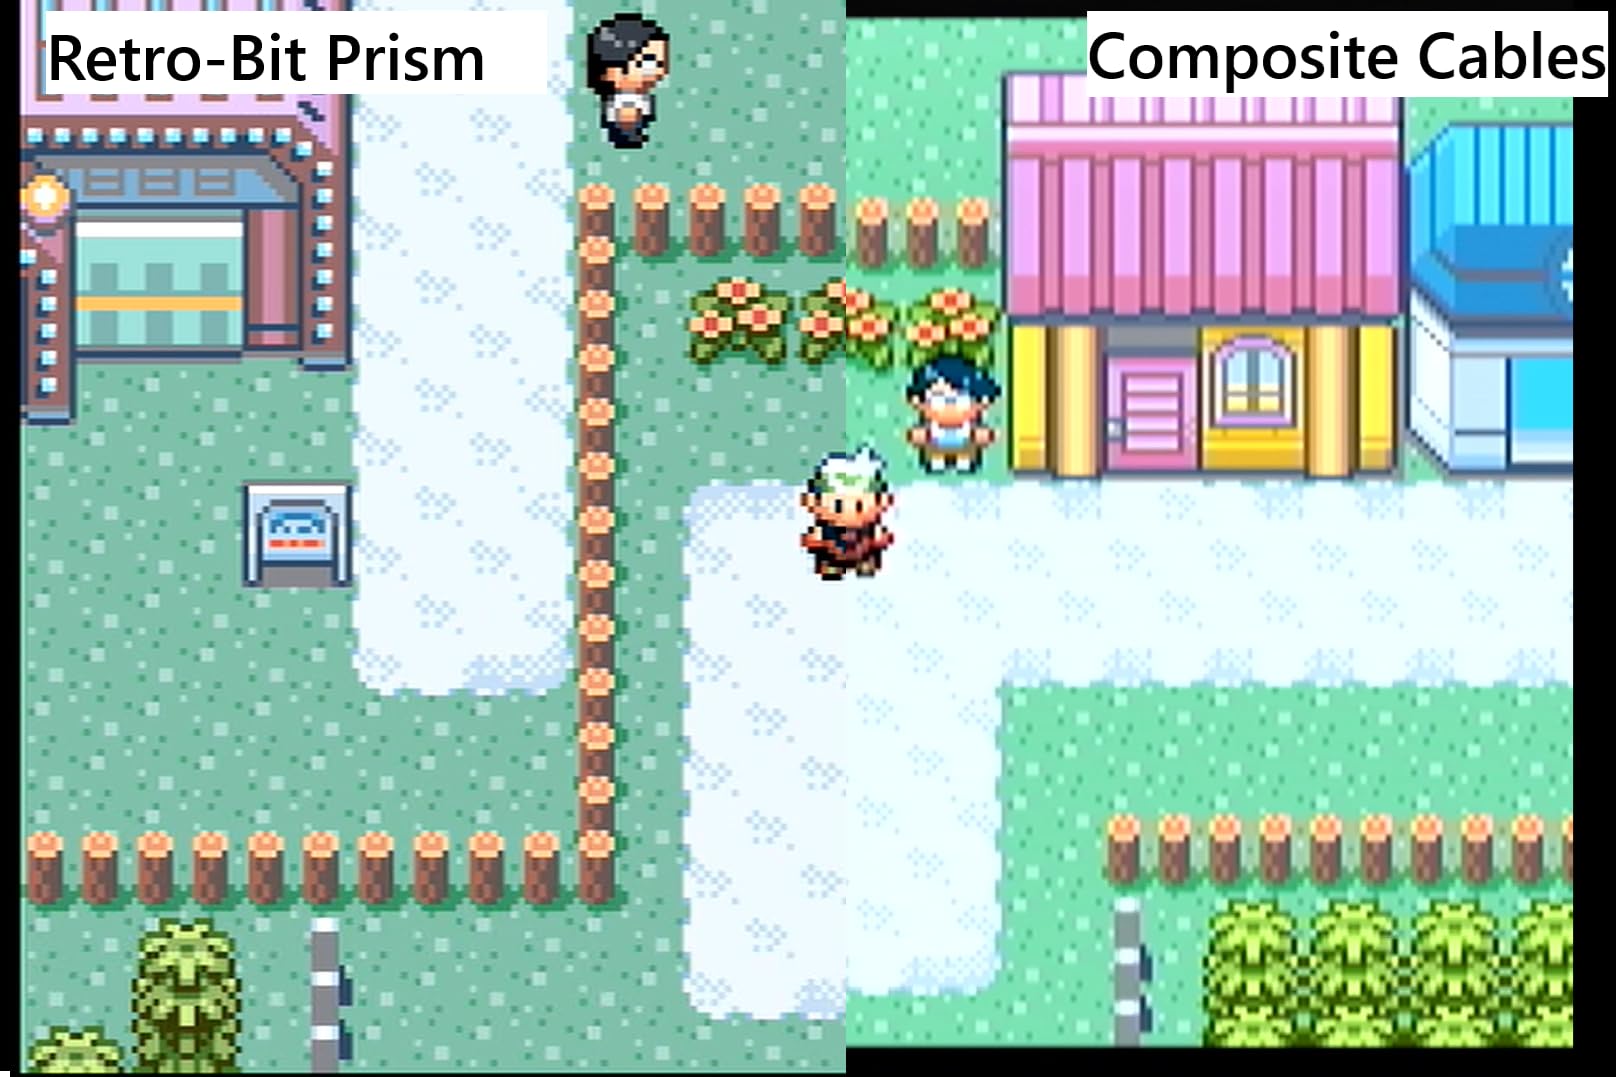
The IR remote is a nice touch. It lets you toggle scanline filters and adjust a few image settings without getting up off the couch. There is also a USB-C data port on the side that lets you apply firmware updates from a PC, which is reassuring because Retro-Bit has a track record of supporting their products with new profiles.
The biggest limitation is compatibility. The Prism only works with DOL-001 GameCube models – if you have a DOL-101 (the later revision without the digital AV port), this adapter is useless. The adapter also sticks straight out of the back of the GameCube without any support bracket, so it can wiggle loose if you move the console around. A few reviewers on r/GameCube report that the line doubler can produce jittery fonts on PAL consoles, which is something to watch for if you play imported games.
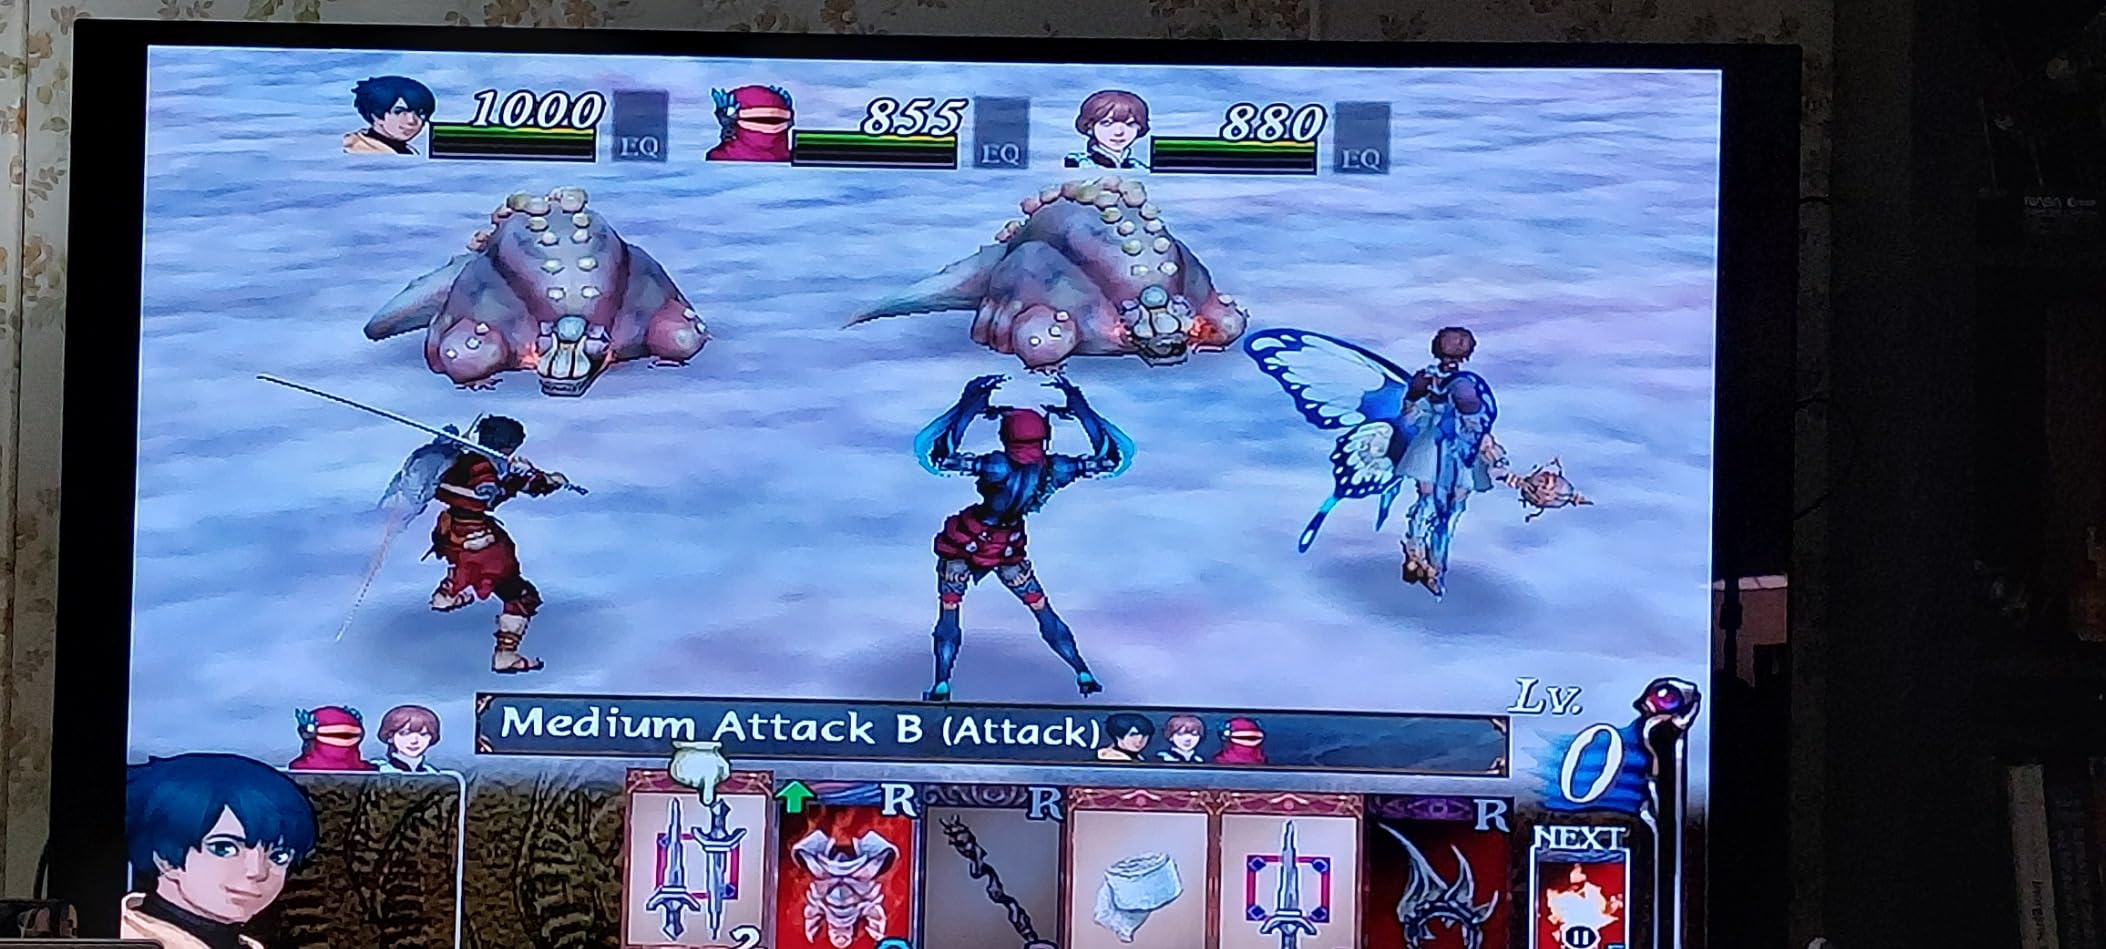
Who should buy the Retro-Bit Prism
DOL-001 GameCube owners who want a clean HDMI picture without buying a full RetroTINK setup should grab one. It is also a great companion piece – pair it with a RetroTINK 4K or 5X-Pro for the ultimate GameCube image.
Anyone setting up a dedicated GameCube station will love this adapter. The remote, the firmware updates, and the digital output all add up to a polished experience.
Who should look elsewhere
DOL-101 GameCube owners need a different path – either an OSSC with component video, a RetroScaler2x, or a RetroTINK. Players who want a true upscaled output should also chain the Prism with a RetroTINK or skip ahead to the mClassic if they only have HDMI consoles.
If your retro setup is multi-console (SNES, N64, Genesis), the Prism is too narrow. You would need a different scaler that handles multiple inputs.
4. RetroScaler2x – Budget Multi-System Workhorse for Analog Consoles
RetroScaler2x AV/SV/YPBPR to HDMI™ Converter, NTSC/PAL Support (Blue)
Composite S-Video component inputs
240p/480i to 480p HDMI
Filter mode for 480i
NTSC and PAL support
Pros
- Zero-lag analog-to-HDMI conversion
- Multiple input types supported
- Filter mode reduces 480i flicker
- Affordable entry point for retro
- Plug and play setup
Cons
- Requires firmware update out of box
- Some units fail within months
- No 360p PS1 video support
- Wall adapter not included
- NTSC and PAL cannot be cross-converted
The RetroScaler2x is the unit I recommend to friends who want to dabble in retro upscaling without spending RetroTINK money. It accepts composite, S-Video, and component video from consoles like the SNES, N64, Genesis, Saturn, PS1, PS2, Dreamcast, and GameCube, and outputs a clean 480p HDMI signal that any modern TV can display. In my testing, the picture was noticeably sharper than a cheap AV-to-HDMI adapter and the lag was effectively zero.
The filter mode is the hidden gem. When you feed the RetroScaler2x a 480i signal (PS2, Dreamcast, GameCube in some modes), the filter reduces the flicker that 480i deinterlacing normally produces. This is especially welcome for 3D-era games where flicker can be distracting.
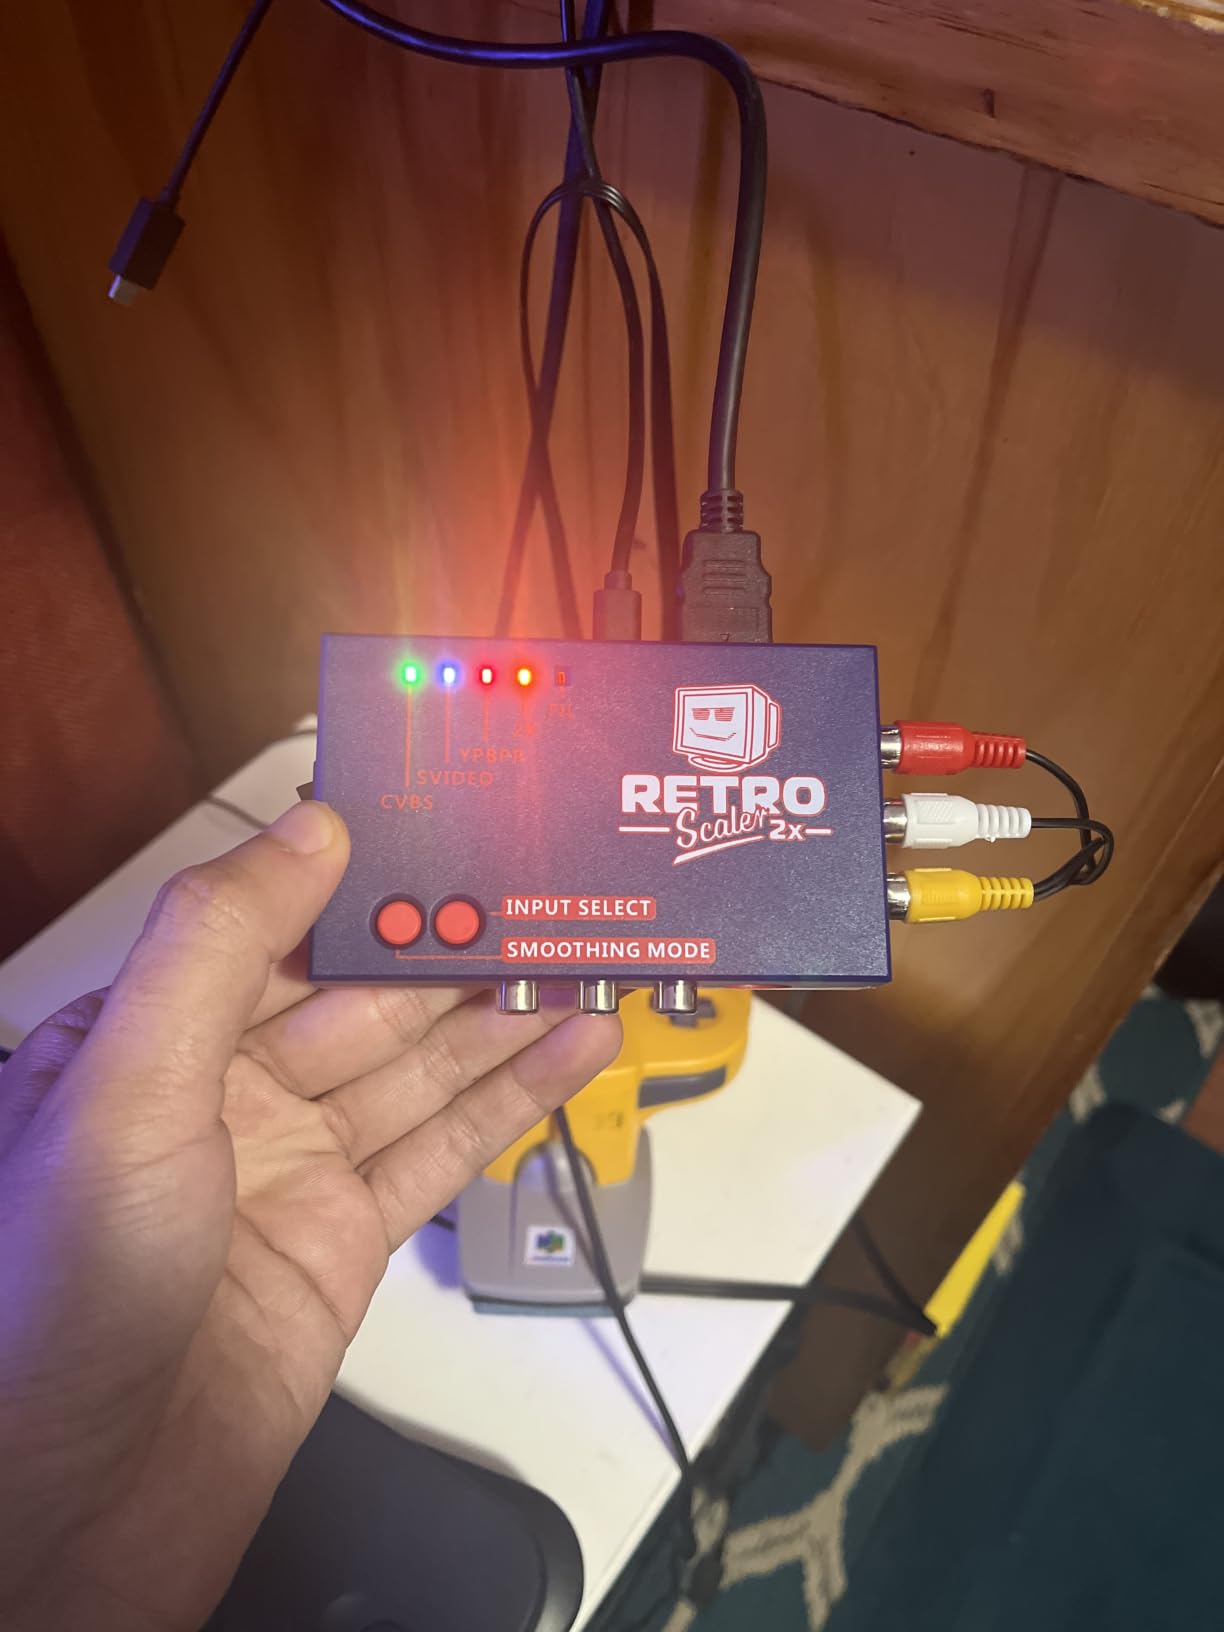
The most important thing to know about the RetroScaler2x is that you need to update the firmware before you use it. Out of the box, my unit had reliability quirks that went away entirely after I flashed the latest firmware via USB. This is a known issue in the community and the fix is well-documented, but it is not a “true” plug-and-play device until you do the update.
The other tradeoff is that the RetroScaler2x does not handle 360p signals correctly – the PS1’s progressive mode outputs 360p, and the RetroScaler2x will display that as black and white. If you use your PS1 with RGB mods that output 360p, you need a RetroTINK or OSSC instead. The unit also cannot cross-convert NTSC to PAL or vice versa, so do not expect it to fix region-locked games.
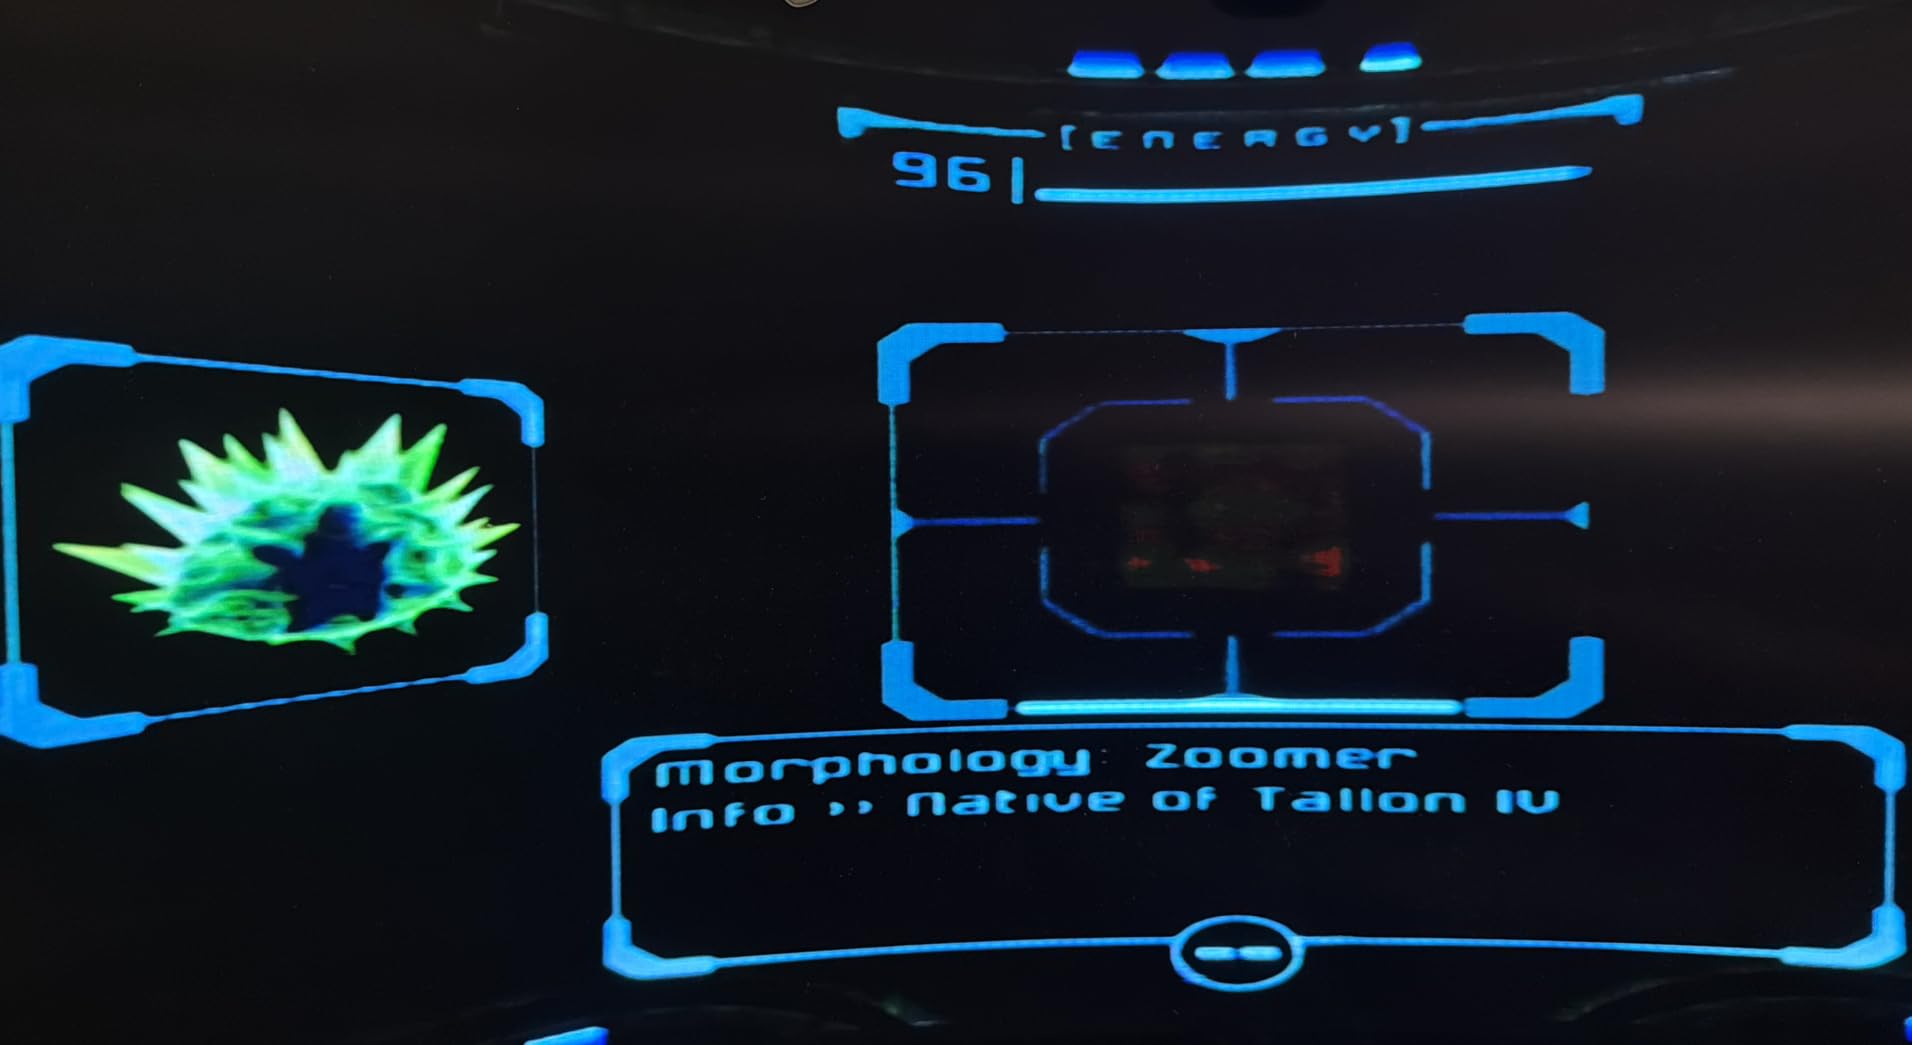
Who should buy the RetroScaler2x
Anyone with a stack of older analog consoles (SNES, Genesis, N64, Saturn) who wants a single box that handles all of them will get a lot of value here. It is also a good first step into the world of retro upscaling before graduating to a RetroTINK.
Casual retro players who do not want to spend RetroTINK 5X-Pro money but still want a real upgrade over their TV’s built-in scaling will be happy with this unit.
Who should look elsewhere
PS1 owners who want 360p support need a RetroTINK or OSSC. Anyone unwilling to do a firmware update on day one should also skip this unit and grab something more truly plug-and-play.
Players chasing 1080p or 4K output should also look elsewhere – the RetroScaler2x maxes out at 480p and your TV does the rest.
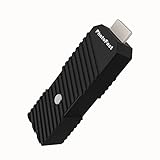
5. PhotoFast 4K Gamer Pro – Lag-Free 1080p-to-4K Upscaling for Modern Consoles
PhotoFast 4K Gamer Pro Video Game Console HDMI 4K upscaler 1080p to 4k @60fps without lag upscale for Nintendo Switch/Nintendo Switch OLED/Wii U/PlayStation 4 / PS3 / Xbox & more
1080p to 4K upscaling
Three sharpening levels
Zero lag
HDMI 2.0a required
Pros
- Genuinely lag-free 1080p to 4K upscaling
- Three optimization levels for different preferences
- Pairs perfectly with mClassic for full chain
- Easy installation via HDMI pass-through
- Sharpening and color enhancement visible
Cons
- Only accepts 1080p input
- Does not pass through HDR
- Mid and high settings can add artifacts
- Some units fail within a year
- Expensive when stacked with mClassic
The PhotoFast 4K Gamer Pro occupies a different niche than most retro gaming upscalers – it is built for modern consoles that already output 1080p, not for old analog hardware. I tested it with a Switch, a PS4, and a Wii U, and the unit genuinely upscales 1080p to 4K with no lag and no frame drops. For Switch games that run below native 1080p (a long list), the upscaling plus the sharpening actually adds visible detail.
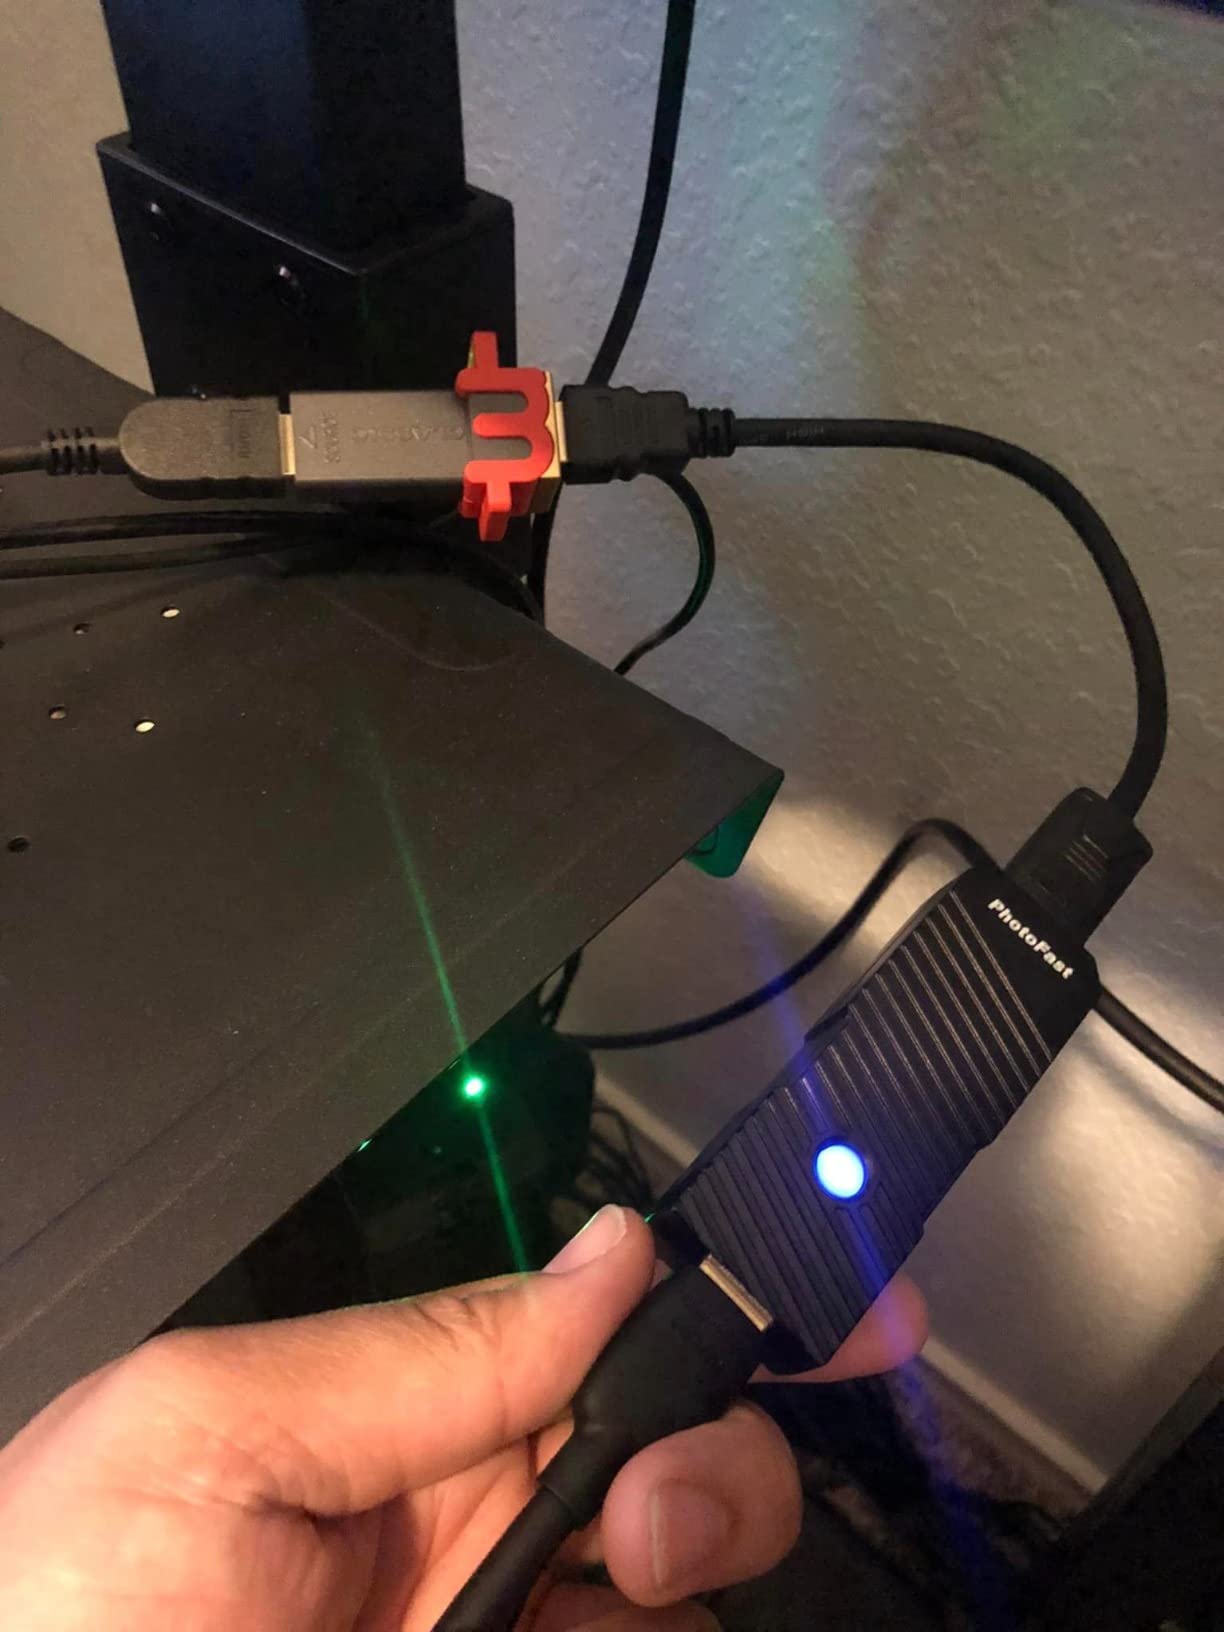
The PhotoFast chains especially well with the mClassic OG. Plug the console into the mClassic first (for anti-aliasing), then into the PhotoFast (for 4K upscale), then into the TV. The combined image is sharper and cleaner than either unit can produce on its own, and the entire chain is lag-free.
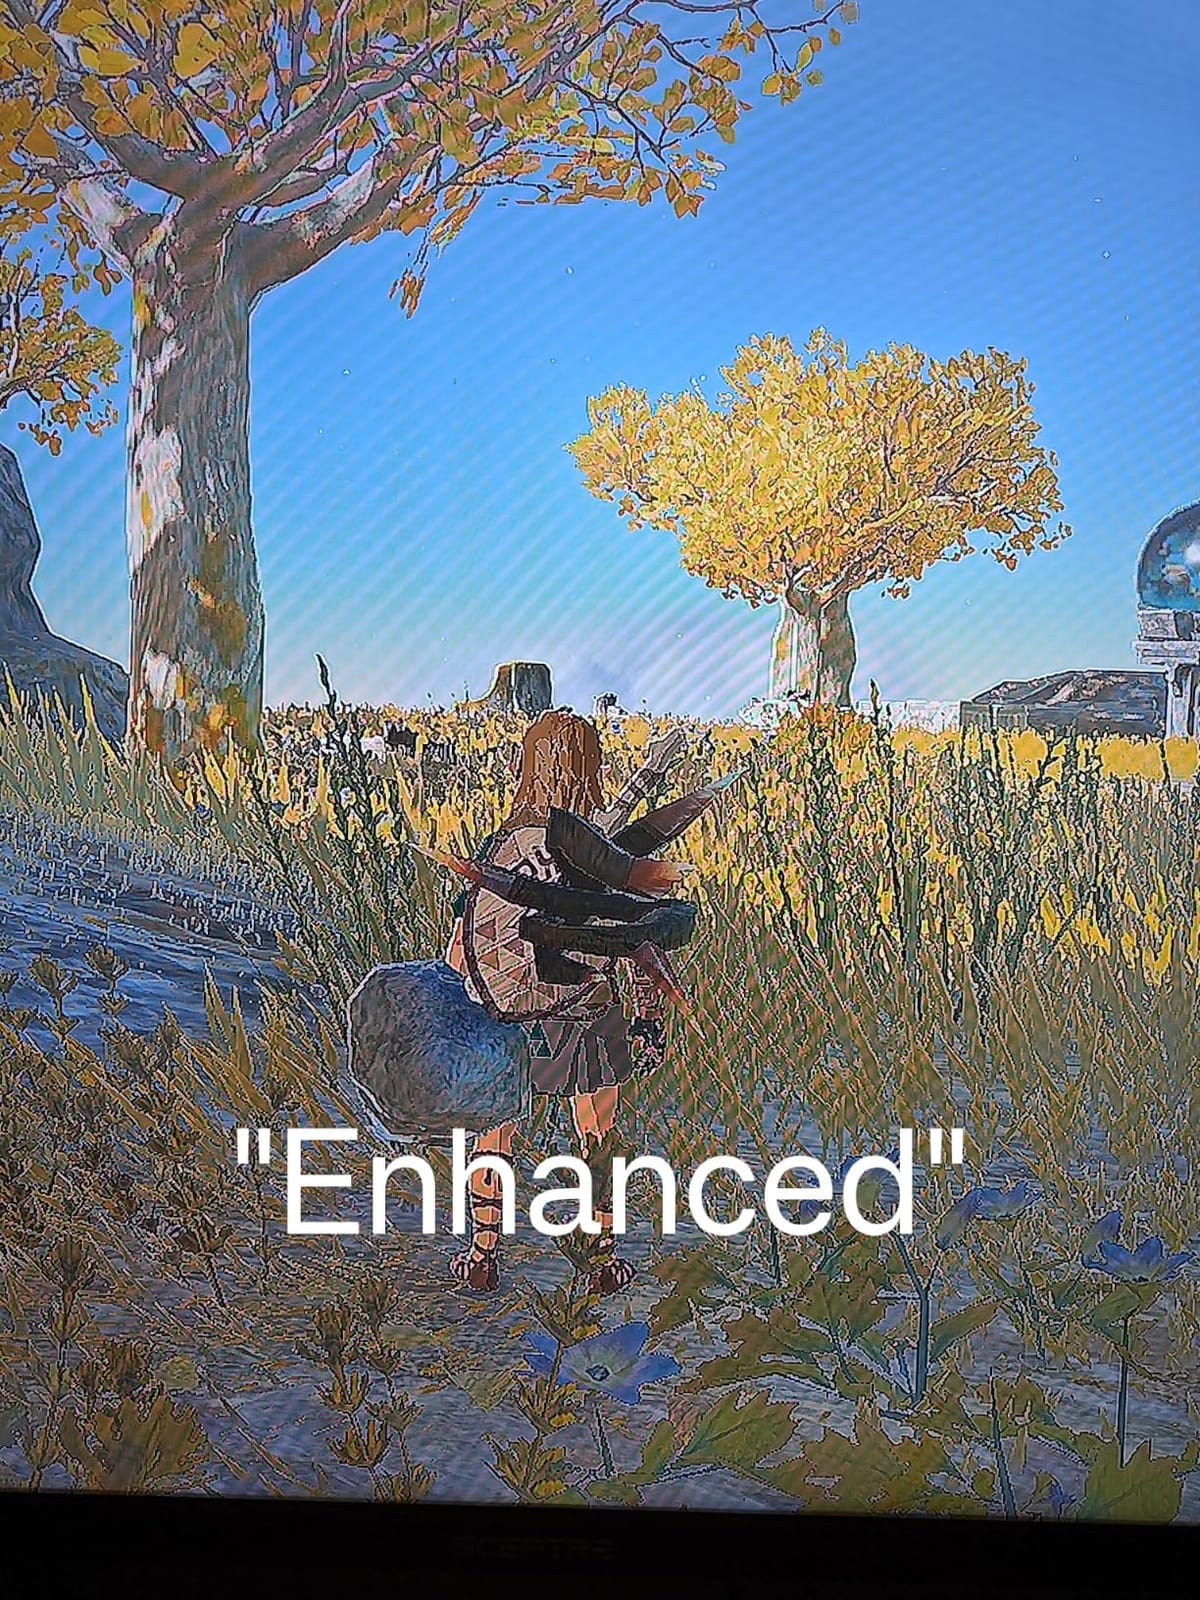
Three optimization levels let you tune the aggressiveness of the sharpening. Low is subtle and safe for most games. Medium and High add visible sharpening but can also introduce halo artifacts around hard edges, especially in UI text. I stuck with Low for most of my testing and was happy with the result.
The unit does have real limitations. It only accepts 1080p input – feed it a 720p or 480p signal and it will not lock on. It also does not pass through HDR, which matters if you own an HDR-capable Switch or PS4. And as a few Amazon reviewers have noted, hardware failures within the first year are not unheard of, so treat it as a piece of kit you may need to replace eventually.
Who should buy the PhotoFast 4K Gamer Pro
Switch owners who play on a 4K TV and want their games to look as sharp as possible should consider this unit. The same goes for Wii U, PS3, and Xbox 360 owners who want a clean 4K upscale.
Anyone who already owns a mClassic should chain the PhotoFast to it. The two units together produce an image that is genuinely close to a native 4K signal.
Who should look elsewhere
Anyone with a 1080p TV will see no benefit from this unit – there is nothing to upscale. Pure retro players with analog consoles should also skip it entirely; the PhotoFast does nothing for 240p signals.
HDR purists should also avoid the PhotoFast because it strips HDR from the signal. If you own a recent OLED and care about HDR, look at a different 4K upscaler that supports passthrough.
6. Mcbazel ODV-GBS-C – Versatile Scan Converter for PS2, Saturn, and Dreamcast Owners
Mcbazel ODV-GBS-C RGBS/SCART/YPbPr/VGA to HDMI/VGA Scan Converter for Retro Gaming Console with US Plug – NO AV/Composite/RCA | VGA Max 60Hz
RGBS SCART component VGA inputs
Dynamic de-interlacing
WiFi configuration
Scanline generator
Pros
- Excellent adaptive 480i deinterlacing
- Lag-free signal processing
- WiFi config is intuitive and powerful
- Authentic scanline generator output
- Multiple input formats supported
Cons
- No N64 or GameCube support without extra hardware
- No S-Video input
- Some units reported bricked
- VGA input can warp on certain sources
- Limited black range requires TV tweaking
The Mcbazel ODV-GBS-C is the scaler I reach for when a friend brings over a PS2 or a Sega Saturn and asks for help getting it to look good on a modern TV. It accepts RGBS SCART, component, VGA, and RGBHV inputs and outputs HDMI with adaptive deinterlacing that handles 480i content beautifully. PS2 games like Gran Turismo 4 and Virtua Fighter 4 look crisp and stable on my OLED, with no flicker and no lag.
The standout feature is the WiFi configuration interface. You connect the unit to your home WiFi, open a browser, and get a full graphical UI for tweaking every image parameter. It is far easier than the tiny OSD menus most scalers use, and you can save per-console profiles that you switch between with a button press.
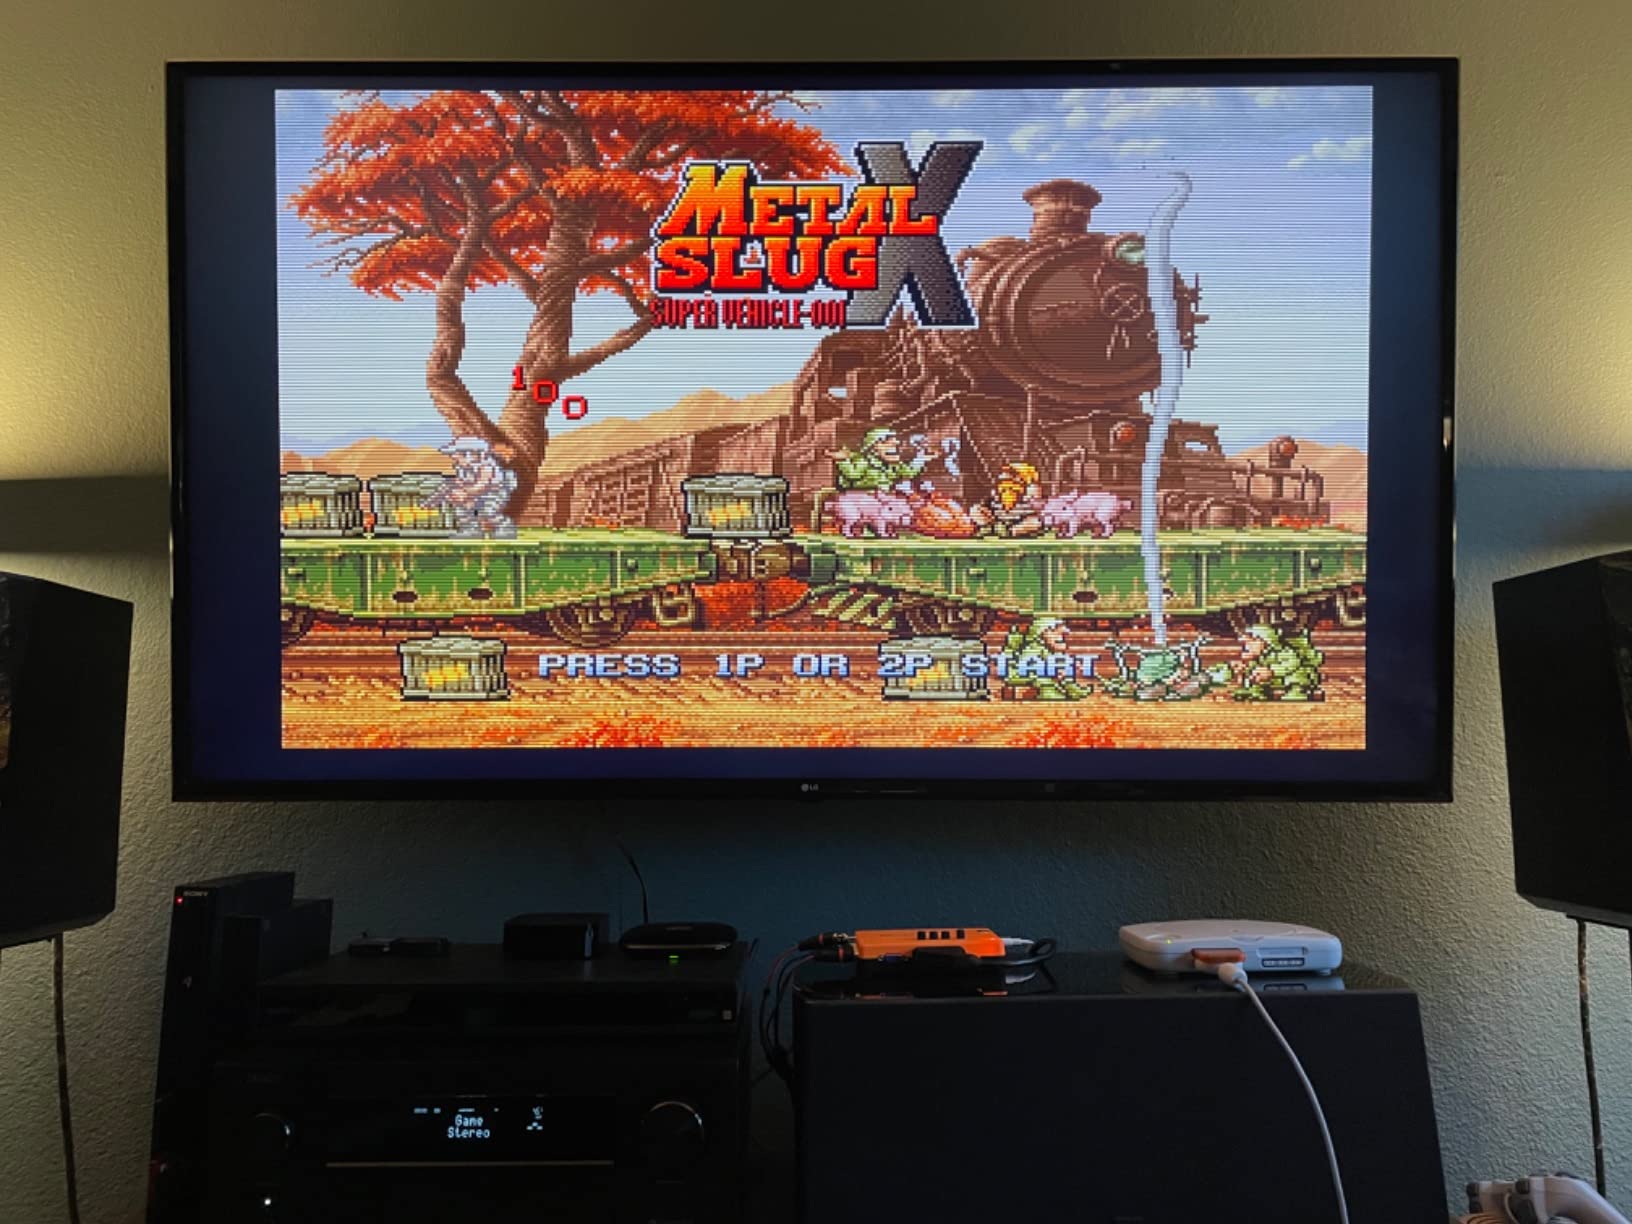
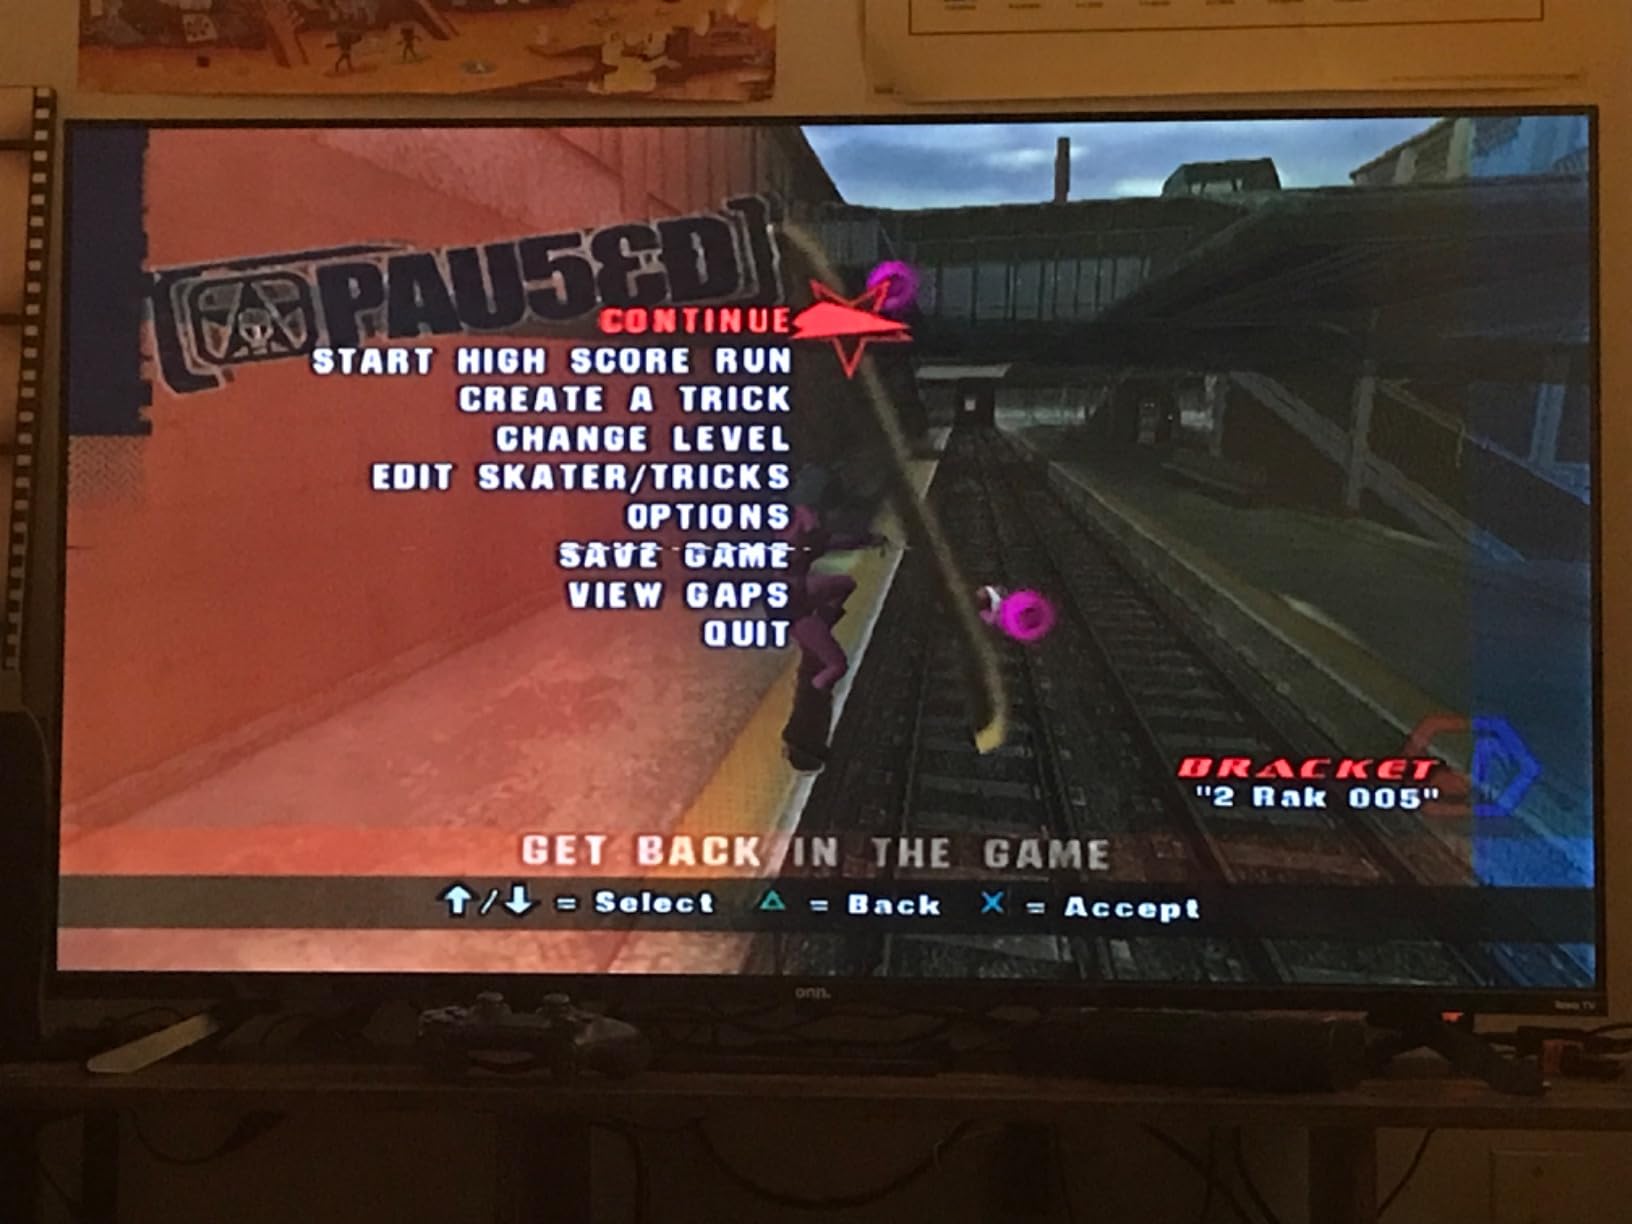
The deinterlacing is genuinely excellent – better than most retro upscalers I have tested in this price range. 480i content from the PS2 and Saturn gets properly handled, with no combing artifacts and no juddery motion. For PS2 owners in particular, this is one of the best values in the retro upscaler space right now.
The ODV-GBS-C has some real gotchas. It does not support N64 or GameCube without buying a separate ODV-II adapter, which is annoying. There is no S-Video input either, so consoles that output S-Video only (the SNES in some configurations, the N64 in some configurations) need a different scaler. And as with the RetroScaler2x, some Amazon reviewers report hardware failures within the first year, so buy from a seller with a good return policy.
Who should buy the ODV-GBS-C
PS2, Saturn, Dreamcast, and Neo Geo owners who want lag-free 480i deinterlacing at a fair price should put this unit at the top of their shortlist. The WiFi configuration is a real productivity boost for anyone tweaking settings often.
Anyone who already owns a stack of component or RGB SCART cables and just needs a clean scan converter will love the ODV-GBS-C.
Who should look elsewhere
N64 and GameCube owners without an extra ODV-II should skip this unit and look at the RetroTINK 5X-Pro or RetroScaler2x instead. S-Video-only console owners should also look elsewhere.
If you want a true plug-and-play experience with no configuration, this is not the right scaler – the WiFi UI is great but it does require tinkering.
7. Mcbazel OSSC – Classic Open Source Scan Converter for RGB SCART Sources
Mcbazel OSSC SCART Component VGA to HDMI Open Source Scan Converter v1.6 for Retro Gaming Saturn SNES PS1 Console US Plug
Open Source Scan Converter hardware
RGB SCART input
Low-latency line multiplier
Remote controlled
Pros
- Excellent picture quality from RGB SCART
- Revitalizes PS2 Wii Xbox GameCube libraries
- Solid build quality
- Minimal input lag
- Firmware upgradable via microSD
Cons
- Not compatible with N64 or NTSC GameCube
- Remote reliability issues out of box
- Stock PSU is low quality
- Not beginner-friendly setup
- Occasional image flicker on resolution switch
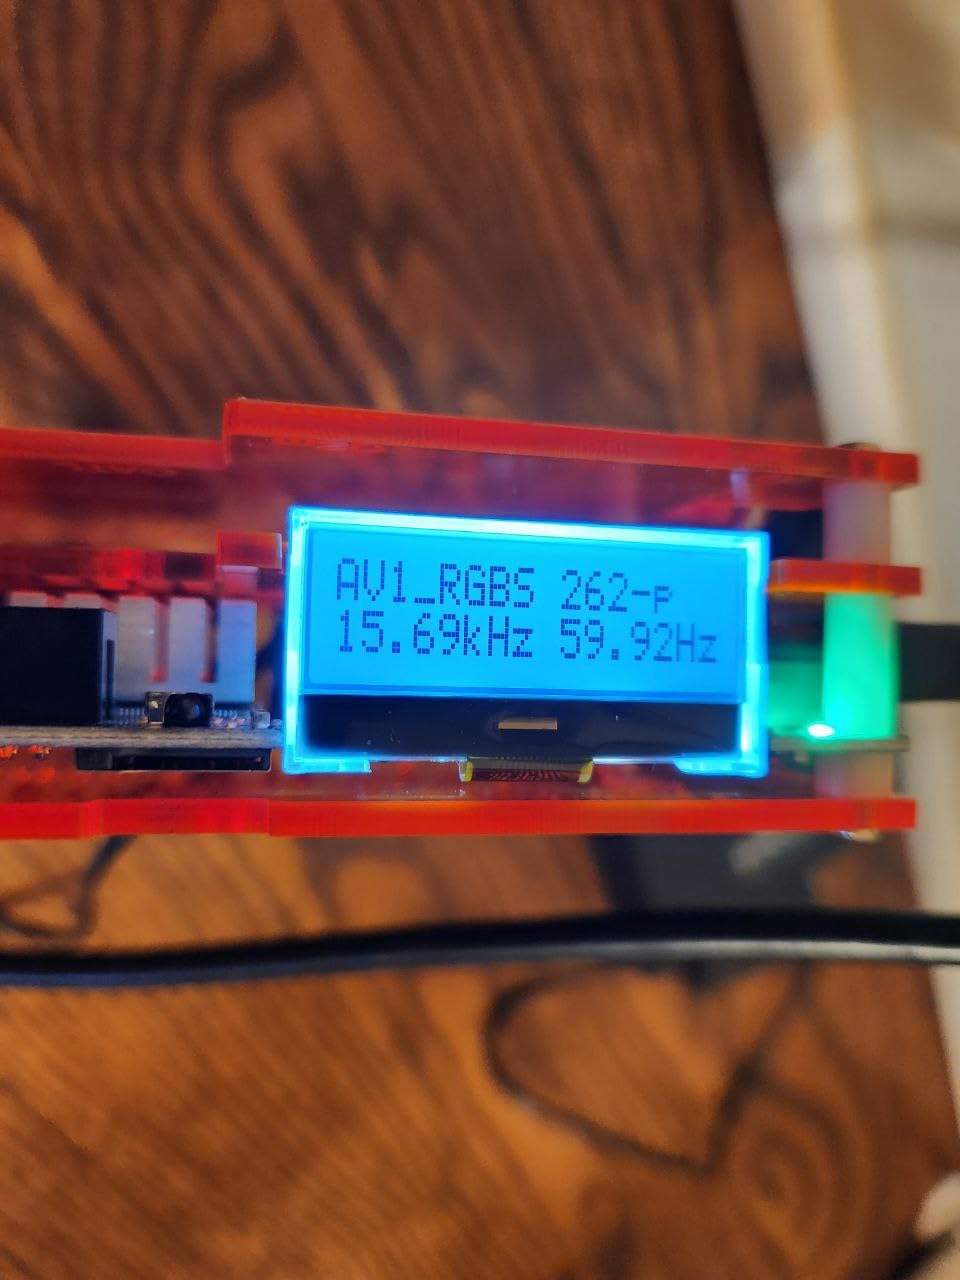
The OSSC (Open Source Scan Converter) has been a favorite in the retro community for years, and the Mcbazel OSSC clone brings the classic experience to a more accessible price point. The unit takes RGB SCART (the highest-quality analog signal you can get from a retro console) and line-multiplies it to higher resolutions with minimal lag. I tested it with a PAL GameCube and a Saturn, and the picture was razor-sharp on my 1080p monitor.
Input lag on the OSSC is genuinely near zero – it is one of the lowest-latency scalers you can buy at any price, which is why competitive fighting game players love it. The firmware is also actively maintained, with new features and per-console profiles added by the community on a regular basis.
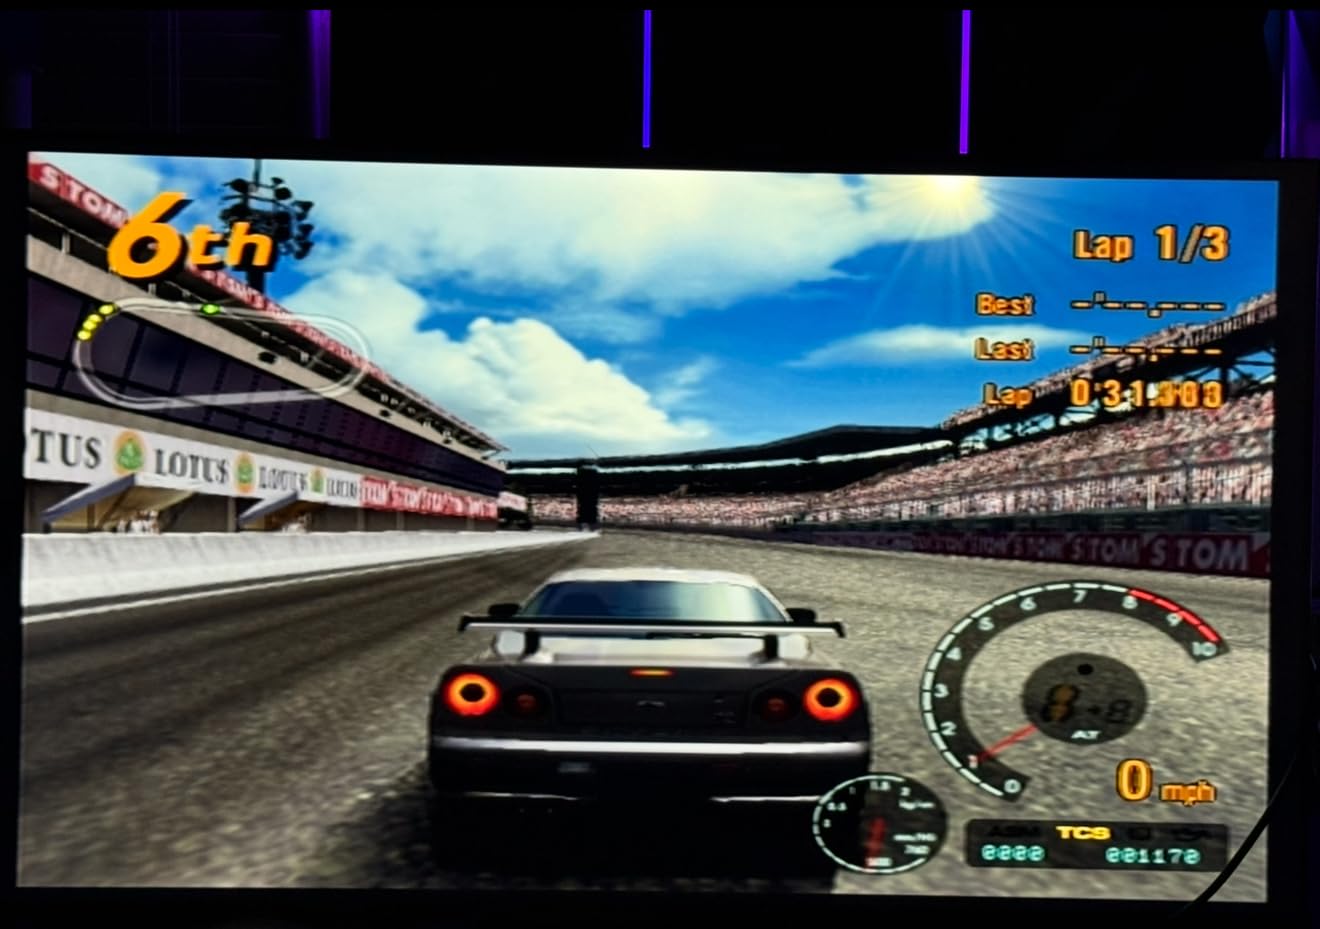
Where the OSSC falls short is in the user experience. It is not a plug-and-play device – you need to do research on which SCART cable to buy for your specific console, you need to configure the output resolution for each console you own, and the remote control is occasionally flaky out of the box. The stock power supply is also weak and reviewers on r/retrogaming universally recommend replacing it with a better USB power source.
The other big limitation is N64 and NTSC GameCube support – the OSSC does not handle those consoles properly because of their video signal quirks. If your collection is heavy on those systems, look at a RetroTINK instead.
Who should buy the OSSC
Anyone with RGB SCART outputs from consoles like the PAL GameCube, Saturn, Mega Drive, or PS1/PS2 who wants the lowest possible lag should put the OSSC at the top of their list. Fighting game players especially benefit from the near-zero latency.
Tinkerers who enjoy configuring per-console profiles and updating firmware regularly will love this unit.
Who should look elsewhere
N64 and NTSC GameCube owners should skip the OSSC. Beginners who want a true plug-and-play experience should also look at the RetroTINK family instead.
If you do not already own quality SCART cables, factor the cable cost into your budget – the OSSC is useless without one, and good SCART cables run into real money.
8. YITROX Component to HDMI Converter – The Cheap Way to Connect a Wii to a Modern TV
Component to HDMI Converter Upscaler Scaler, YPbPr to HDMI Converter Support 1080P for Wii, PS2, PS3, Xbox 360, Blu ray Player, DVD and More
YPbPr component to HDMI
Up to 1080p output
Seven zoom modes
Five resolution presets
Pros
- Affordable component to HDMI conversion
- Multiple resolution and zoom options
- Big improvement on PS2 picture on modern TVs
- Easy plug-and-play installation
- Also great for VHS digitization
Cons
- Crushed blacks reduce shadow detail
- Faint scanlines visible on some outputs
- Cannot handle 25fps sources smoothly
- Instructions are minimal
- Not suitable for progressive 480p sources like GameCube
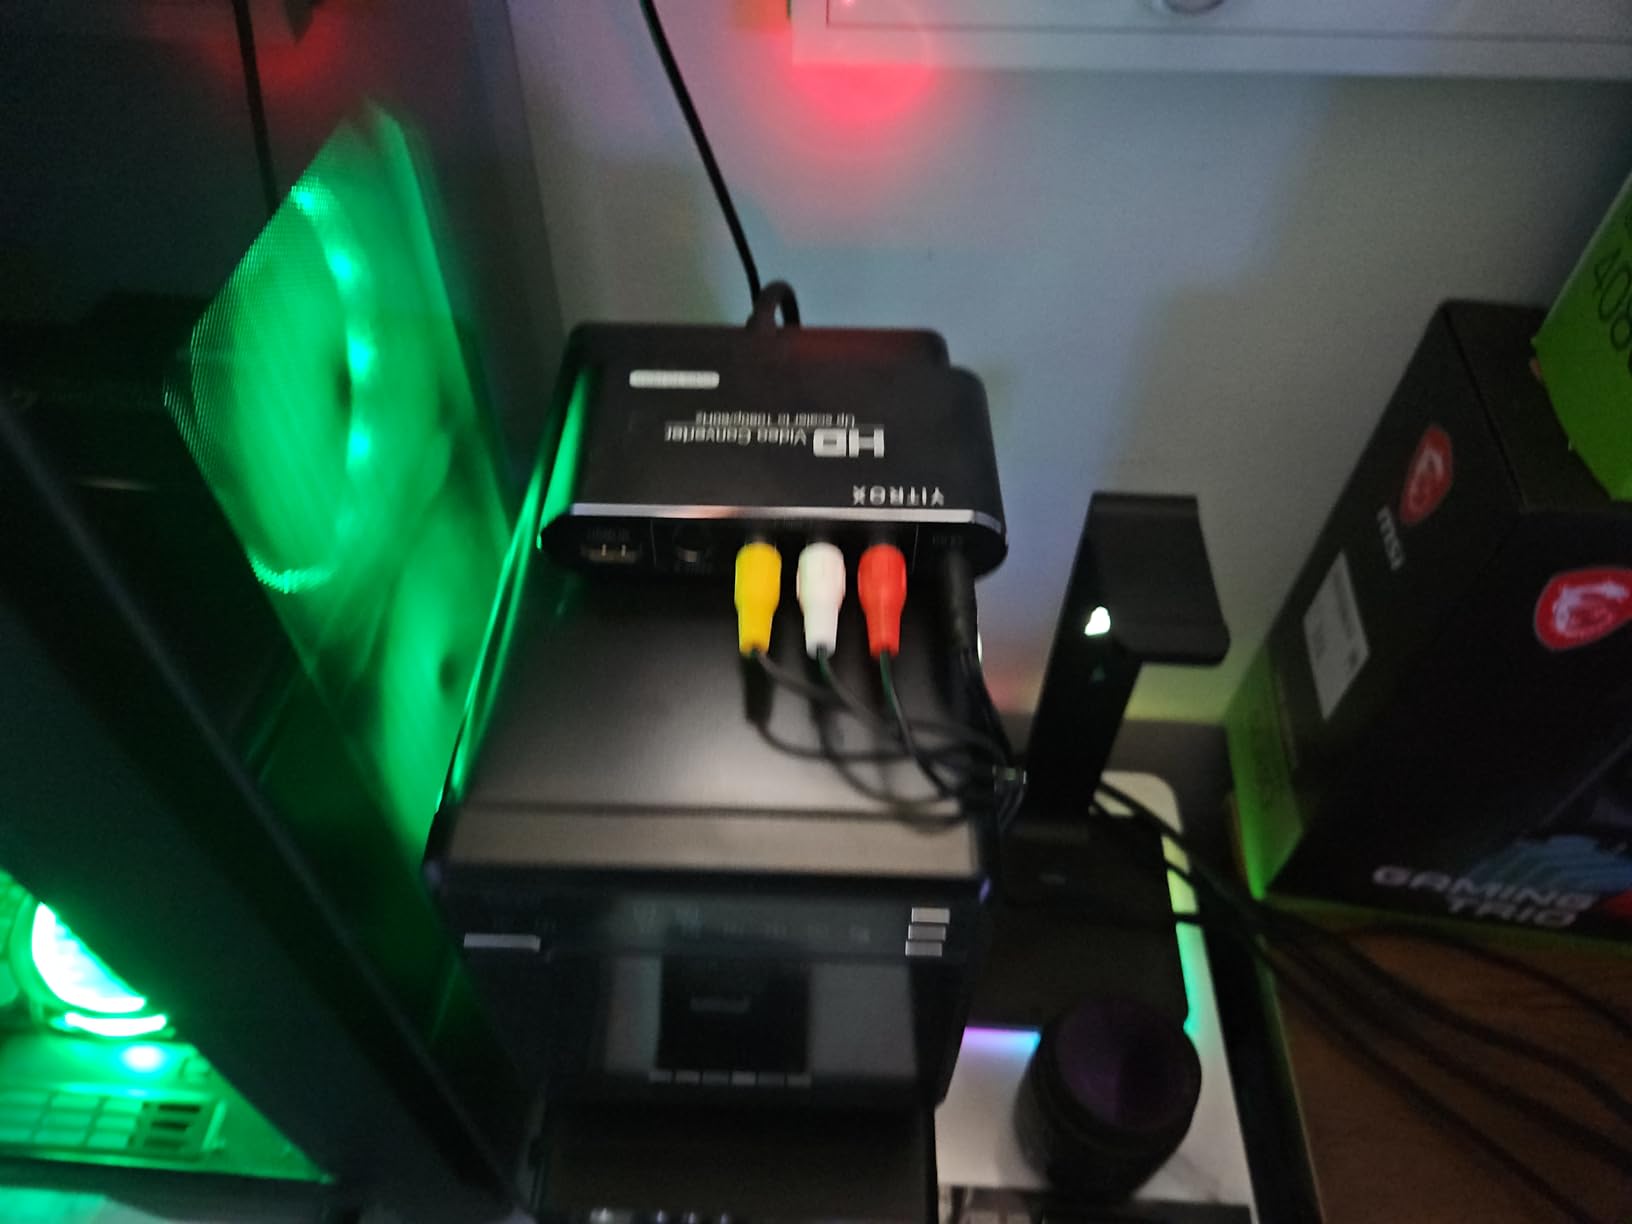
The YITROX Component to HDMI Converter is the most budget-friendly way to connect a Wii, Wii U, PS2, PS3, or Xbox 360 to an HDMI-only TV. I tested it with a Wii running through component cables, and the picture came up at 720p without any setup – just plug in the component cables, attach USB power, and the TV locks on.
The unit offers five resolution presets (800×600 up to 1920×1080) and seven zoom modes, which gives you a lot of flexibility for matching the output to your TV. For Wii games that look soft on a 4K TV by default, bumping up the resolution helps a lot.
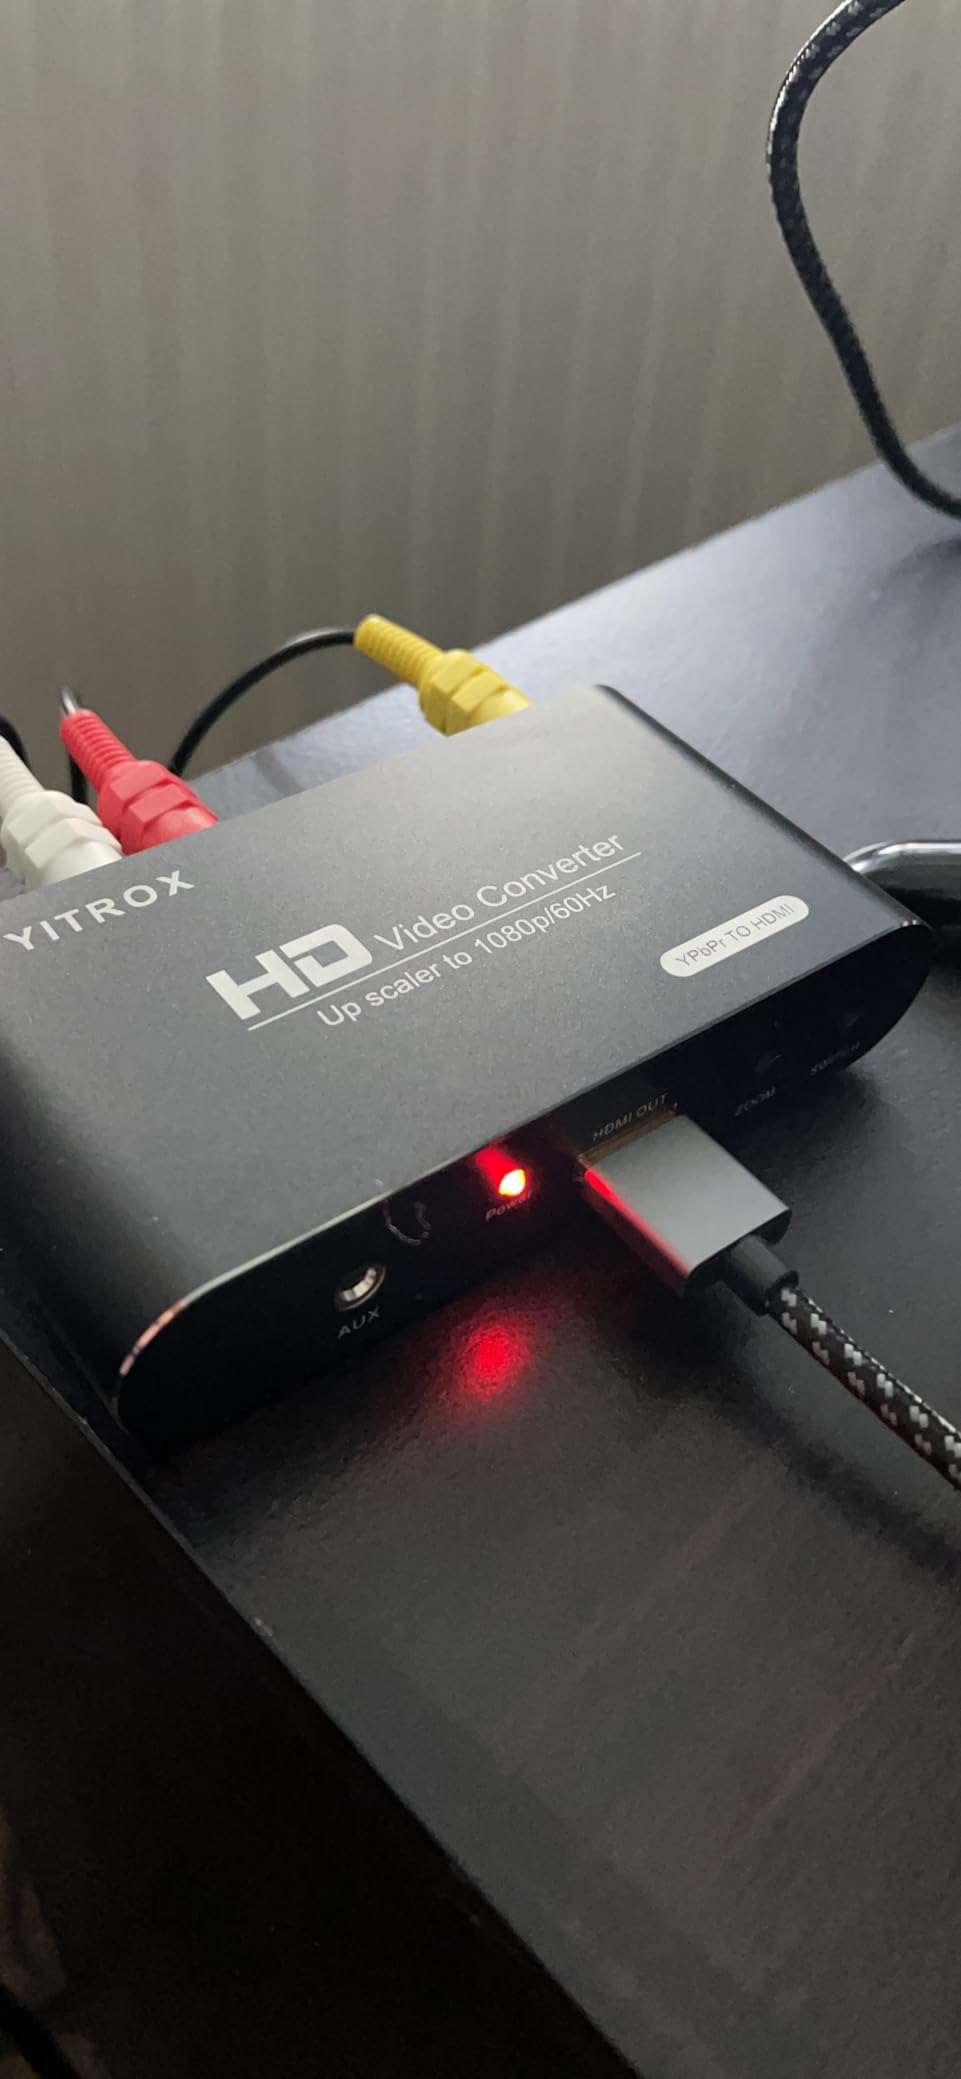
Where the YITROX struggles is on color accuracy. Reviewers consistently report that the unit crushes blacks, which means dark scenes lose shadow detail. Some users also report faint scanline artifacts in the output that are visible on certain games. The unit also cannot handle 25fps sources (PAL consoles) smoothly and outputs 60fps regardless, which can introduce judder.
For casual retro play and especially for VHS digitization (where the artifact profile is less noticeable), the YITROX is a strong value. For pixel-perfect purists, you will want to step up to a RetroTINK or mClassic chain instead.
Who should buy the YITROX Component to HDMI
Wii and Wii U owners on a tight budget will get the most value here. The unit also works well for PS2, PS3, Xbox 360, and even VHS digitization setups where color accuracy is less critical.
Anyone with an HDMI-only TV who needs a quick, affordable way to hook up an older component-output console will be happy with the YITROX.
Who should look elsewhere
GameCube owners with a DOL-001 should grab the Retro-Bit Prism instead. Players chasing accurate blacks and shadow detail should look at the ODV-GBS-C or a RetroTINK.
PAL console owners who play games that run at 25fps should also skip this unit – the judder introduced by the 60fps output is genuinely distracting.
How to Choose the Right Retro Gaming Upscaler
Picking the right retro gaming upscaler comes down to four questions: what console are you hooking up, what signal does it output, what TV are you connecting to, and how much configuration do you want to do. The best HDMI upscalers guide on our site covers similar ground in more depth, but here is the framework our team uses.
Understanding Input Signals
Every retro console outputs one or more of these analog signals, from lowest quality to highest: composite (the yellow RCA plug), S-Video, component (red/green/blue RCA plugs), and RGB SCART (the European all-in-one connector). The higher you go, the cleaner your picture will be. A RetroTINK 5X-Pro accepts all four; a basic adapter might only accept one.
If you own a console that outputs RGB SCART (PAL Mega Drive, PAL SNES, PAL Saturn, PAL GameCube, PS1/PS2 with the right cable), you have access to the highest-quality analog signal available. Pairing that with a quality SCART cable and a RetroTINK or OSSC gives you an image that is genuinely close to a CRT.
Output Resolution: 480p vs 720p vs 1080p vs 4K
The output resolution of your upscaler matters less than you might think. A 480p HDMI signal from a RetroScaler2x looks clean and sharp on a 1080p monitor because the TV doubles the lines perfectly. The jump to 720p or 1080p helps if you have a large display or sit far away. 4K is overkill for most retro games because the original art was designed for low resolutions – line multiplication alone gets you 90% of the way there.
The exception is modern consoles (Switch, Wii U, PS3, Xbox 360) that already output 1080p. For those, a 4K upscaler like the PhotoFast 4K Gamer Pro actually adds visible detail because the source signal has the resolution to support it.
Input Lag and Frame Latency
Input lag is the single most important spec for any retro upscaler. The best units (RetroTINK family, OSSC, mClassic) add less than one frame of latency – typically under 16ms. The cheap Amazon SCART-to-HDMI adapters add 50-100ms of lag, which is game-breaking in any platformer or fighting game.
If you are shopping for a scaler, check the lag spec before you check the resolution spec. A 480p signal with zero lag will feel better to play than a 4K signal with 50ms of lag, every time.
Cables You Will Need
The cable matters as much as the scaler. HD Retrovision component cables are the gold standard for North American consoles (SNES, N64, GameCube, Wii) – they output component video, are properly shielded, and cost far less than NOS original cables. For PAL consoles, a quality RGB SCART cable is essential. Cheap no-name SCART cables introduce noise and crosstalk that no scaler can fix.
Console-specific recommendations: HD Retrovision for SNES, N64, GameCube, and Wii; official Sony component cables for PS2; RGB SCART from Retro Access or retro-core cables for PAL consoles; Genesis owners should look at HD Retrovision component cables or an RGB-modded console with SCART.
Console-by-Console Recommendation
NES and SNES: RetroTINK 5X-Pro or RetroScaler2x for analog output, mClassic for HDMI mods. N64: RetroTINK 5X-Pro (handles N64’s quirky video signal best). Genesis: RAD2x cables for plug-and-play, RetroTINK for higher quality. PS1: RetroTINK 5X-Pro or OSSC. PS2: RetroTINK 4K, ODV-GBS-C, or mClassic. Dreamcast: RetroTINK 5X-Pro or OSSC. GameCube: Retro-Bit Prism for DOL-001, RetroTINK 5X-Pro for DOL-101. Wii: mClassic or YITROX component converter. Wii U: mClassic or PhotoFast 4K Gamer Pro.
If you are considering a reproduction console instead of dealing with original hardware, our retro console reproduction comparison covers the modern alternatives.
What to Avoid
The cheap Amazon SCART-to-HDMI cables (typically marketed under names like “HDMI Converter for Retro Consoles”) are scams. They add massive lag, produce muddy pictures, and have no place in a serious retro setup. If a listing promises “1080p upscaling” for a SCART-to-HDMI adapter under 30 dollars, it is not delivering what it claims.
You should also avoid generic no-name GBS-Control clones that show up on auction sites. The legitimate GBS-Control is a DIY project with documented firmware; anything else with that name is risky. Stick with the established scalers in this guide or go with a MiSTer FPGA build if you want the absolute best image.
Frequently Asked Questions
What is the best upscaler for old games?
The Marseille mClassic OG is our top pick for most retro gaming setups because it adds effective anti-aliasing to PS2, GameCube, Wii, and original Xbox consoles with zero added input lag. For analog-output consoles like the SNES, N64, Genesis, and Dreamcast, the RetroTINK 5X-Pro is widely recommended by the retro community as the best price-to-performance option. If you want true 4K output, the PhotoFast 4K Gamer Pro or RetroTINK 4K are the strongest choices.
What is the best upscaler for games?
For modern HDMI consoles (Switch, PS4, Xbox One), the Marseille mClassic OG delivers the best mix of anti-aliasing, sharpening, and zero-lag performance at a fair price. For retro consoles with analog output, the RetroTINK 5X-Pro is the community standard because it accepts composite, S-Video, component, and RGB SCART and outputs clean 1080p HDMI. For competitive play where input lag matters most, the OSSC line multiplier is the lowest-latency option available.
Do retro upscalers work?
Yes, retro upscalers work very well when paired with the right cable and the right TV. A dedicated scaler converts the analog signal from your console to HDMI and line-multiplies it to a modern resolution, which produces a sharp, low-lag image that the built-in scaler in your TV usually cannot match. The key is to avoid the cheap Amazon SCART-to-HDMI adapters that promise 1080p but add 50-100ms of lag – those do not work for serious retro play. The eight scalers in this guide all work as advertised and represent solid choices across every budget.
What is the best resolution for retro gaming?
For most retro games, 1080p is the sweet spot. The original art was designed for 240p or 480i, so line multiplication up to 1080p produces the cleanest possible picture on a modern HDTV or 4K TV without inventing detail that was never there. 4K is overkill for most retro content, though modern consoles (Switch, Wii U, PS3, Xbox 360) benefit from 4K upscaling because their source signals have the resolution to support it. For competitive fighting games and rhythm games, a low-lag 720p or 1080p signal from a RetroTINK or OSSC is preferable to a 4K signal with any added latency.
How to make retro games look good on HDTV?
Three steps will make the biggest difference. First, use the best possible analog signal from your console – component video for North American consoles and RGB SCART for PAL consoles – paired with quality cables like HD Retrovision. Second, route the signal through a low-lag upscaler like the RetroTINK 5X-Pro, OSSC, or mClassic instead of relying on your TV’s built-in scaler. Third, put your TV in Game Mode to disable post-processing that adds input lag. Add scanline and CRT mask emulation if you want the most authentic retro look. Together, these three steps will transform how your old games look on a modern display.
Final Verdict: Which Retro Gaming Upscaler Should You Buy in 2026?
If we had to pick a single retro gaming upscaler for most people, it would be the Marseille mClassic OG. It works across the largest range of consoles, adds zero lag, and the three-mode toggle makes it useful for both retro and modern systems. Pair it with an HDMI splitter and you have a single-box solution for an entire retro console collection.
For budget-focused players, the Hyperkin HDTV Cable for PS1/PS2 and the Retro-Bit Prism for GameCube are the easiest wins at the lowest prices. For multi-system analog setups, the RetroScaler2x delivers RetroTINK-like versatility at a fraction of the price. And for 4K enthusiasts, the PhotoFast 4K Gamer Pro is the unit to beat.
The single biggest piece of advice our team can give is to skip the cheap Amazon SCART-to-HDMI adapters entirely. They look like a deal, but the lag and picture quality will ruin your retro games. Any of the eight units in this guide will give you a sharp, low-lag image that finally does justice to the classics. For a deeper look at how these fit into a full retro setup, our retro emulation controllers guide covers the other half of the equation.