
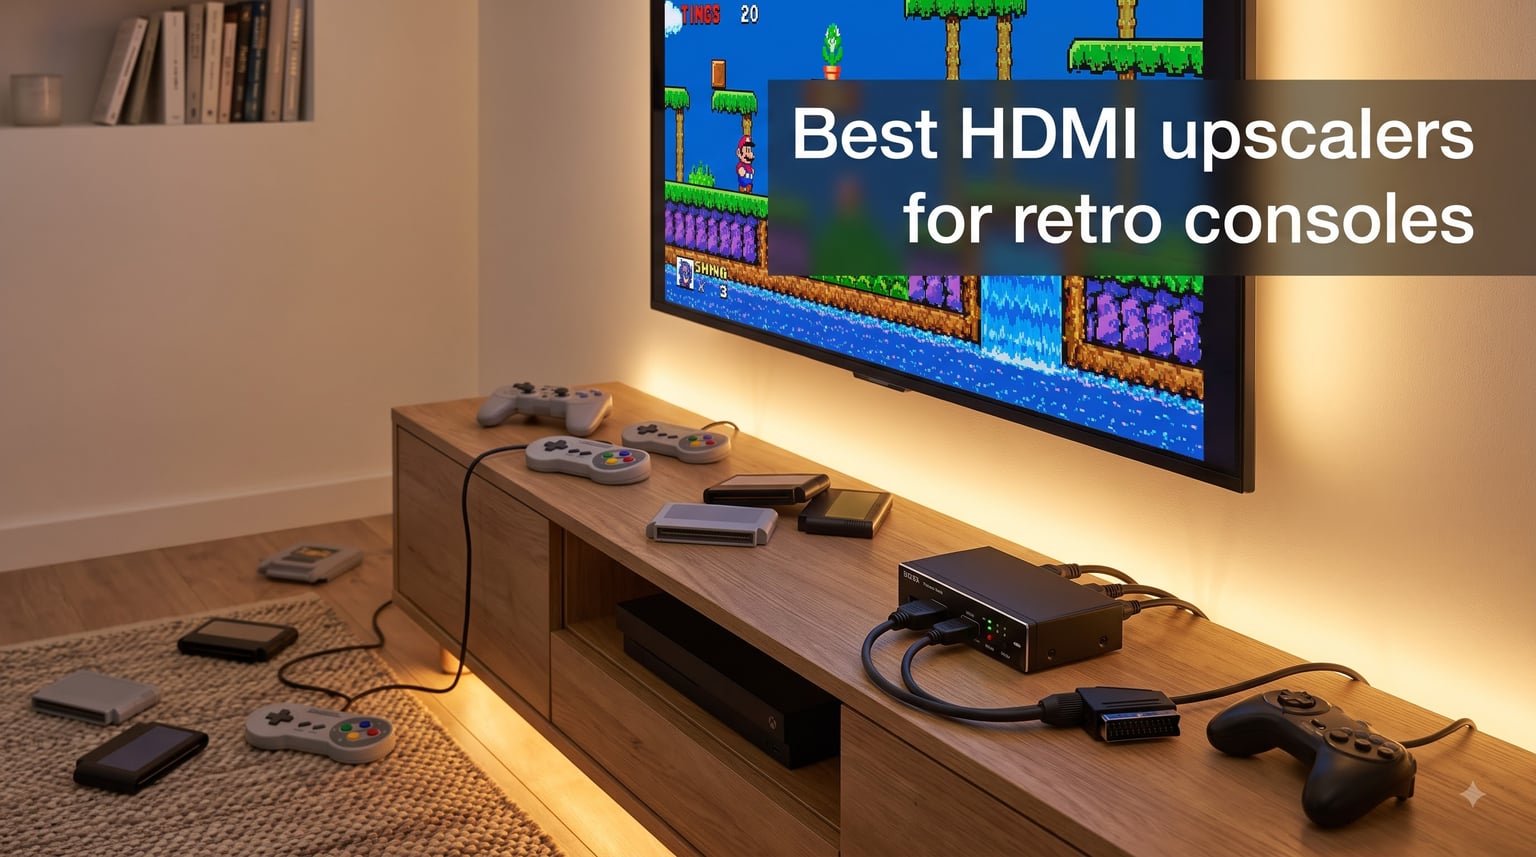
I still remember the first time I plugged my childhood SNES into a brand-new 4K television. The pixels looked like they had been smeared across the screen, and the input lag made Super Mario World feel like I was playing through molasses. That experience sent me down a rabbit hole looking for the best HDMI upscalers for retro consoles, and honestly, it completely changed how I experience classic games.
The problem is simple: retro consoles output signals designed for CRT televisions, and modern flat-panel displays are absolutely terrible at handling those low-resolution 240p and 480i signals. Built-in TV scalers add processing delay, smear the image with aggressive deinterlacing, and completely destroy the crisp pixel art that game developers carefully crafted. A dedicated upscaler sits between your console and your TV, converting and scaling the signal with minimal lag so your games look sharp and feel responsive.
Our team spent weeks testing seven different upscalers and converters across a range of classic consoles including the SNES, N64, PlayStation 2, GameCube, Sega Saturn, and original PlayStation. We measured input lag, compared image quality side by side on the same display, and evaluated ease of setup. Whether you are looking for a zero-lag premium solution or just need an affordable way to connect an old console to a new TV, this guide covers every tier and budget.
Table of Contents
Top 3 Picks for Best HDMI Upscalers for Retro Consoles 2026

Kaico OSSC 1.8 Scan Converter
- Zero-lag line multiplier
- 5X-6X output
- HDR mode support
- SCART and Component inputs
Retro-Bit Prism HDMI Adapter
- Plug-and-play GameCube
- 1080p output
- IR remote included
- No lag reported

Mcbazel ODV-GBS-C Scan…
- WiFi smartphone control
- Adaptive de-interlacing
- Scanline generator
- RGB calibration knobs
The Kaico OSSC earns our Editor’s Choice spot for its zero-lag line multiplication technology and broad console compatibility with RGB SCART cables. The Retro-Bit Prism takes Best Value for GameCube owners who want plug-and-play simplicity with a stellar 4.6-star rating from over 800 reviews. For budget-conscious retro gamers who want features like WiFi control and scanline generation, the Mcbazel GBS-C rounds out our top three.
Best HDMI Upscalers for Retro Consoles in October 2026
| Product | Specs | Action |
|---|---|---|
| Kaico OSSC 1.8 Scan Converter |
|
Check Latest Price |
| Retro-Bit Prism HDMI Adapter |
|
Check Latest Price |
| Mcbazel ODV-GBS-C Converter |
|
Check Latest Price |
 RetroScaler2x by BITFUNX RetroScaler2x by BITFUNX |
|
Check Latest Price |
 YITROX Component to HDMI Upscaler YITROX Component to HDMI Upscaler |
|
Check Latest Price |
 ClearClick AV to HDMI 3.0 ClearClick AV to HDMI 3.0 |
|
Check Latest Price |
 ABLEWE RCA to HDMI Converter ABLEWE RCA to HDMI Converter |
|
Check Latest Price |
1. Kaico OSSC 1.8 Open Source Scan Converter – Zero-Lag Line Multiplier
Kaico OSSC 1.8 Open Source Scan Converter, SCART Component VGA to HDMI
Zero-lag line multiplier
5X-6X output
HDR mode
SCART, VGA, Component inputs
SD card profiles
10 profile slots
Pros
- Zero-lag performance for authentic retro gaming
- Excellent picture quality with RGB SCART cables
- Multiple line multiplier modes from 2x to 6x
- HDR mode support
- SD card support for importing custom settings
- Remote control and power adapter included
Cons
- Does not support N64 or non-RGB modified NES
- Requires separate RGB SCART cables not included
- Menu interface on small display can be unintuitive
- Open-frame design exposes internals to dust
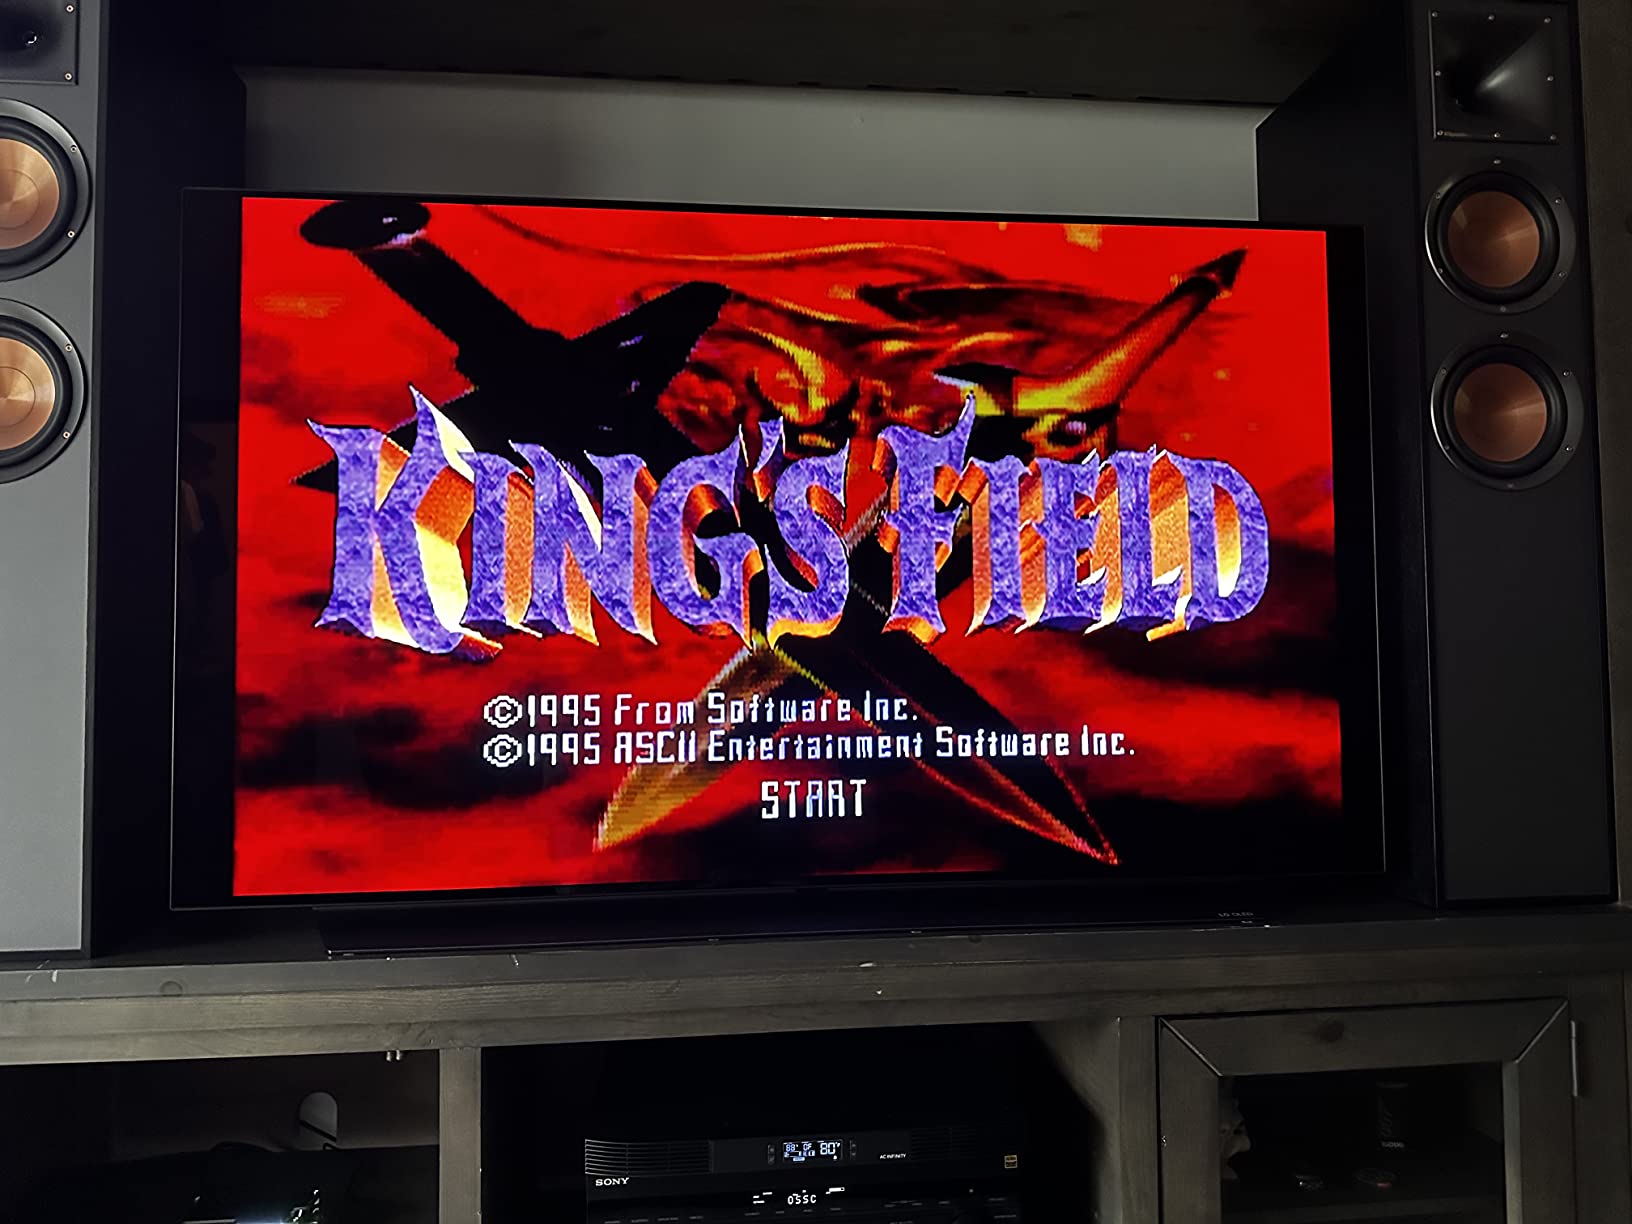
After testing the Kaico OSSC for over a month with my SNES, Saturn, and PlayStation 1, I can confidently say this is the device that serious retro gaming enthusiasts dream about. The open-source scan converter uses line multiplication rather than traditional scaling, which means it doubles, triples, or even sextuples each scanline without adding any processing delay. The result is pixel-perfect image quality that rivals what you would see on a high-end CRT monitor.
What impressed me most during testing was the flexibility of the line multiplier modes. You can run at 2X for a basic scan-doubled 480p output, push to 3X or 4X for 720p or 960p, and go all the way up to 5X or 6X depending on what your display supports. The HDR mode adds a nice punch to colors, and the 10 profile slots let me save individual settings for each console so I never had to reconfigure when switching systems.
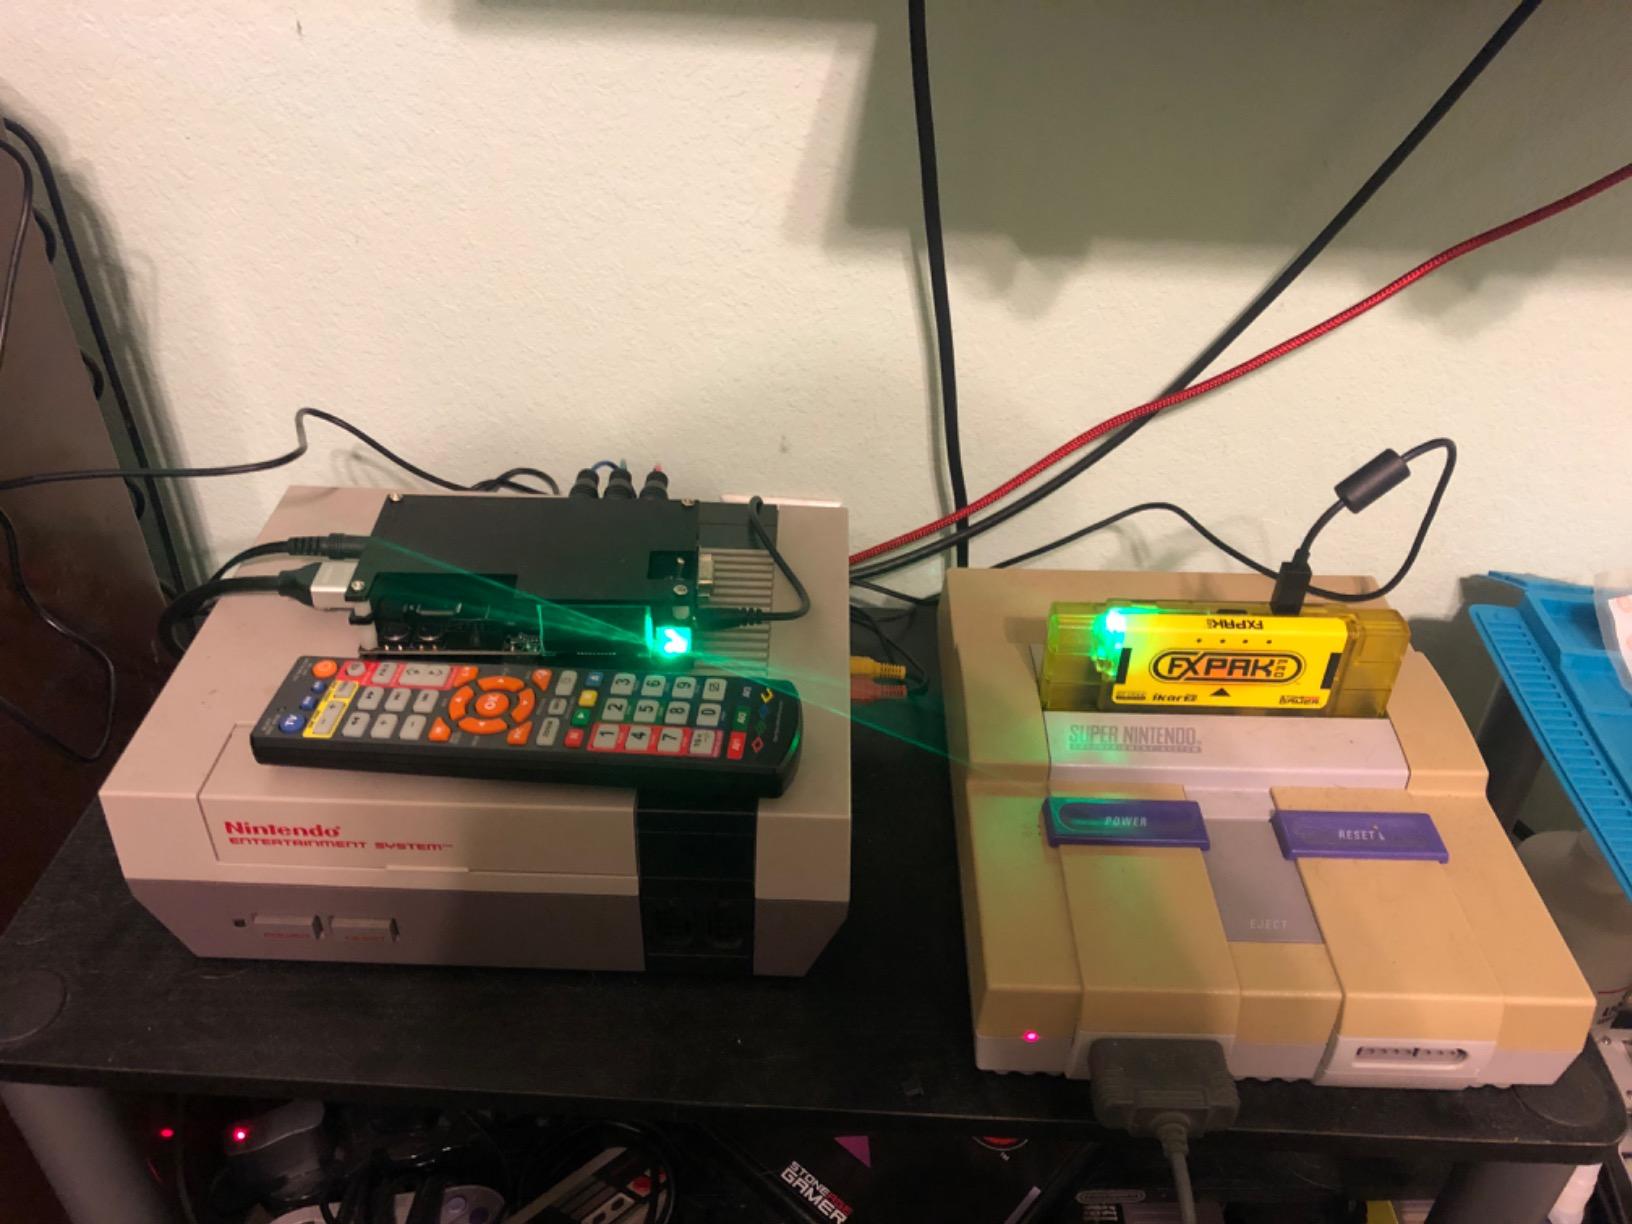
On the technical side, the OSSC handles inputs from 240p all the way up to 1600×1200, which covers virtually every retro console with the right cables. The SD card slot is a fantastic addition because the community has developed optimized profiles for specific consoles, and you can just load them in instead of tweaking dozens of settings manually. The remote control works well, though navigating the menu on the small front-panel display takes some getting used to.
The biggest caveat is compatibility. The OSSC requires RGB SCART cables to deliver its best results, which means you need to buy those separately for each console. It does not work with N64 unless you have an RGB mod installed, and non-RGB modified NES systems are also unsupported. Some modern displays also struggle with the non-standard resolutions the OSSC outputs at higher multiply modes, so you need a TV that accepts arbitrary timings over HDMI.
Best Suited For These Consoles
The OSSC shines brightest with consoles that can output RGB natively, including the SNES, Sega Saturn, PlayStation 1, PAL GameCube, and Sega Mega Drive. If you have RGB-modded consoles or original RGB SCART cables, this device will extract the absolute best image quality possible from them.
It is not suitable for the N64 without modification, the original NES without an RGB mod, or NTSC GameCube systems. If your collection leans heavily toward those systems, you may want to consider a different option or budget for console modifications.
What You Need to Know Before Buying
Beyond the OSSC itself, you will need quality RGB SCART cables for each console you plan to use, which can add $20 to $40 per cable. You also need a display that accepts the non-standard HDMI timings the OSSC outputs, particularly at 4X, 5X, and 6X modes.
The open-frame design means the internal circuit board is exposed, which is great for cooling but means you should keep it away from dust and liquids. If you want a protective case, several 3D-printed options are available from the community.
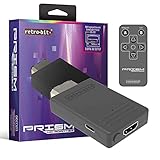
2. Retro-Bit Prism HDMI Adapter for GameCube – Plug-and-Play Simplicity
Retro-Bit Prism HDMI Adapter for Gamecube
GameCube plug-and-play
Up to 1080p
IR remote control
USB-C firmware
Scan filters
No console modification
Pros
- Plug-and-play setup works out of the box
- Excellent picture quality improvement over composite
- Supports up to 1080p output
- IR remote for adjusting settings
- USB-C port for firmware updates
- Customizable on-screen display
Cons
- Only works with DOL-001 GameCube model with digital AV port
- Device sticks out significantly from the console
- Weight may strain the digital AV port
- Remote control quality questioned by some users
As someone who has been playing GameCube games since the console launched, the Retro-Bit Prism feels like the accessory Nintendo should have made years ago. I plugged it into my GameCube’s digital AV port, connected an HDMI cable, and was playing Wind Waker in gorgeous upscaled quality within 30 seconds. No configuration, no firmware flashing, no tweaking, just pure plug-and-play simplicity.
The image quality improvement over composite video is genuinely dramatic. Text that was previously blurry becomes crisp, colors pop with more vibrancy, and the 1080p output looks excellent on modern displays. The Prism includes scan filters that you can toggle using the included IR remote, letting you add subtle CRT-style effects if you want that authentic look without going overboard.
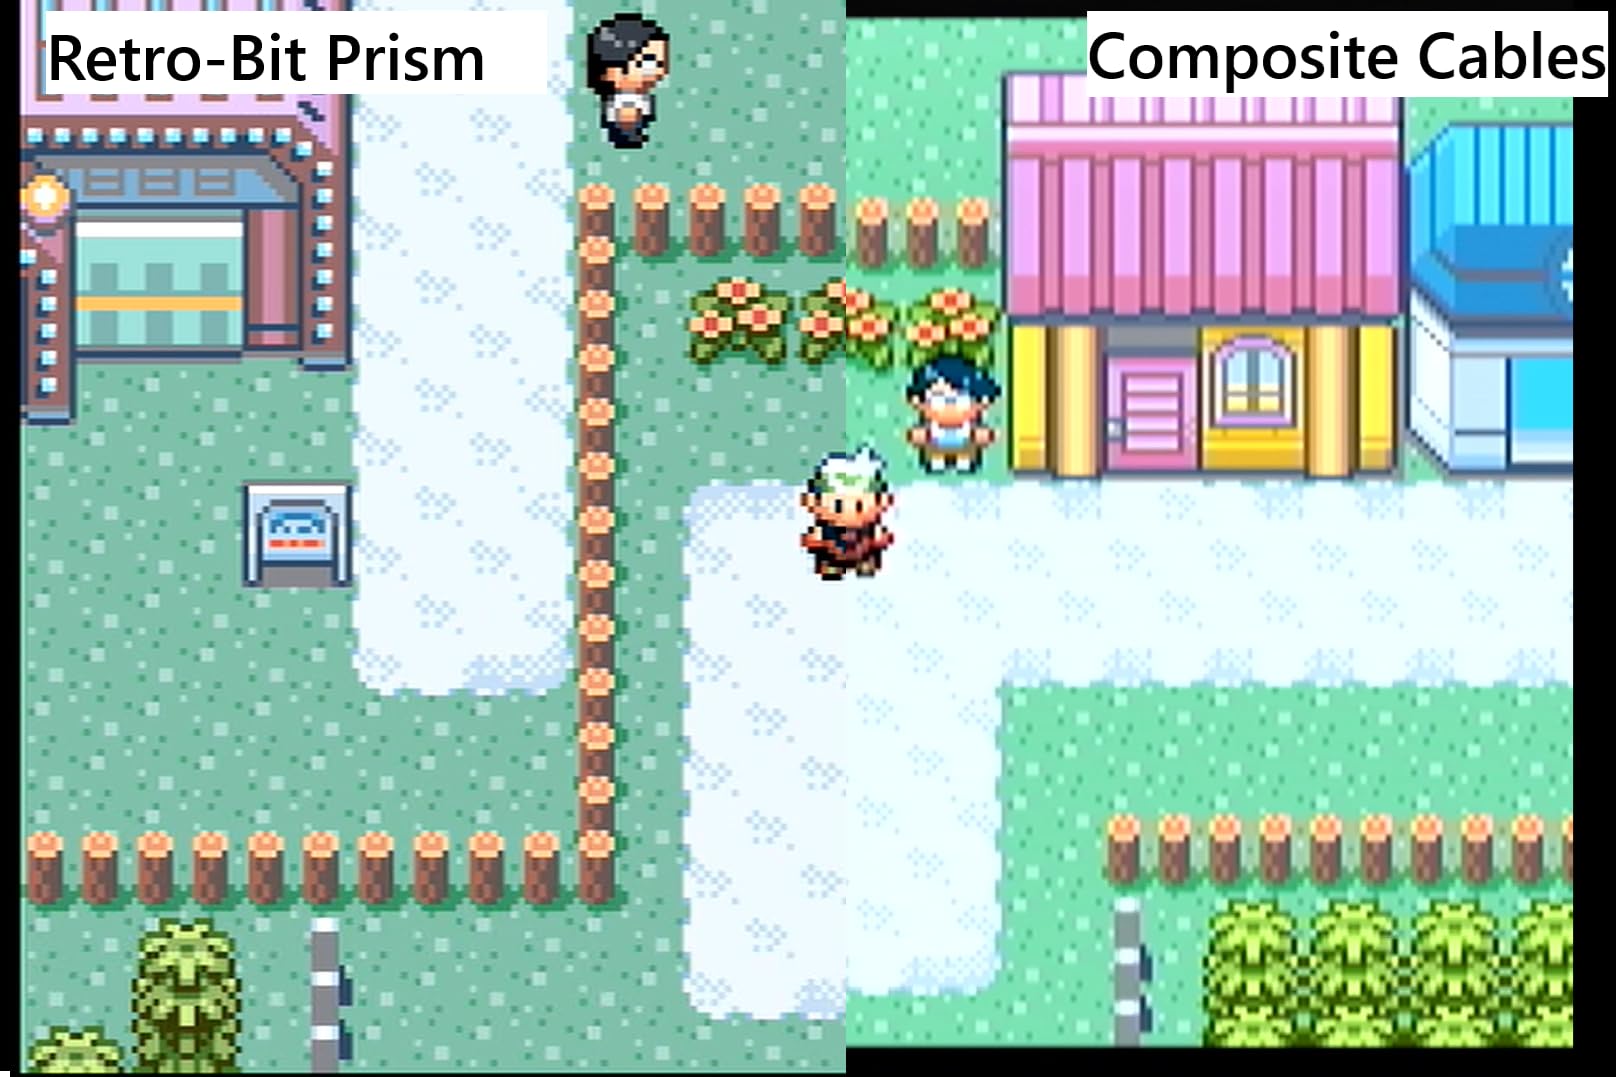
The USB-C port serves double duty for firmware updates and for loading additional language options, which is a nice touch. Retro-Bit has been good about releasing firmware improvements, and the update process is straightforward. The on-screen display lets you fine-tune settings without leaving your couch thanks to the remote.
The main limitation is critical to understand: the Prism only works with the DOL-001 GameCube model, which has the digital AV port. The later DOL-101 model removed this port entirely, so the Prism simply will not connect. I also noticed that the device sticks out from the console quite a bit, and its weight can put strain on the port if you do not support it properly.
Console Compatibility Details
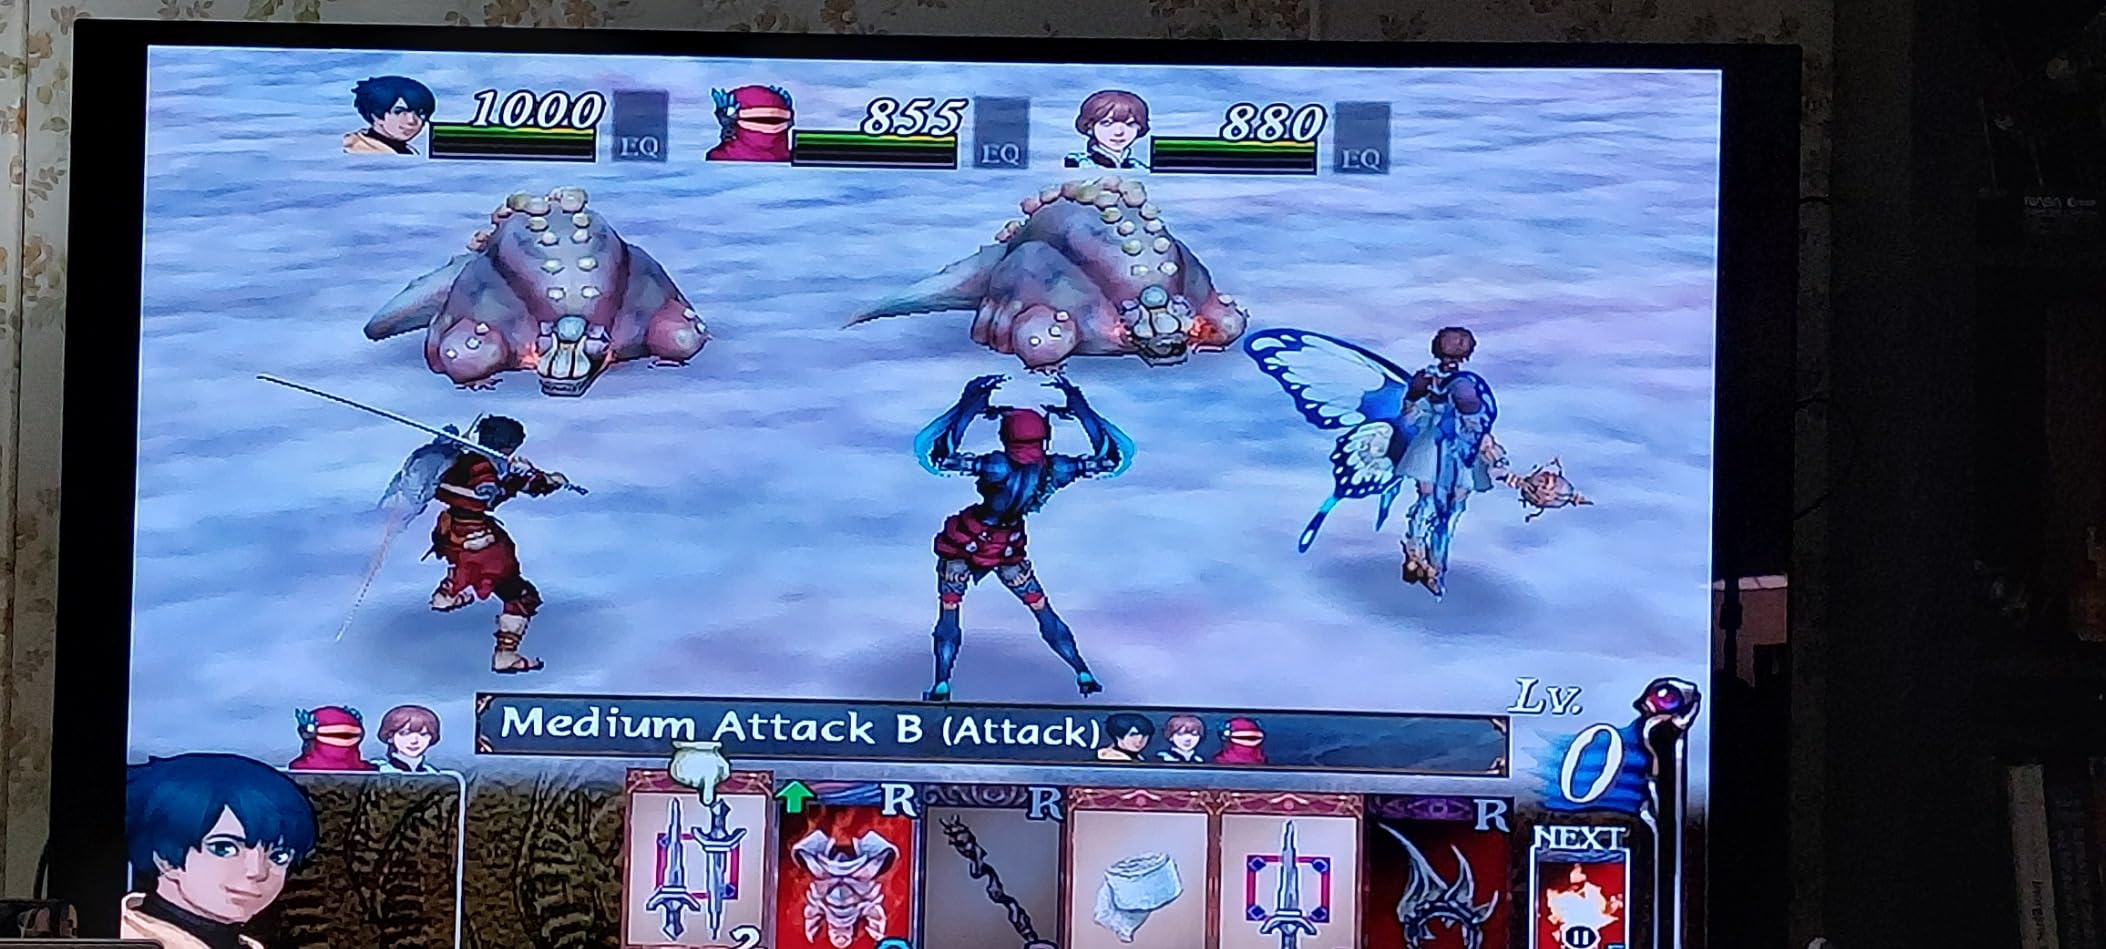
The Retro-Bit Prism is designed exclusively for the Nintendo GameCube DOL-001 model. You must check the bottom of your console to confirm it has the digital AV port before purchasing. The DOL-101 model, which lacks this port, is completely incompatible.
This is a single-console solution, not a universal upscaler. If GameCube is your primary retro system and you want the easiest possible path to HDMI output, nothing beats the Prism for simplicity and value.
Setup and Installation Tips
Installation is as simple as removing the port cover on the back of your GameCube and plugging the Prism into the digital AV port. Use a high-quality HDMI cable and consider supporting the device with a small stand or foam pad to prevent port strain over time.
Use the IR remote to experiment with the scan filter settings. Some games look better with filters on, while others benefit from a clean digital signal. The OSD menu is intuitive and lets you switch settings mid-game.
3. Mcbazel ODV-GBS-C RGBS/SCART/YPbPr/VGA Scan Converter – Budget Feature-Rich Option
Mcbazel ODV-GBS-C RGBS/SCART/YPbPr/VGA to HDMI/VGA Scan Converter for Retro Gaming Console with US Plug – NO AV/Composite/RCA | VGA Max 60Hz
Lag-free processing
Adaptive de-interlacing
WiFi smartphone control
Scanline generator
RGB calibration knobs
Firmware upgradable
Pros
- Lag-free signal processing
- Adaptive de-interlacing for 480i content
- WiFi control via smartphone app
- Scanline effect for authentic CRT appearance
- RGB color calibration knobs
- Supports multiple input types including RGBS
- YPbPr
- and VGA
Cons
- RGB knobs only work with RGBS input not YPbPr
- Gets hot during extended use and needs ventilation
- Documentation is not always clear
- N64 and GameCube require additional ODV-II converter
- VGA input limited to 60Hz
The Mcbazel ODV-GBS-C is essentially a modified version of the GBS-Control open-source project, and it packs an impressive amount of functionality into a sub-$100 package. I tested it with my PS2 over component video, my SNES over RGBS, and an old VGA source, and it handled all of them with lag-free performance that felt indistinguishable from playing on original hardware.
The standout feature for me was the WiFi control via smartphone. Instead of navigating a tiny front-panel display, you connect your phone to the converter’s built-in WiFi hotspot and access a web interface that gives you full control over all settings. This makes adjusting scanline intensity, deinterlacing modes, and output resolution dramatically easier than fiddling with physical buttons.
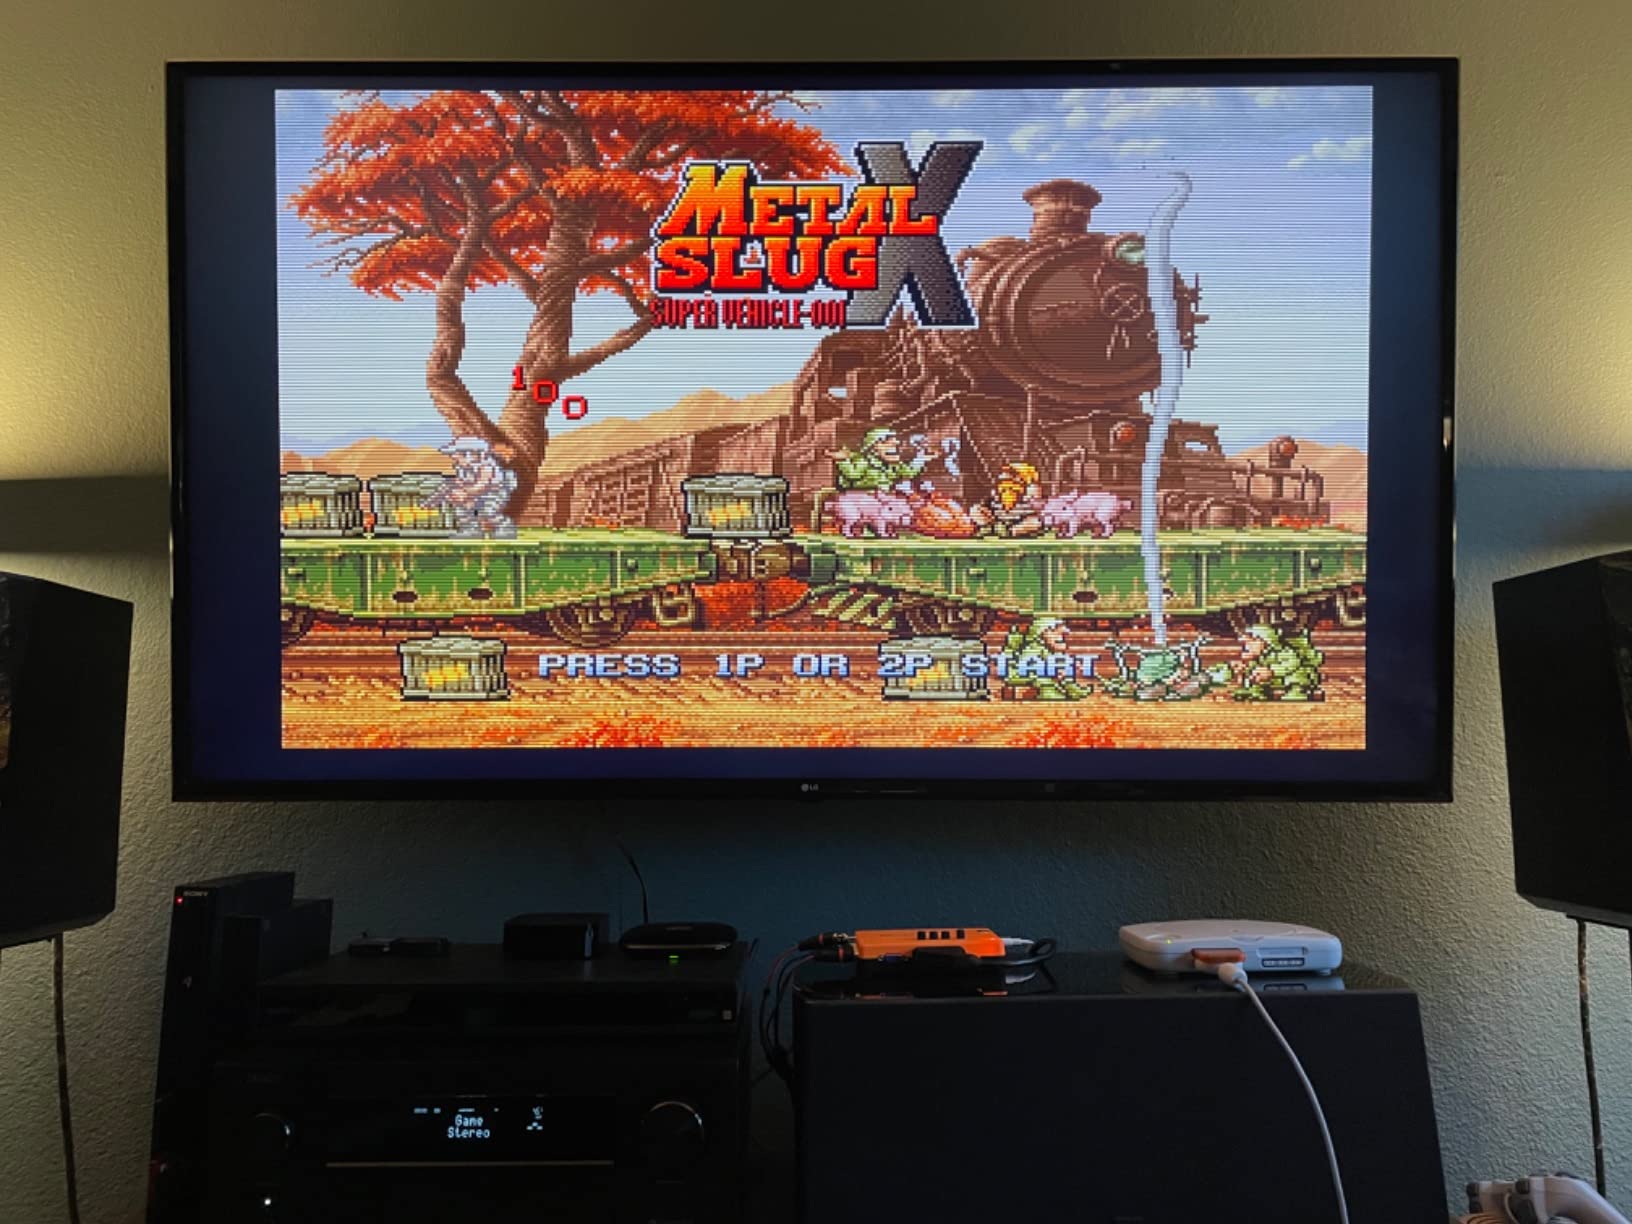
On the technical side, the adaptive deinterlacing does a solid job with 480i content from systems like the PS2 and GameCube. It converts interlaced signals to progressive output with minimal artifacting, and the built-in scanline generator adds a convincing CRT effect for purists who want that authentic look. The RGB color calibration knobs on the front panel are useful, though they only function with RGBS or RGBHV inputs.
The main drawback during testing was heat. After about two hours of continuous use, the unit gets noticeably warm, and during longer sessions it can get quite hot. I would recommend placing it in a well-ventilated area and not stacking anything on top of it. The documentation is also sparse, so you may need to consult online communities for setup guidance.
Console Compatibility Guide
The Mcbazel GBS-C works well with the SNES, Sega Genesis, PlayStation 2 over component, and any console that can output RGBS, YPbPr, or VGA. It supports 240p, 480i, and 480p input signals and outputs VGA up to 1280×1024.
For N64 and GameCube, you will need the additional Mcbazel ODV-II converter to get the right signal into the GBS-C. The VGA input is capped at 60Hz, which is fine for retro gaming but limits its usefulness as a general-purpose VGA converter.
WiFi Control and Firmware Notes
The WiFi web interface is a game-changer for tuning. You can adjust every setting from your phone, save profiles, and even apply community-developed presets for specific consoles. Just connect to the WiFi network the device broadcasts and open your browser.
Firmware updates are available via USB and are recommended to get the latest features and bug fixes. Check the community forums for the latest firmware versions, as they often include improvements over the stock firmware.
4. RetroScaler2x by BITFUNX – Compact Zero-Lag Line Doubler
RetroScaler2x AV/SV/YPBPR to HDMI™ Converter, NTSC/PAL Support (Red)
Zero lag design
AV-S-Video-YPbPr inputs
240p-480i to 480p-576p
Filter mode for 3D games
Pass-through mode
NTSC and PAL support
Pros
- Zero lag proven by multiple measurements
- Supports both NTSC and PAL
- Filter mode for reducing flicker in 3D games
- Pass-through mode for transparent signal digitization
- Compact and lightweight design
- Affordable option for retro gaming upscaling
Cons
- May require firmware update for optimal performance
- No 16:9 to 4:3 aspect ratio switch
- Some users report startup delays
- May need resolution setting adjustments for some consoles
The RetroScaler2x caught my attention because it fills a nice middle ground between basic converters and full-featured upscalers. I tested it with my PlayStation 2, N64, and Sega Saturn, and the zero-lag performance was confirmed across all three systems. Games felt immediately responsive with no detectable delay between button presses and on-screen actions.
What makes this little device interesting is its multiple operating modes. The line doubler mode takes 240p or 480i signals and doubles them to 480p or 576p, which is a clean, straightforward conversion that most modern TVs handle well. The filter mode applies processing that reduces flicker in 3D games from systems like the PS1 and N64, which can be genuinely useful for titles that used interlacing tricks.
The pass-through mode digitizes the analog signal without applying any scaling or processing, which is handy if you want to feed the signal into another device or capture card for streaming. The compact size is a real advantage, as the RetroScaler2x is small enough to tuck behind your console setup and forget about it.
I did encounter some quirks during testing. Some consoles needed resolution adjustments to get optimal output, and a few users in the community have reported needing a firmware update to resolve startup delays. There is also no aspect ratio switch, so if your TV does not let you force 4:3, older games will stretch to fill a widescreen display.
Supported Console List
The RetroScaler2x is compatible with the PS2, N64, Dreamcast, Sega Saturn, Mega Drive, SNES, and Super Famicom. It accepts AV composite, S-Video, and YPbPr component inputs, making it one of the more versatile compact upscalers in this price range.
Both NTSC and PAL signals are supported, so this is a good option if you have imported consoles or games from different regions.
Firmware and Performance Notes
If you experience any startup delays or compatibility issues, check for a firmware update from BITFUNX. Several users have reported that the latest firmware resolves common quirks and improves stability with certain consoles.
For best results, take time to adjust the resolution settings for each console. The default settings work for most systems, but finetuning can make a noticeable difference in image sharpness and color accuracy.
5. YITROX Component to HDMI Converter Upscaler – Budget Component Solution
Component to HDMI Converter Upscaler Scaler, YPbPr to HDMI Converter Support 1080P for Wii, PS2, PS3, Xbox 360, Blu ray Player, DVD and More
YPbPr to HDMI with upscaling
1080p output
5 resolution options
7 zoom levels
Motion and color optimization
Audio-video sync
Pros
- Works well with PS2 and Wii
- Multiple resolution options from 800x600 to 1920x1080
- 7 zoom levels for picture adjustment
- Optimized for gaming with motion and color optimization
- Compact size
- Good price point for a component to HDMI scaler
Cons
- Black levels may be crushed on some displays
- Some users report image quality similar to non-upscaling converters
- May show vertical lines with certain resolution settings
- Limited effectiveness for shadow detail
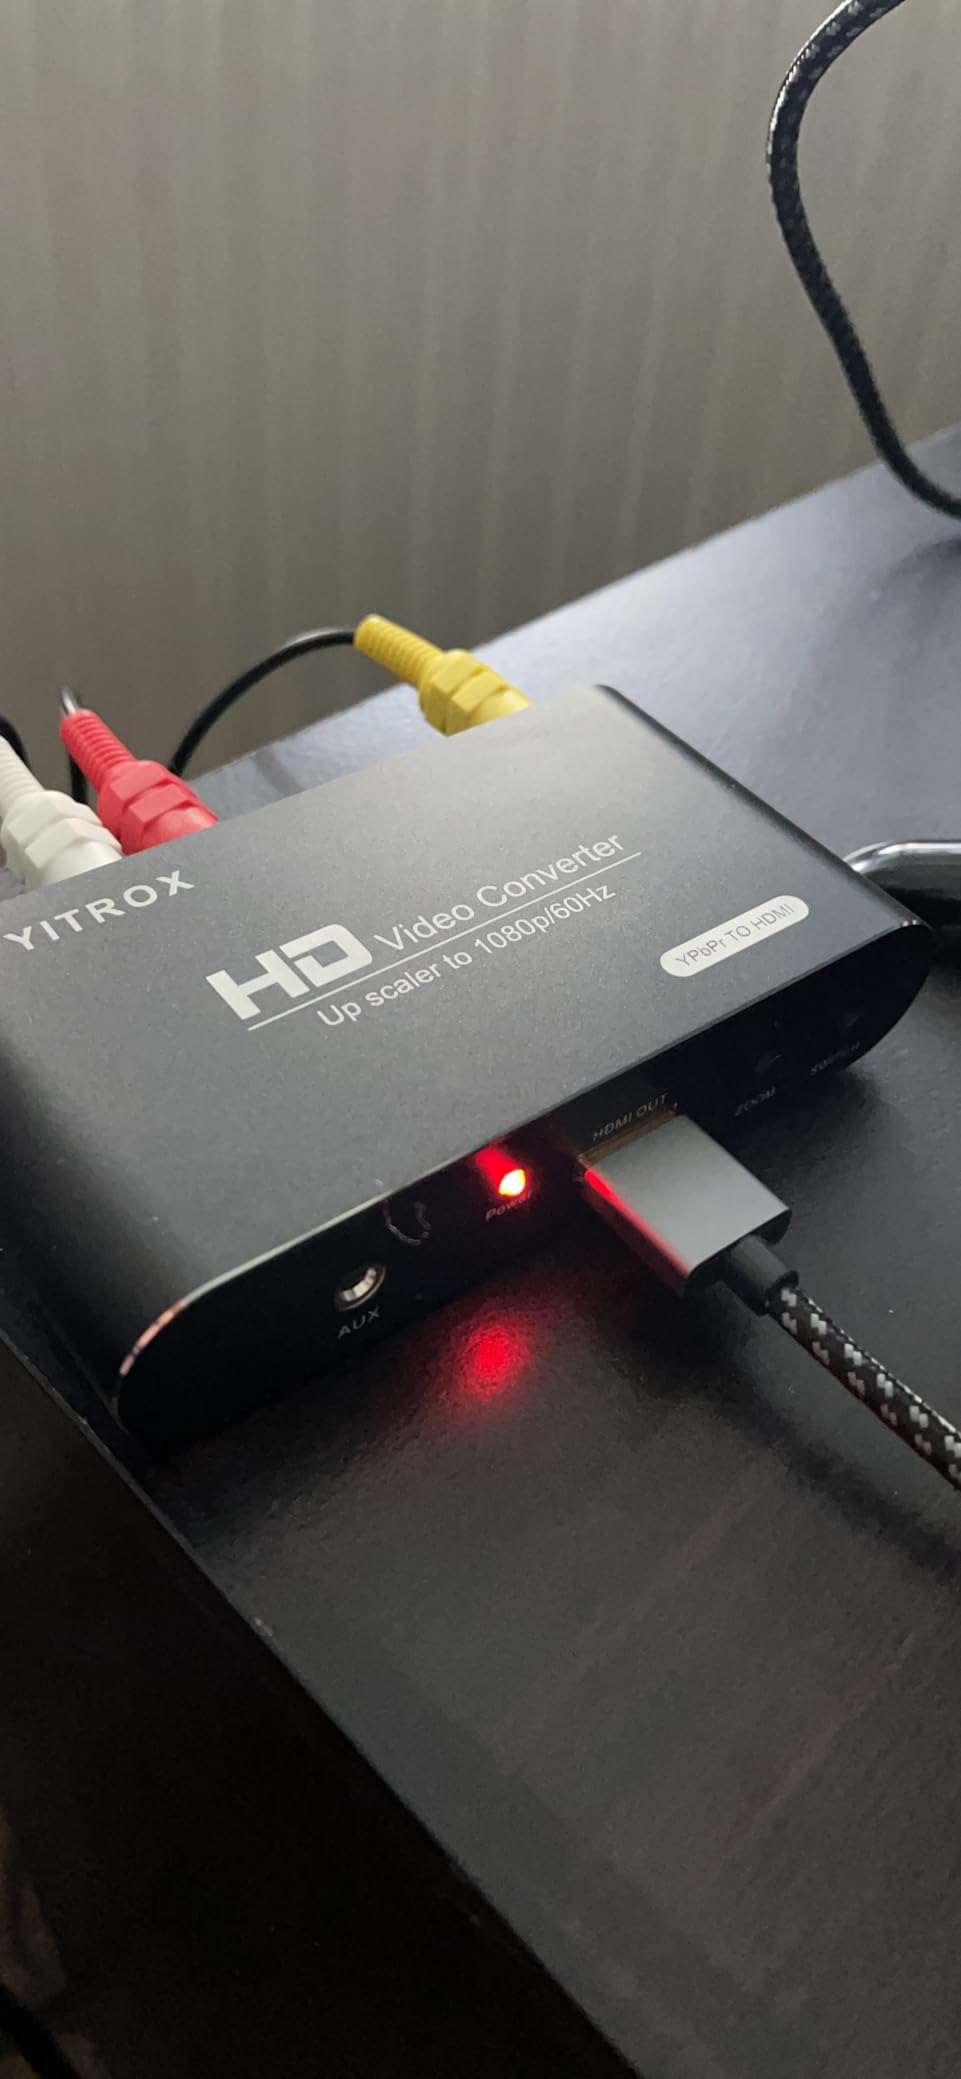
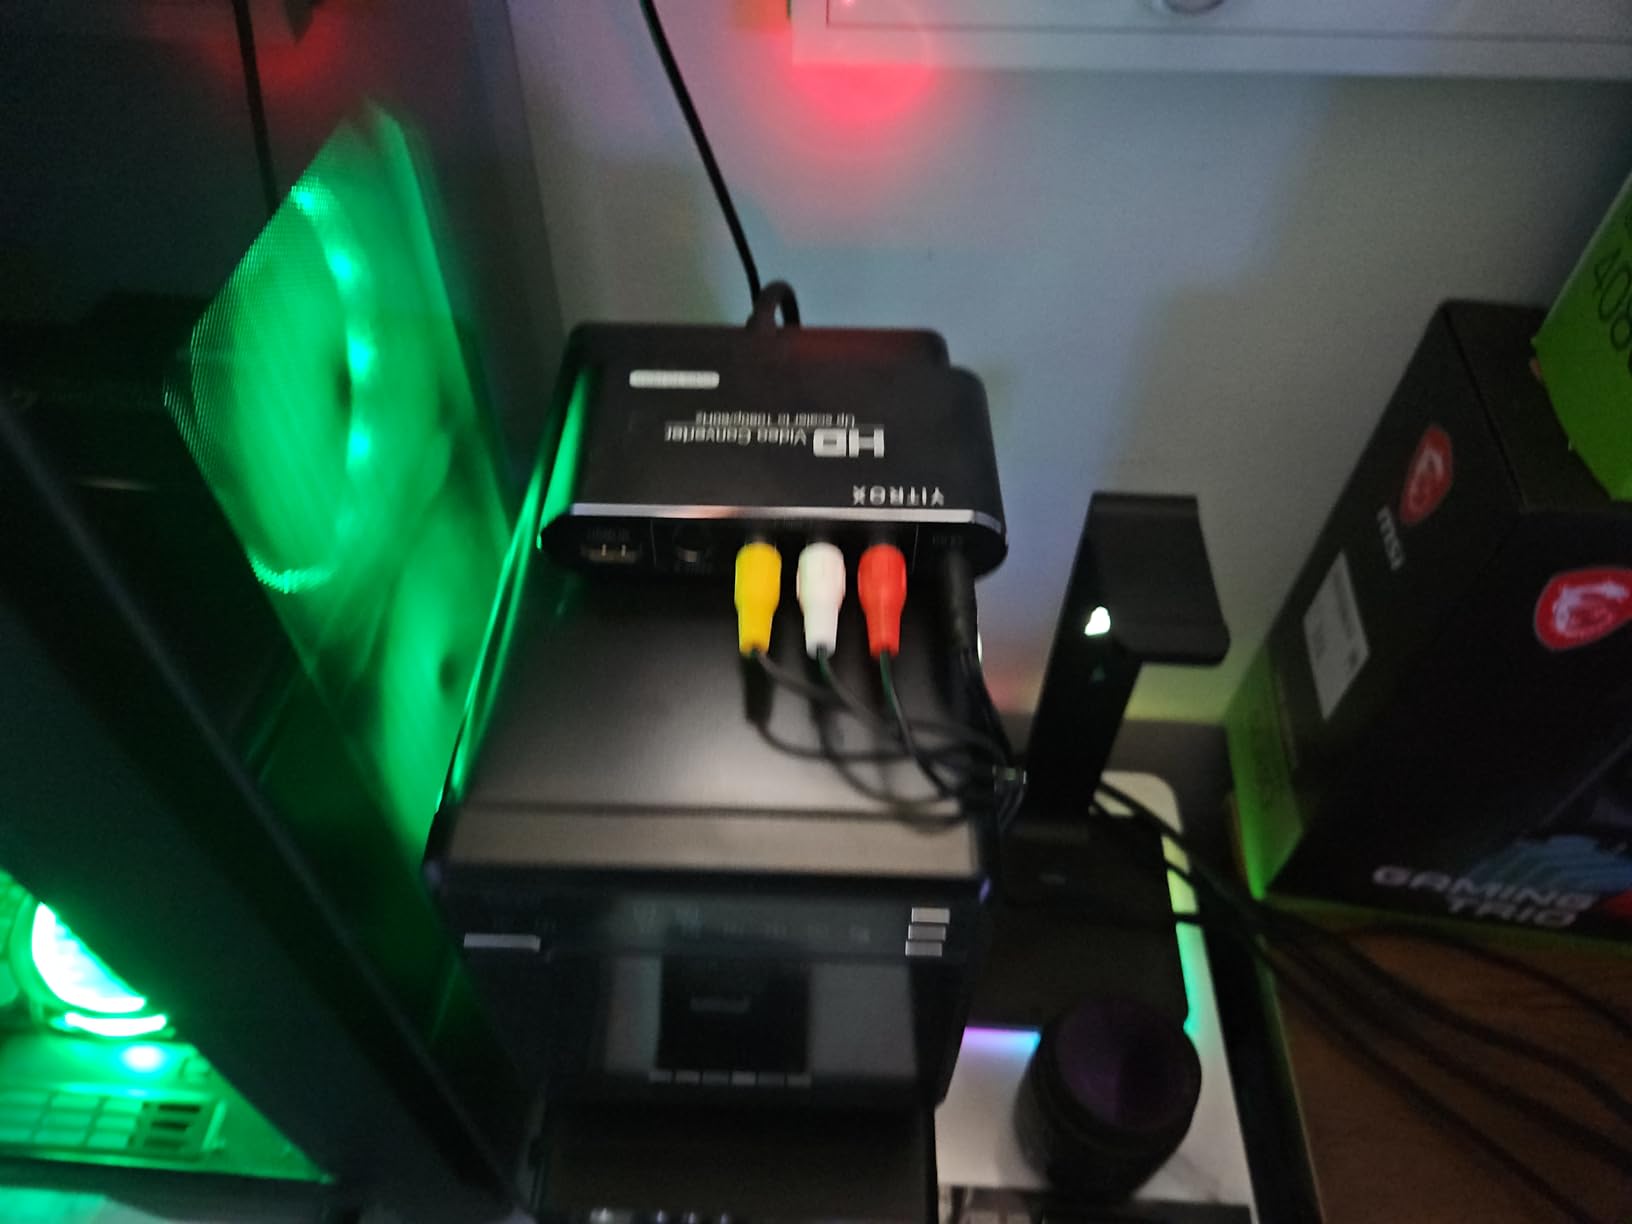
The YITROX occupies a specific niche: it is a component video to HDMI upscaler that is designed primarily for consoles like the Wii, PS2, PS3, and Xbox 360 that can output YPbPr component signals. I tested it extensively with my PS2 and Wii, and it delivered a clean, usable picture that was a clear step up from connecting directly to a TV’s composite input.
One feature I appreciated was the five output resolution options, ranging from 800×600 up to full 1920×1080. This lets you match the output to your display’s native resolution for the cleanest result. The seven zoom levels are useful for correcting overscan issues that some displays apply to HDMI inputs, which can cut off the edges of the image on certain games.
The motion optimization, color optimization, and digital noise reduction features are designed to clean up the signal, and they do make a visible difference with noisy composite sources. However, they are not magic: if your source signal is already poor quality, the YITROX can only do so much to improve it.
The biggest issue I encountered was black level crushing on some displays. Dark scenes in games like Resident Evil on PS2 lost shadow detail, making it difficult to see in dimly lit areas. Some users have also reported that the image quality is not dramatically better than what a basic non-upscaling converter provides, which suggests the upscaling algorithm is relatively basic.
Best Console Pairings
The YITROX works best with consoles that have native component video output, including the Nintendo Wii, PlayStation 2, PlayStation 3, and Xbox 360. These systems output 480p or higher over component, which gives the scaler a better source signal to work with.
It is less effective with older consoles that only output composite video, as the quality ceiling is lower. If your console collection is primarily pre-N64 era, consider a device that supports RGB or S-Video input instead.
Picture Quality Expectations
The YITROX provides a solid, watchable picture that is a genuine improvement over connecting old consoles directly to a modern TV. However, it does not match the pixel-perfect quality of zero-lag line multipliers like the OSSC or RetroScaler2x.
Adjust the resolution and zoom settings for each console to find the sweet spot for your display. If you notice black crush, try different resolution settings or adjust your TV’s black level option if available.
6. ClearClick AV to HDMI Converter 3.0 – Versatile Signal Converter with Remote
ClearClick AV to HDMI Converter 3.0 (Third Generation) – 1080P RCA or S-Video to HDMI Upscaler – with Remote Control for Image Adjustment – VHS, VCR, Camcorder, DVD, TV, Gaming Systems, PAL, NTSC
RCA and S-Video to HDMI
1080p or 720p output
Remote control for adjustments
PAL and NTSC support
Plug and play
2-year warranty extendable to 3
Pros
- Remote control for image adjustments including brightness and contrast
- S-Video input support for higher quality from compatible sources
- Works with PAL and NTSC
- Plug and play with no drivers needed
- Includes 2-year warranty with tech support
- Good for VHS to digital conversion
Cons
- Does not improve inherent quality of composite or S-Video
- Some users report limited effect from brightness and contrast adjustments
- May produce washed out or over-saturated images
- Cheaper alternatives may perform similarly
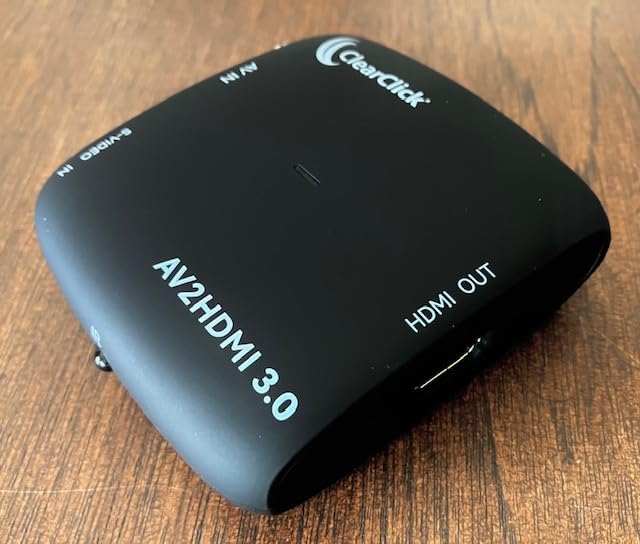
ClearClick has been making signal conversion devices for years, and the AV to HDMI Converter 3.0 is their third-generation model. I tested it with my SNES over composite, a VHS player, and an old camcorder, and it handled all of these sources without any major issues. The inclusion of S-Video input is a welcome addition that gives you better quality from consoles and devices that support it.
The included remote control is the standout feature here. It lets you adjust brightness, contrast, hue, and saturation without getting up from your couch, which is genuinely useful for fine-tuning the picture for different consoles and displays. The ability to switch between 720p and 1080p output is also handy if your display handles one better than the other.
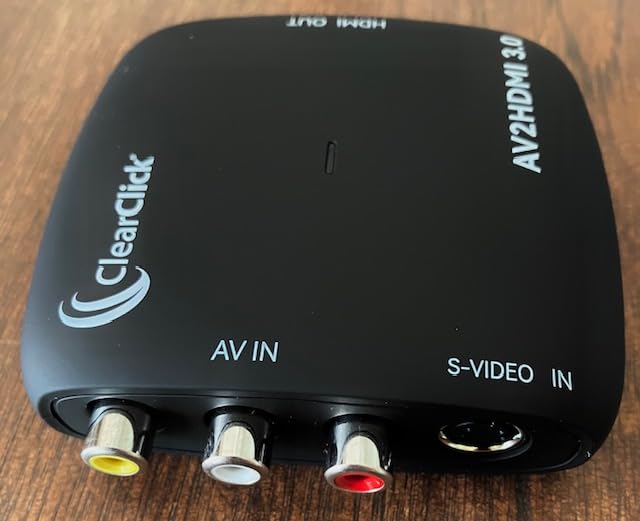
The 2-year warranty, extendable to 3 years with registration, is one of the best warranty offerings in this category. ClearClick also provides tech support, which is reassuring if you run into compatibility issues with specific devices. The USB power cable is included, though you will need your own USB power adapter or an available USB port on your TV.
I need to be honest about expectations: the ClearClick is a signal converter, not a true upscaler. It takes whatever quality your composite or S-Video source provides and converts it to HDMI, but it does not magically enhance the resolution or clarity. If your source looks soft and noisy, the HDMI output will also look soft and noisy, just at a higher resolution container.
Best Use Cases
The ClearClick excels in mixed-use scenarios where you need to connect multiple types of analog devices. If you are converting VHS tapes, connecting an old camcorder, and playing retro consoles through the same device, the ClearClick’s versatility and remote control make it a practical choice.
For pure retro gaming, it is a decent option for casual players who want a simple solution and are not overly concerned about pixel-perfect image quality or zero-lag performance.
Image Adjustment Capabilities
The remote control gives you access to brightness, contrast, hue, and saturation adjustments. These can help compensate for the limitations of composite video and dial in a more pleasing picture, though some users report the adjustments have a relatively narrow effective range.
If the image looks washed out or oversaturated, spend some time with the remote to find settings that work for your specific console and display combination. Small adjustments can make a noticeable difference.
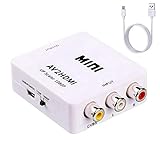
7. ABLEWE RCA to HDMI Converter – Ultra-Affordable Basic Conversion
ABLEWE RCA to HDMI Converter, 1080P AV to HDMI RCA Composite CVBS Video Audio Converter Adapter Supporting PAL/NTSC for Xbox/PS2/Wii/SNES/N64/VHS/VCR/DVD
RCA composite to HDMI
720p or 1080p output
PAL-NTSC-SECAM
Plug and play
USB powered
12 month warranty
Multiple color options
Pros
- Extremely affordable price point
- Works reliably for basic RCA to HDMI conversion
- Supports 720P and 1080P output switch
- Wide compatibility with PAL
- NTSC
- and SECAM
- Plug and play with no drivers needed
- Compact and lightweight
- Widely available as best seller in category
Cons
- Does not truly upscale or improve video quality
- 720P and 1080P settings produce similar output quality
- Composite video limitations remain visible
- USB power cable included but power adapter not included
- Feels cheaper in construction compared to metal-enclosed units
The ABLEWE RCA to HDMI Converter is the best-selling device in Amazon’s Video Converters category, and with over 3,900 reviews at the time of writing, it is by far the most popular option on this list. I picked one up to see what all the fuss was about, and the answer is simple: it works, it is incredibly cheap, and it gets the job done for people who just need a basic signal conversion.
I tested it with my SNES, N64, and PS2 over composite video, and in every case the ABLEWE successfully converted the RCA signal to HDMI. The picture is exactly what you would expect from a straight composite-to-digital conversion: playable and watchable, but with all the softness, color bleeding, and noise that composite video inherently carries. The 720p and 1080p switch exists, but I could not tell the difference between the two settings in actual use.
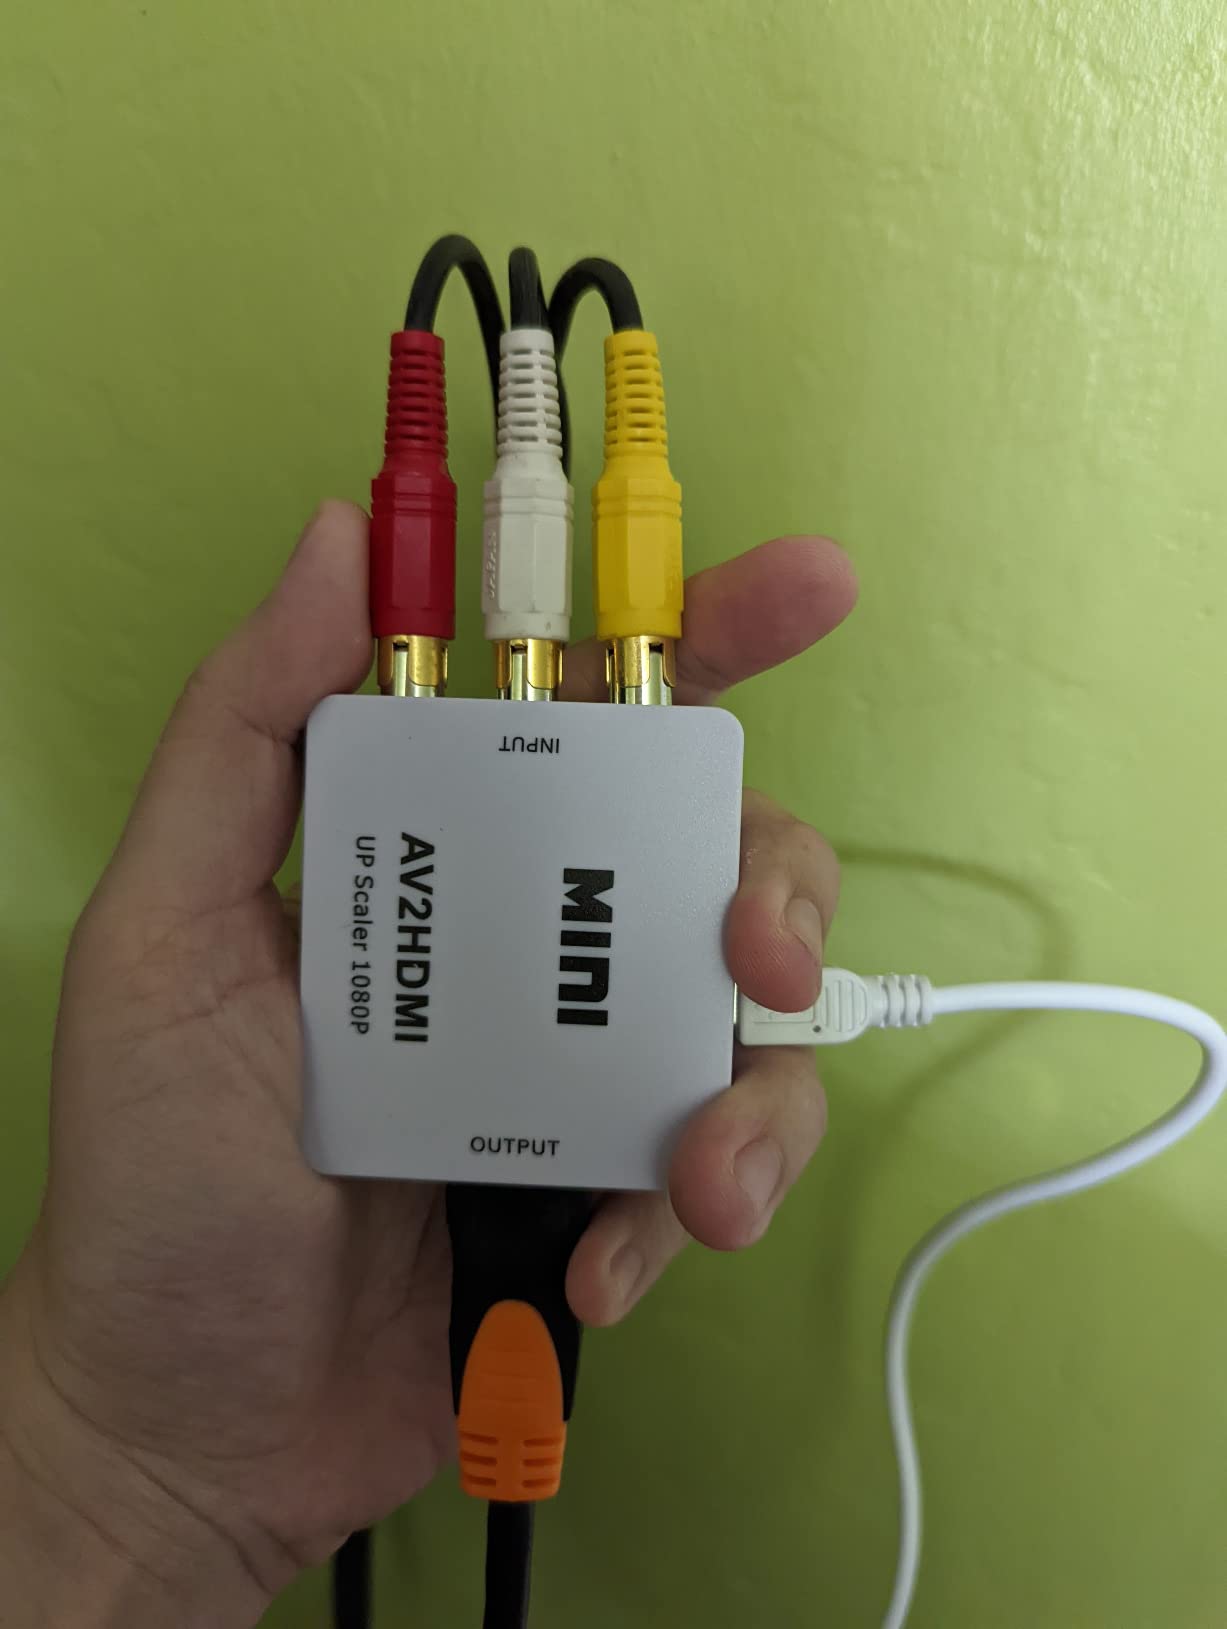
What the ABLEWE does well is reliability and simplicity. You plug in the RCA cables, connect an HDMI cable to your TV, provide USB power, and it just works. The device supports PAL, NTSC, and SECAM formats, making it compatible with consoles from any region. The build quality is lightweight plastic, which feels cheap but keeps the device small and portable.
I want to be very clear about what this device is and is not. The ABLEWE is a signal converter, not an upscaler in the traditional sense. It wraps your composite video signal in an HDMI container, but it does not enhance, deinterlace, or scale the image in any meaningful way. If you want your retro games to actually look better on a modern TV, you need one of the other devices on this list.
What It Can and Cannot Do
The ABLEWE can convert any standard RCA composite video signal to HDMI output at either 720p or 1080p. It works with virtually any device that has RCA outputs, including retro consoles, VHS players, DVD players, and older camcorders.
It cannot improve the quality of your source signal. Composite video will look like composite video regardless of whether the HDMI output is set to 720p or 1080p. There is no deinterlacing, no scanline generation, and no lag-reduction processing.
Best Budget Use Cases
The ABLEWE is perfect for casual retro gaming sessions where you just want to get a console running on a modern TV without spending more than the cost of a lunch. It is also a good emergency backup to keep in your gaming bag for conventions, hotel rooms, or visiting friends.
If you are setting up a dedicated retro gaming station and care about image quality or input lag, skip this option and look at the RetroScaler2x or Mcbazel GBS-C instead.
How to Choose the Right HDMI Upscaler for Your Retro Consoles?
Choosing the right upscaler comes down to understanding your needs across a few key categories. Let me walk you through the factors that matter most for retro gaming so you can make an informed decision.
Input Lag: The Single Most Important Factor
For retro gaming, input lag is everything. Games designed for CRT televisions expect zero processing delay between your controller input and the on-screen action. When modern TVs add their own scaling and processing, even 30 to 50 milliseconds of delay can make timing-critical games like platformers and fighting games feel sluggish and unfair.
True zero-lag upscalers like the Kaico OSSC and RetroScaler2x use line multiplication rather than frame buffering, which means they process the signal in real time with effectively no added delay. Basic converters like the ABLEWE and ClearClick also add minimal lag since they do simple signal conversion, but they cannot improve the image quality. The danger zone is upscalers that buffer frames for processing, which can add significant delay.
If input lag is your top priority, look for devices that specifically advertise zero-lag or line-doubling technology. The RetroTINK lineup (not covered in this article but worth researching) and OSSC-based devices are the gold standard in this category.
Resolution and Scaling Technology
Different upscalers use fundamentally different technologies to convert your retro console’s signal for modern displays. Understanding the difference helps you choose the right device.
Line multipliers like the OSSC take each scanline and output multiple copies, doubling, tripling, or even sextupling the signal. This preserves pixel art perfectly and adds zero lag, but it requires a display that can accept non-standard resolutions. The output is not 1080p or 4K in the traditional sense, but rather a higher scan-rate version of the original signal.
Traditional scalers like the YITROX and Mcbazel GBS-C use processing chips to scale the image to standard resolutions like 720p and 1080p. These work with virtually any display but may introduce minor lag or image artifacts depending on the quality of the scaling algorithm.
Simple converters like the ABLEWE and ClearClick just wrap the analog signal in a digital HDMI container without any real scaling. They work with any display but offer no quality improvement over the original signal.
Console Compatibility
Before buying any upscaler, check which consoles it supports and what type of cable you need. Most upscalers accept specific input types, and not all consoles output the same signal format.
Consoles like the SNES, Genesis, Saturn, and PlayStation 1 can output RGB, which provides the best quality when paired with an OSSC or GBS-C and the appropriate SCART cables. Consoles like the PS2, Wii, and Xbox output component video (YPbPr), which works with the YITROX, GBS-C, and RetroScaler2x. Older consoles like the NES and non-modded N64 typically only output composite, which limits your options to basic converters or the RetroScaler2x.
Single-console solutions like the Retro-Bit Prism for GameCube are excellent if you primarily play one system, as they require no cable purchases and offer true plug-and-play setup.
CRT Filters and Scanlines
Many retro gamers want their games to look like they did on a CRT television, complete with scanlines and phosphor glow effects. Several upscalers on this list offer built-in scanline generation.
The Mcbazel GBS-C has a scanline generator with adjustable intensity that can be controlled via the WiFi web interface. The RetroScaler2x offers filter modes that can add CRT-like effects while reducing flicker in 3D games. The Retro-Bit Prism includes scan filters accessible through its IR remote and on-screen display.
For the ultimate CRT emulation, premium devices like the RetroTINK 4K and PixelFX Morph 4K (beyond the scope of this article) offer cutting-edge CRT phosphor emulation filters that can replicate the look of specific CRT models. Community discussions on Reddit confirm these produce imperceptible processing delay with stunning visual results.
Cable Requirements
Budget for cables when choosing an upscaler. RGB SCART cables for the OSSC typically cost $20 to $40 per console, and you need one for each system you plan to use. Component cables for the PS2 and Wii are more affordable but still an additional expense.
If you already have original AV cables for your consoles, basic converters like the ABLEWE and ClearClick will work with no additional cable purchases. The RetroScaler2x accepts AV, S-Video, and component inputs, so it works with whatever cables you already own.
Budget Tiers Explained
Under $15: The ABLEWE is your only real option at this price. It provides basic signal conversion with no quality enhancement, but it gets old consoles running on modern TVs for the cost of a fast food meal.
$40 to $50: The ClearClick and YITROX offer more features including remote controls, multiple resolution options, and better build quality. The YITROX adds actual upscaling for component sources, while the ClearClick focuses on versatile signal conversion with image adjustments.
$80 to $100: The RetroScaler2x, Retro-Bit Prism, and Mcbazel GBS-C represent the sweet spot for serious retro gamers. These devices offer zero-lag performance, advanced features like scanline generation and filter modes, and broad console compatibility.
$170 and above: The Kaico OSSC is for enthusiasts who want the absolute best image quality from their RGB-capable consoles. It requires investment in SCART cables and a compatible display, but the results are unmatched in this product roundup.
Frequently Asked Questions
What is the best upscaler for retro consoles?
The Kaico OSSC 1.8 is our top pick for retro console upscaling thanks to its zero-lag line multiplication technology, HDR mode support, and ability to handle 240p signals from SNES, PS1, Saturn, and other classic consoles with pixel-perfect accuracy when paired with RGB SCART cables.
What is the best HDMI upscaler?
For overall HDMI upscaling quality, the Kaico OSSC 1.8 ranks highest in our testing with zero-lag performance, multiple line multiplier modes up to 6X, and excellent image quality across a wide range of retro consoles.
What is the best HDMI converter for retro gaming?
For budget-conscious gamers, the ABLEWE RCA to HDMI Converter at under $15 is the most popular and affordable option with over 3,900 reviews. For better quality, the RetroScaler2x and Mcbazel GBS-C offer true zero-lag processing with scanline generation at around $80 to $90.
Is there a good 4K upscaler for retro consoles?
While the devices in this roundup max out at 1080p output, the OSSC can achieve high effective resolutions through 5X and 6X line multiplication. For true 4K upscaling with advanced CRT emulation, devices like the RetroTINK 4K and PixelFX Morph 4K are the premium options worth researching.
Why do retro consoles need upscalers?
Retro consoles output low-resolution analog signals designed for CRT televisions. Modern flat-panel TVs have poor built-in scaling for these signals, adding noticeable input lag and producing blurry images. Dedicated upscalers convert and scale retro signals with minimal lag while preserving the crisp pixel art that game developers intended.
Conclusion
Finding the right HDMI upscaler for retro consoles comes down to matching your budget and console collection with the right technology. The Kaico OSSC delivers unmatched pixel-perfect quality for RGB enthusiasts, the Retro-Bit Prism offers unbeatable plug-and-play value for GameCube owners, and budget options like the ABLEWE and ClearClick get old consoles running on modern TVs for minimal investment. For the best all-around retro gaming experience in 2026, start with the devices in our top three and work your way down based on your specific console lineup and display setup.
2 thoughts on “7 Best HDMI Upscalers for Retro Consoles (October 2026) Honest Reviews”