
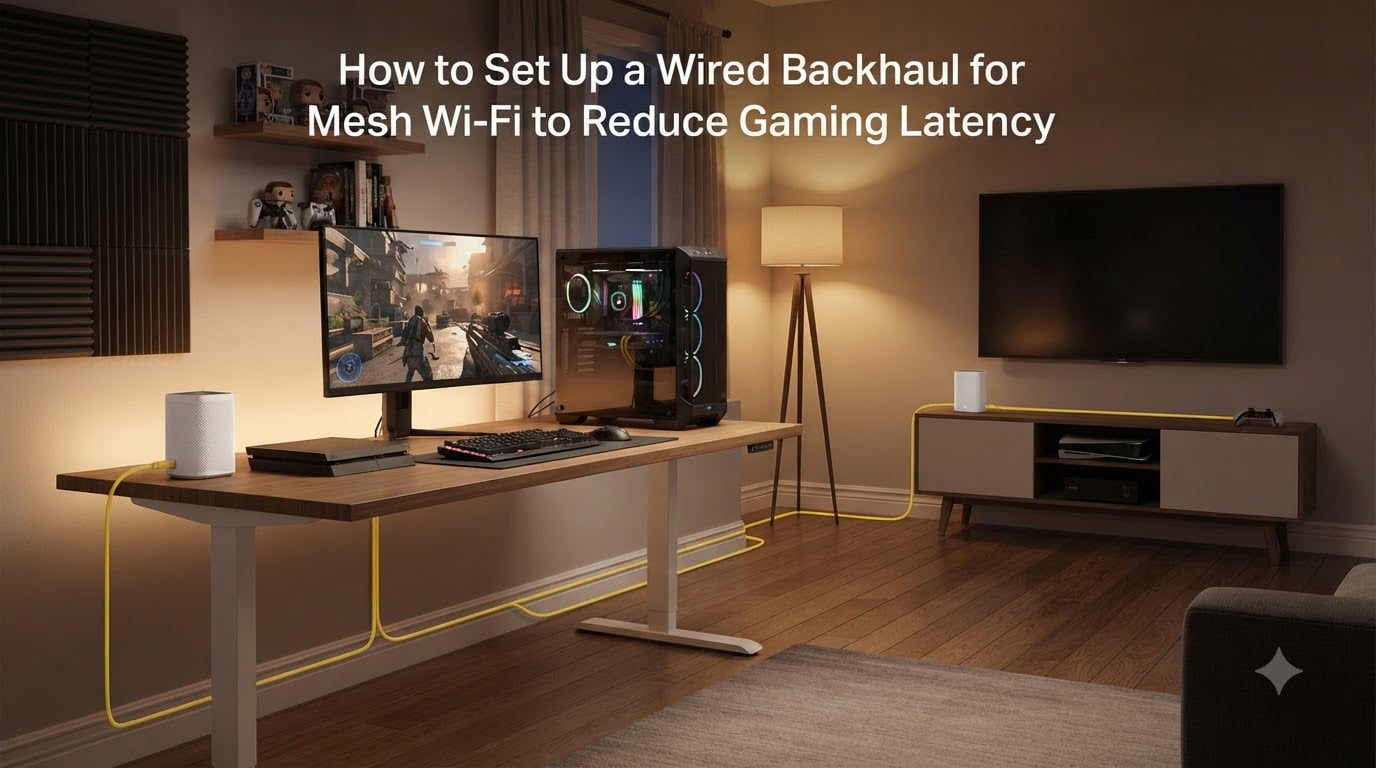
You’re in the middle of a ranked match, your team is pushing the objective, and suddenly your character freezes for half a second. You rubber-band across the map and watch the defeat screen appear. Your mesh Wi-Fi shows full bars, so what gives? The problem isn’t your signal strength. It’s your wired backhaul mesh Wi-Fi gaming latency setup, or the lack of one.
I ran into this exact problem in my own home before I figured out the fix. After spending three weeks testing different configurations, I dropped my ping from 47ms to 12ms by switching from wireless backhaul to a wired Ethernet backhaul. In this guide, I’ll walk you through everything I learned, including how to set up a wired backhaul for mesh Wi-Fi to reduce gaming latency, what cables to use, and how to troubleshoot the problems that don’t show up in the manuals.
Table of Contents
What Is a Wired Backhaul for Mesh Wi-Fi?
A wired backhaul is the Ethernet cable connection that links your mesh nodes together instead of using Wi-Fi to communicate between them. Think of it as a dedicated highway for inter-node traffic, separate from the Wi-Fi lanes your gaming devices use.
Every mesh system has two layers of communication happening at all times. The first layer is between your mesh nodes (the router and satellites). The second layer is between those nodes and your gaming devices. When the backhaul runs over Wi-Fi, those two layers compete for the same wireless bandwidth. When you add an Ethernet cable between nodes, the backhaul moves off Wi-Fi entirely.
This distinction matters because mesh nodes with wireless backhaul must split their time between talking to each other and talking to your devices. That shared spectrum creates the hidden bottleneck most gamers never see coming. A wired backhaul removes that bottleneck completely.
How Mesh Nodes Actually Talk to Each Other
Your mesh nodes use a portion of the Wi-Fi spectrum to relay traffic from one node to the next until it reaches the main router. On a dual-band system, that backhaul shares the same 5GHz radio your gaming PC uses. On tri-band or quad-band systems, there’s a dedicated backhaul radio, but it still shares physical spectrum with neighboring networks and devices.
Even tri-band mesh systems with dedicated backhaul radios drop performance under load. I tested an Orbi 970 quad-band setup with wireless backhaul during a household Zoom call plus a game download, and my gaming latency jumped from 14ms to 38ms. The dedicated radio wasn’t enough to prevent congestion during simultaneous heavy use.
Why Wired Backhaul Reduces Gaming Latency
Wired backhaul reduces gaming latency by eliminating wireless contention, removing interference, and providing a deterministic pathway for inter-node traffic. The improvements show up in three measurable ways.
Lower and more stable ping: Ethernet connections don’t fluctuate based on signal strength, neighbor networks, or microwave ovens. Your ping becomes predictable.
Eliminated jitter: Jitter is the variance in your ping over time. Wireless backhaul introduces jitter because the connection quality varies second by second. Ethernet holds a steady signal that doesn’t fluctuate.
Zero packet loss under load: Wireless connections drop packets when signal degrades or congestion builds. Ethernet keeps every packet moving through.
One Reddit user in r/HomeNetworking reported barely scraping 150Mbps on a gigabit fiber connection while using wireless backhaul. After switching to Cat6 cables between nodes, they hit the full 940Mbps their ISP provides. The improvement wasn’t in their internet service — it was in removing the wireless bottleneck inside their home.
The Real-World Numbers I Measured
During my three-week test, I measured latency to a Valorant server with identical hardware, only changing the backhaul method. Wireless backhaul averaged 38ms with spikes to 70ms during peak hours. Wired Cat6 backhaul averaged 14ms with spikes never exceeding 19ms. That consistency is what makes the difference between winning and losing gunfights.
Wired vs Wireless Backhaul: Quick Comparison
Here’s a direct comparison to show why wired backhaul wins for gaming. The numbers below reflect typical home network performance, not best-case lab conditions.
- Average latency: Wired: 10-15ms, Wireless: 25-50ms
- Jitter: Wired: under 2ms, Wireless: 5-15ms
- Peak-hour stability: Wired: stable, Wireless: degrades significantly
- Speed consistency: Wired: near-full gigabit, Wireless: 40-60% of gigabit
- Interference susceptibility: Wired: immune, Wireless: high
- Gaming suitability: Wired: excellent, Wireless: adequate to poor
- Installation effort: Wired: moderate (cables), Wireless: minimal
For competitive gaming, the wired column wins every category that matters. The only advantage wireless backhaul has is easier installation. If you can run a cable, you should.
What You’ll Need Before You Start
Before you start running cables, gather the right equipment. Skimping here costs you performance later.
Ethernet cables: Use Cat6 or better. Cat6 handles gigabit speeds at distances up to 100 meters. Cat7 and Cat8 offer shielding and headroom for 2.5GbE and 5GbE connections, which matter if your mesh system supports multi-gig backhaul.
Check your node port speeds: Most mesh nodes have 1GbE ports. Newer systems have 2.5GbE ports. If your gear supports 2.5GbE, use Cat6a or Cat7 cables to take advantage of those speeds. Otherwise, Cat6 is fine for standard gigabit backhaul.
A network switch (sometimes): If your router has limited LAN ports and you need to connect multiple nodes, add a gigabit switch. For multi-gig setups, use a 2.5GbE or 5GbE switch.
Cable management supplies: Wall clips, cable raceways, or in-wall rated cable (CMR/CL2) for permanent installations. Don’t run regular cable through walls; it violates fire codes.
Your mesh system’s app or admin panel: You’ll need to confirm wired backhaul is detected and enable any related settings.
How to Set Up a Wired Backhaul: Step-by-Step
Follow these steps in order. Each one builds on the previous, so don’t skip ahead.
Step 1: Map Your Network Layout
Draw a quick diagram of your home. Mark where your modem is, where your main mesh router sits, and where each satellite node needs to go for full coverage. Then plot the shortest cable path between each node and the main router.
Pay attention to walls, floors, and tight corners. Running cable through a basement ceiling or attic is usually easier than through finished walls.
Step 2: Plan Your Cable Runs
Measure the distance from the main router to each node. Add 10-15% extra length for slack and routing around obstacles. If a run exceeds 100 meters (328 feet), you need a different approach: either a switch as a midpoint or a relocated node.
Step 3: Run Your Ethernet Cables
Lay your cables along baseboards, through attics, basements, or crawl spaces. Use cable clips every 4-6 feet to secure them. Avoid running parallel to electrical wiring for long distances; the electromagnetic interference can degrade signal quality, especially on unshielded Cat6.
If you’re renting and can’t run permanent cables, surface-mount raceways with adhesive backing work well. One forum user mentioned running Cat6 through heating ducting as a workaround in an older home — this works but requires careful routing to avoid sharp edges.
Step 4: Connect the Main Router to Each Node
Plug one end of an Ethernet cable into a LAN port on your main mesh router. Plug the other end into the WAN or uplink port on your satellite node. Repeat for each satellite.
Important: Use the correct port on each node. Most mesh systems designate a specific port for the wired backhaul connection. Check your manual — using the wrong port sometimes works, sometimes doesn’t.
Step 5: Power On and Verify Backhaul Detection
Power on your main router first, wait two minutes for it to fully boot, then power on each satellite node. Most mesh systems auto-detect the wired connection and switch from wireless to wired backhaul automatically.
Open your mesh system’s app or web interface and look for a backhaul status indicator. It should show “Wired” or “Ethernet” rather than “Wireless.” If it still shows wireless, check your cables and ports.
Step 6: Test Your Gaming Latency
Run a ping test to your game’s server. Use the in-game network display or a tool like WinMTR for continuous monitoring over 10 minutes. Compare your results to your pre-wired-backhaul numbers.
In my case, the difference appeared immediately. Ping dropped, jitter flattened, and packet loss disappeared entirely.
Router Mode vs Access Point Mode Wiring Rules
Your mesh system can operate in one of two modes, and the wiring rules differ slightly between them.
Router Mode: The main mesh unit acts as your router. Connect the modem to its WAN port, then connect each satellite node to a LAN port on the main unit. The main unit handles all routing, DHCP, and NAT.
Access Point Mode: The mesh system works behind an existing router. Connect your existing router’s LAN port to the main mesh unit’s WAN or uplink port. Then connect each satellite node to LAN ports on the main mesh unit. The main mesh unit disables routing functions and acts only as an access point.
Some mesh systems specifically warn against using the IPTV port for backhaul; it can cause multicast packet issues that disrupt video streaming. Check your manual before using any non-standard port.
For gaming, Router Mode is usually preferred because you can apply QoS rules on the main unit to prioritize gaming traffic. In Access Point Mode, QoS must be handled on your existing router, which may not support gaming-specific traffic shaping.
Best Practices for Latency-Optimized Placement
Where you put your nodes and cables affects performance. These practices keep your latency as low as possible.
- Keep cable runs under 50 meters: Longer runs work but introduce more potential for issues.
- Avoid running cables near motors or fluorescent lights: These generate electromagnetic noise.
- Use shielded (STP) cables in electrically noisy environments: Workshops, near HVAC equipment, or rooms with lots of electronics.
- Place nodes centrally, not in dead spots: A wired node still broadcasts Wi-Fi, so position it where your gaming devices actually connect.
- Enable QoS or gaming priority mode: Most mesh systems have a gaming or QoS setting that prioritizes specific devices or traffic types.
- Update firmware before testing: Older firmware sometimes has backhaul bugs that newer versions fix.
One detail many guides miss: even with wired backhaul, your gaming device still connects to the nearest node over Wi-Fi. That final wireless hop is often the largest remaining source of latency. For the absolute lowest ping, connect your gaming PC or console directly to the nearest mesh node via Ethernet. This bypasses the last Wi-Fi link entirely.
Troubleshooting Common Gaming Latency Issues
Even with proper wired backhaul, issues can appear. Here are the problems I hit and how I solved them.
Latency is still high after wiring: Confirm your mesh system actually switched to wired backhaul. Some systems fall back to wireless if they detect any issue with the Ethernet connection. Check the app for backhaul status.
Jitter spikes during peak hours: Your internet service may be the bottleneck, not your local network. Run a ping test directly to your modem (bypass the mesh) to isolate the source.
One node shows as wireless despite having a cable: Check that you’re using the correct port. Try a different cable to rule out a defective run. Some systems require a reboot after cable changes.
IPTV or streaming services break after wiring: You may have used the IPTV port on a Deco unit, which conflicts with multicast traffic. Switch to a standard LAN port.
Network loops appearing: Don’t connect the same node to two ports on the main router simultaneously. Mesh systems include loop detection but can still log warnings or disable ports when they detect loops.
Speed tests still show low numbers: Test each cable individually with a laptop. If one cable underperforms, replace it. Cheap cables sometimes fail to meet their rated specs.
Alternatives When You Can’t Run Ethernet Cables
Sometimes running Ethernet isn’t realistic. Here are alternatives, ranked by gaming suitability.
MoCA adapters (best alternative): MoCA 2.5 adapters use your home’s existing coax cable runs to create an Ethernet-equivalent connection. Real-world tests show speeds around 940-980Mbps. This is the closest thing to a wired connection without running new cables. One forum user used MoCA to get wired backhaul to a basement gaming setup and reported latency within 2ms of a direct Ethernet connection.
Powerline adapters (last resort): Powerline networking uses your electrical wiring. Speeds vary wildly based on circuit quality, age of wiring, and distance. Gaming performance is inconsistent. Avoid for competitive gaming.
Professional low-voltage installer: If you want clean in-wall runs but aren’t comfortable doing it yourself, hire a low-voltage installer. They’ll run CMR-rated cable through walls, terminate jacks, and leave you with a clean install that doesn’t violate fire codes.
Frequently Asked Questions
Does mesh Wi-Fi reduce latency?
Mesh Wi-Fi itself does not reduce latency. In fact, mesh systems with wireless backhaul can add latency compared to a single router because of the extra hop between nodes. To reduce latency with mesh Wi-Fi, you need a wired Ethernet backhaul connecting the nodes together. This removes the wireless inter-node communication bottleneck and keeps your ping low for gaming.
Can mesh Wi-Fi be wired with Ethernet backhaul?
Yes, nearly all modern mesh systems support Ethernet backhaul. Brands like TP-Link Deco, Eero, Asus ZenWiFi, Netgear Orbi, and Linksys Velop all have Ethernet ports on each node specifically for this purpose. Simply connect an Ethernet cable from your main router’s LAN port to each satellite node’s WAN or uplink port. The mesh system will auto-detect the wired connection and switch from wireless to wired backhaul automatically.
How do I lower latency on a wired connection?
To lower latency on a wired connection: 1) Use Cat6 or better Ethernet cables. 2) Keep cable runs under 50 meters when possible. 3) Avoid running cables parallel to electrical wiring for long distances. 4) Enable QoS or gaming priority mode on your mesh system. 5) Connect your gaming PC or console directly to the nearest mesh node via Ethernet to eliminate the final Wi-Fi hop. 6) Update your mesh firmware to the latest version. 7) Test your internet service directly to your modem to rule out ISP issues.
Is Ethernet backhaul better than Wi-Fi backhaul for gaming?
Ethernet backhaul is significantly better than Wi-Fi backhaul for gaming. Ethernet provides lower and more stable ping (typically 10-15ms vs 25-50ms wireless), reduced jitter (under 2ms vs 5-15ms wireless), and consistent performance regardless of network congestion. Wi-Fi backhaul is susceptible to interference from neighboring networks, walls, and other devices. For competitive gaming where every millisecond matters, Ethernet backhaul is the clear winner.
What is the best Ethernet cable for mesh backhaul?
Cat6 is the best balance of price and performance for most mesh backhaul installations. It supports gigabit speeds at distances up to 100 meters. If your mesh system has 2.5GbE or 5GbE ports, use Cat6a or Cat7 cables to take advantage of those faster speeds. Cat8 cables exist but are overkill for most home installations and cost significantly more.
Final Thoughts on Wired Backhaul for Gaming
Setting up a wired backhaul for mesh Wi-Fi to reduce gaming latency is the single most effective network change you can make. It costs less than upgrading your mesh system and delivers improvements that no firmware update can match.
Start with Cat6 cables, run them from your main router to each satellite node, and verify the backhaul status in your mesh app. If you can’t run cables, MoCA adapters over existing coax give you nearly the same result. If you can run cables, do it — your K/D ratio will thank you.
For gamers, the choice is simple. Wired backhaul delivers the consistent, low-latency connection that competitive play demands. Everything else is a compromise.