
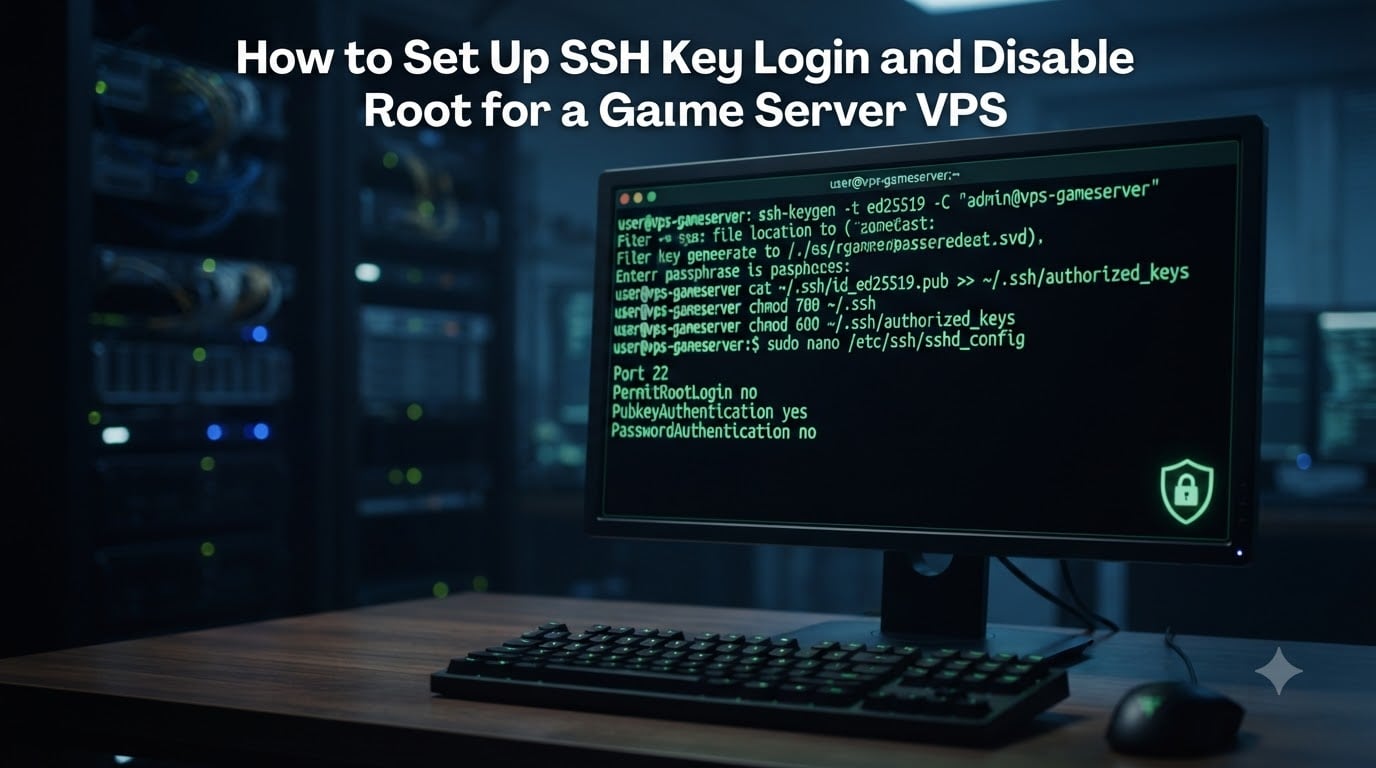
Setting up SSH key login and disabling root access is the single most important security step for any game server VPS. In our experience running community game hosts, an unprotected VPS running Minecraft, Valheim, CS2, or any other title can face 100 to 200 brute-force SSH attempts per day within hours of going online.
I wrote this guide because most VPS hardening tutorials skip the game server angle entirely. The default SSH setup shipped on most game hosting providers leaves your box wide open to the exact attacks that have taken down thousands of community servers over the years. By the end of this walkthrough, you will have moved your VPS from password-based login to SSH key authentication, disabled root SSH, and added the extra layers that game servers actually need in 2026.
Table of Contents
Why SSH Key Authentication Matters for a Game Server VPS
SSH key authentication uses an asymmetric key pair to prove your identity to the server. A public key sits on the VPS in your user’s authorized_keys file, while the private key stays on your local machine. The math behind the pairing makes it computationally impossible for an attacker to brute-force the way they would a 8-character password.
Game servers get hit harder than most workloads because their ports are well-known. Minecraft lives on 25565, Source engine titles on 27015, FiveM on 30120, and Ark on 7777. Bots scan the entire IPv4 range looking for those ports, then probe port 22 on the same IPs to see if the operator left SSH open. Once they find an open SSH port with weak or default credentials, the entire game server becomes a hostage for cryptomining or DDoS launching.
Compared to passwords, SSH keys are immune to dictionary attacks, phishing, and keystroke logging. The private key never leaves your laptop. Even if a breach dumps your VPS password database, the attacker still has nothing useful.
Prerequisites Before You Start
Before touching any configuration files, make sure you have the following items ready. Skipping prep is the #1 reason people get locked out of their own box.
- Local machine terminal access. Linux and macOS ship with OpenSSH. Windows 10 and 11 include OpenSSH in PowerShell. Older Windows users can install PuTTY and its companion
puttygentool. - VPS running a modern Linux distribution. Ubuntu, Debian, AlmaLinux, Rocky, and CentOS Stream all work with the commands in this guide. The example uses Ubuntu 22.04.
- Root or initial sudo credentials from your provider. This is the password your hosting company emailed you when the VPS was provisioned. You will only need it once.
- A backup destination for your private key. A password manager with file attachments, an encrypted USB drive, or a hardware token like a YubiKey. If you lose this key and password login is off, recovery is painful.
- A second terminal window. Keep your original SSH session open until you have confirmed key-based login works in a fresh session. This one habit prevents 95% of lockouts.
Step 1: Generate an SSH Key Pair on Your Local Machine
Step 1 is to generate an SSH key pair locally so you have something to authenticate with. Open your terminal and run the following command, replacing the comment with your email or a label that identifies the key.
ssh-keygen -t ed25519 -C "yourname-gameserver-2026"When prompted, save the key to the default location (~/.ssh/id_ed25519) unless you already have an id_ed25519 in use, in which case pick a unique filename like ~/.ssh/id_ed25519_gameserver. You will also be asked to set a passphrase. We strongly recommend setting one. A passphrase encrypts the private key on disk, so even if someone steals your laptop they cannot use the key without your passphrase.
Ed25519 is the modern default. It offers the same security as RSA 4096 with smaller key files and faster verification. Stick with it unless your VPS runs an ancient distribution that does not support it. If you must use RSA for compatibility, run ssh-keygen -t rsa -b 4096 instead.
Step 2: Create a Sudo User on the VPS
Step 2 is creating a non-root user before you disable root SSH. This is the safety net that keeps you from locking yourself out. SSH into your VPS using the provider-issued password, then run the following.
sudo adduser gameserveradmin
sudo usermod -aG sudo gameserveradmin
The first command creates the user and prompts you for a password. Set a strong one even though you will disable password login shortly. The second command grants sudo privileges so the user can run administrative commands without being root. The -aG flags append the sudo group without removing existing groups.
Test that the new user can escalate by running sudo whoami from their shell. If the response is root, sudo is working. If it asks for a password but rejects yours, re-check the group membership with groups gameserveradmin.
Step 3: Upload Your Public Key to the VPS
Step 3 is copying the public half of your key pair onto the VPS so the server knows who you are. The fastest method uses ssh-copy-id, which handles all the file permissions automatically.
ssh-copy-id -i ~/.ssh/id_ed25519.pub gameserveradmin@your-vps-ipYou will be prompted for the password of gameserveradmin one final time. The tool creates the ~/.ssh directory, writes your public key to ~/.ssh/authorized_keys, and sets the correct permissions (700 on the directory, 600 on the file). If ssh-copy-id is unavailable, you can do this manually by pasting the contents of your local id_ed25519.pub into the server-side authorized_keys file and chmod-ing it by hand.
Now test the connection in a new terminal window without closing the existing one. Run ssh gameserveradmin@your-vps-ip. If your passphrase prompt appears and you land in a shell without typing a password, key authentication is working. If the server still asks for a password, check the file permissions and confirm the public key was pasted in full without trailing whitespace.
Step 4: Configure sshd_config for Key Authentication
Step 4 is telling the SSH daemon to accept key-based logins. Edit the SSH server config file with your editor of choice. On Ubuntu and Debian the file is at /etc/ssh/sshd_config. On RHEL-family distros it lives at the same path.
sudo nano /etc/ssh/sshd_configFind or add the following directives. Most are present but commented out with a leading hash. Uncomment them and set the values shown.
PubkeyAuthentication yes
AuthorizedKeysFile .ssh/authorized_keys
PasswordAuthentication yes
PermitRootLogin yes
The last two lines stay enabled on purpose for now. They give you a fallback while you verify the key setup. Setting PasswordAuthentication no or PermitRootLogin no before you have a confirmed working key session is how most operators end up paying for emergency KVM-over-IP recovery from their hosting provider.
Save the file, then validate the syntax with sudo sshd -t. If the command returns with no output, the configuration is valid. Any error message points to a line number you need to fix before restarting.
Step 5: Disable Root Login and Password Authentication
Step 5 is the actual hardening step. Re-open /etc/ssh/sshd_config and change the two lines we left permissive earlier.
PermitRootLogin no
PasswordAuthentication no
Setting PermitRootLogin no blocks direct SSH access as the root user. Attackers can no longer target the highest-privilege account. Setting PasswordAuthentication no forces every login attempt to use a public key that matches an entry in authorized_keys. Brute-force bots that hammer port 22 with stolen password lists will fail every single time.
Two more directives worth setting while you are in the file: ChallengeResponseAuthentication no disables keyboard-interactive methods that can bypass the password setting on some distros, and UsePAM yes keeps your sudo and account policies working. If your distribution uses PAM heavily for game server management scripts, leave PAM enabled and rely on the explicit PasswordAuthentication no directive.
Before saving, double-check your work. I cannot tell you how many readers have emailed our team after locking themselves out because they typed PermitRootLogin no while logged in as root through SSH. Once you save, you can never SSH back in as root from a new session. The key-based session you already have keeps working because it is the new user, not root.
Step 6: Restart SSH and Verify the New Connection
Step 6 is applying the configuration and confirming the changes work. Run the validation test first, then restart the service.
sudo sshd -t && sudo systemctl restart sshdThe && ensures the restart only runs if the syntax check passed. On systems running OpenSSH as a socket-activated service (common on Debian 12 and Ubuntu 22.04+), you may need sudo systemctl reload ssh instead.
Now the critical moment. Open a brand new terminal window and SSH in as your sudo user. Confirm you land in a shell. Then test that root login is actually blocked by trying ssh root@your-vps-ip from yet another window. You should see Permission denied (publickey) with no password prompt. If both tests pass, you can safely close your original session. If the new key-based login fails, your original session is still open and you can revert the config.
Game Server Specific Security Considerations
Hardening SSH closes one door, but game servers expose several others. Every open game port is another attack surface and another way for a compromised account to leak into your system. Treat SSH hardening as the foundation and apply the following layered on top.
First, close any game port you are not actively using. If you only host Minecraft, you have no reason to leave Source engine, ARK, or FiveM ports open. Use ss -tulnp to see what your server is listening on, then close anything that does not match the active workload.
Second, run the game server process under a dedicated unprivileged user, not under gameserveradmin. Create a minecraft or valheim user with no login shell (/usr/sbin/nologin) and run the game binary through systemd under that user. If a remote code execution bug ever hits the game server, the attacker lands in an account with no SSH key and no sudo access.
Third, keep an eye on failed login attempts with journalctl -u ssh -f or by configuring LogLevel VERBOSE in sshd_config. A sudden spike in failures from a single IP range usually means someone is targeting your box specifically. That is the signal to add a firewall rule or jump to the fail2ban section below.
Extra Hardening: Change the SSH Port and Install fail2ban
Changing the SSH port from 22 to something high and unusual cuts brute-force noise by 90% or more. Most automated scanners only target port 22. Edit /etc/ssh/sshd_config, find the #Port 22 line, uncomment it, and change it to a free port.
Port 2222Pick something above 1024 to avoid conflicts with system services. Remember to update your firewall rules and your local SSH config to match the new port.
fail2ban adds another layer by banning IPs that fail too many authentication attempts. On Ubuntu or Debian, install it with sudo apt install fail2ban. On RHEL-family distros use sudo dnf install epel-release fail2ban followed by sudo systemctl enable --now fail2ban.
Create /etc/fail2ban/jail.local with the SSH jail enabled.
[sshd]
enabled = true
port = 2222
maxretry = 4
findtime = 600
bantime = 3600
This bans any IP that fails four authentication attempts within ten minutes, for one hour. Banned IPs go straight into your firewall and stop hitting SSH entirely.
Recovery Steps: What to Do If You Lose Your SSH Key
Losing your private key while password login is disabled is the nightmare scenario every guide glosses over. The good news is recovery is almost always possible because your hosting provider controls the hypervisor.
The fastest path is the provider’s web console. Most VPS hosts (DigitalOcean, Vultr, Linode, Hetzner, Contabo) expose VNC or KVM-over-IP through their control panel. Log into the panel, open the console, and log in as root using the original provider password, which is often still set. From there, drop your new public key into the appropriate user’s authorized_keys file and either re-enable password login temporarily or restart SSH.
If the original root password was rotated and you no longer have it, boot the VPS into recovery mode or a live ISO from the provider’s control panel. Mount the root filesystem, edit /etc/ssh/sshd_config to set PasswordAuthentication yes and PermitRootLogin yes, then reboot. SSH in with your old provider password, fix your key, and re-disable password authentication.
The third option is cloud-init reset on providers that support it. Destroying the SSH host keys and recreating them at boot is a last resort because it can wipe other configuration. Use the console method first.
This is exactly why step zero of this guide told you to back up the private key. Store a copy in a password manager, on an encrypted USB drive, or in your home NAS. Treat the key like a house key, not a password you can reset.
Frequently Asked Questions
What is the best way to harden SSH on a VPS?
The strongest baseline is SSH key authentication plus disabling root login and password authentication in sshd_config. On top of that, change the default port, install fail2ban to ban repeat offenders, and keep the system patched. These four changes block more than 99% of automated SSH attacks we see against game server VPS deployments.
How do I disable root access via SSH without locking myself out?
Create a sudo user with a working public key first, verify you can log in as that user, and only then set PermitRootLogin no and PasswordAuthentication no in sshd_config. Always keep a separate SSH session open while you restart the service so you can revert if the new session fails.
What happens if I lose my SSH key?
Recovery goes through the hosting provider’s VNC or KVM console. Log in with the original provider root password, add a new public key to your user’s authorized_keys file, and either re-enable password login temporarily or restart SSH. Without console access you would need to boot into rescue mode and mount the disk.
Should I change the default SSH port?
Yes, especially for game servers that are already noisy targets. Moving SSH from port 22 to a high random port cuts automated brute-force traffic by 90% or more. Combine the port change with fail2ban and you eliminate the noise that fills up your auth logs.
Is SSH key authentication enough security on its own?
Keys handle authentication, but defense in depth matters. Pair SSH keys with a firewall, fail2ban, automatic security updates, and game-specific hardening like running the game binary under an unprivileged user. SSH keys alone are necessary but not sufficient for a public-facing game server.
Wrap Up: Your Game Server VPS Is Now Hardened
You have now completed the full SSH key login and disable root workflow for a game server VPS in 2026. The path from a default password-based setup to a hardened key-only configuration ran through six steps: generate a key pair, create a sudo user, upload the public key, configure sshd_config, disable root and password login, then restart and verify. Layer in the game-specific hardening, fail2ban, and the port change, and your VPS is in a much stronger position than 99% of community game hosts.
The next step I recommend is enabling automatic security updates with unattended-upgrades on Ubuntu or dnf-automatic on RHEL-family systems. Patches for SSH vulnerabilities land monthly, and unattended updates make sure you get them without thinking about it. After that, audit your open game ports weekly and review your auth logs for new patterns.