
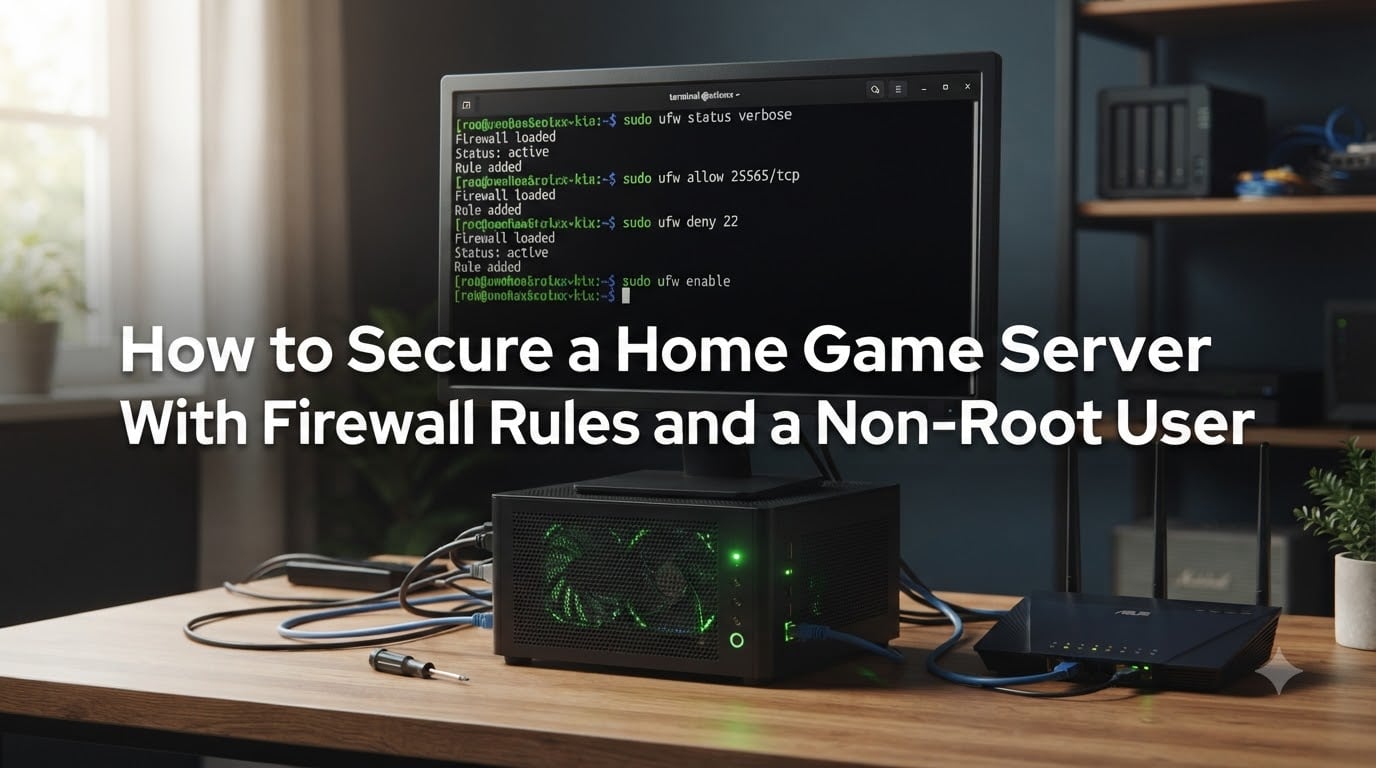
Hosting a game server at home for your friends sounds like a great weekend project until you realize that one wrong firewall rule can expose your entire network. When I set up my first Minecraft server on an old Ubuntu box, I learned the hard way that running everything as root and forwarding ports blindly is a recipe for trouble. This guide walks through how to secure a home game server with firewall rules and a non-root user, covering everything from UFW configuration to brute force protection.
You will learn how to create a dedicated sudo user, lock down SSH, configure UFW firewall rules for popular games like Minecraft and Valheim, and add fail2ban to block automated attacks. I have tested every command in this guide on a fresh Ubuntu Server install, so you can copy and paste with confidence. Whether you are running a small world for five friends or a community server for fifty players, these steps form the minimum security baseline every home game server needs in 2026.
Table of Contents
Why Your Home Game Server Is a Target?
Every server you expose to the internet becomes a potential target. Attackers constantly scan public IP addresses for open ports, default credentials, and unpatched software. A game server is especially attractive because it runs persistent processes, handles player connections, and often runs with elevated permissions.
The most common threats to home game servers are brute force SSH attacks, DDoS attempts that overwhelm your connection, and exploit attempts against game server software itself. I have seen log files fill up with thousands of failed login attempts within hours of exposing a server. Without protection, an attacker could compromise your server, access files on your home network, or use your machine as part of a botnet.
The good news is that three changes eliminate the vast majority of risk: running as a non-root user, restricting network access with firewall rules, and blocking repeat offenders. None of these require advanced networking knowledge. They just require following the steps below in order.
How to Secure a Home Game Server With Firewall Rules and a Non-Root User: Overview
The approach in this guide uses a layered security model. Each layer protects against a different class of attack, and together they make your server significantly harder to compromise.
Here is the order we will follow: first, create a non-root user with sudo privileges so nothing runs as root. Second, harden SSH by switching to key-based authentication and disabling password logins. Third, configure UFW to deny all incoming traffic by default and only allow the ports your game actually needs. Fourth, install fail2ban to automatically ban IPs that fail repeated login attempts. Finally, we cover advanced options like Docker isolation and VPN access for players who want even tighter control.
Each step builds on the previous one, so work through them in order. The entire process takes about 45 minutes on a fresh server.
Step 1: Create a Non-Root User With Sudo Privileges
Running your game server as root means any compromise gives the attacker full control of your machine. A non-root user limits the damage. Even if someone breaks into your game server process, they only have the permissions of that user account.
Log in to your server as root (this is the last time you will need to) and create a new user. Replace “gameserver” with whatever username you prefer:
adduser gameserver
Follow the prompts to set a strong password and fill in optional details. Next, grant this user sudo privileges so they can perform administrative tasks when needed:
usermod -aG sudo gameserver
Now switch to the new user to verify everything works:
su - gameserver
Test that sudo access works by running a simple command:
sudo apt update
If the update runs successfully, your new user has sudo privileges. From this point forward, run your game server and all daily tasks as this user. The root account should never be used for routine operations.
A common question from the self-hosting community is whether you need separate users for different game servers. If you run multiple games on one machine, creating a dedicated user per game adds isolation. An attacker who compromises your Minecraft user cannot directly access your Valheim files.
Step 2: Harden SSH Access
SSH is how you manage your server remotely, and it is also the most common entry point attackers try to exploit. By default, SSH accepts password logins on port 22 for any valid user. That configuration is convenient but dangerous.
Switch to SSH Key Authentication
SSH keys are cryptographic files that replace passwords. They are effectively unbreakable by brute force. Generate a key pair on your local computer, not the server:
ssh-keygen -t ed25519 -C "[email protected]"
Press Enter through the prompts to accept defaults. Then copy the public key to your new game server user:
ssh-copy-id gameserver@your_server_ip
Test that you can log in with the key. You should connect without being asked for a password. Once key-based login works, disable password authentication entirely.
Lock Down the SSH Configuration
Open the SSH daemon configuration file:
sudo nano /etc/ssh/sshd_config
Find and change these settings:
PermitRootLogin no
PasswordAuthentication no
PubkeyAuthentication yes
Port 2222
Changing the SSH port from 22 to something like 2222 does not make you invisible, but it dramatically reduces the noise from automated scanners that only check default ports. Save the file and restart SSH:
sudo systemctl restart ssh
Warning: Do not close your current SSH session yet. Open a new terminal and confirm you can connect on the new port before ending your existing session. This prevents you from locking yourself out.
ssh -p 2222 gameserver@your_server_ip
If the new connection works, your SSH setup is hardened. The combination of key authentication, disabled root login, and a non-standard port eliminates the majority of automated attacks before they even start.
Step 3: Configure UFW Firewall Rules
UFW, or Uncomplicated Firewall, is a front-end for iptables that ships with Ubuntu. It simplifies firewall management into plain-English commands. This is the core of learning how to secure a home game server with firewall rules.
Install UFW if it is not already present:
sudo apt install ufw
Before enabling the firewall, set the default policies. You want to deny all incoming traffic and allow all outgoing traffic:
sudo ufw default deny incoming
sudo ufw default allow outgoing
Now allow your SSH port so you do not lock yourself out. If you changed the port in Step 2, use that number:
sudo ufw allow 2222/tcp
Only after allowing SSH should you enable the firewall:
sudo ufw enable
Type “y” to confirm. Verify the status with:
sudo ufw status verbose
You should see that incoming traffic is denied by default, with an exception for your SSH port. At this point, no game traffic can reach your server yet. We fix that next.
Allow Game Server Traffic Through UFW
Each game uses specific ports that must be opened manually. Here are examples for the most popular self-hosted games.
For a Minecraft Java Edition server:
sudo ufw allow 25565/tcp
For a Valheim dedicated server:
sudo ufw allow 2456:2458/udp
For an ARK Survival Evolved server:
sudo ufw allow 7777/udp
sudo ufw allow 7778/udp
sudo ufw allow 27015/udp
Note the difference between TCP and UDP. Most game traffic uses UDP because it is faster and tolerates packet loss better than TCP. Opening a TCP port when the game only uses UDP does not help and adds unnecessary exposure. Always check the official documentation for your specific game.
The principle is simple: open the minimum number of ports required for the game to function. Every additional open port is another potential entry point.
Step 4: Open Only the Game Ports You Need
Port forwarding on your router and firewall rules on your server should match exactly. If your game uses port 25565, open only that port on both devices. Avoid the temptation to use DMZ mode, which forwards all traffic to your server regardless of port.
A DMZ, or demilitarized zone, places your server outside the protection of your router’s firewall. While sometimes recommended for public game servers, it exposes every service running on that machine to the internet. If you must use a DMZ, isolate the server on its own VLAN so compromised traffic cannot reach other devices on your home network.
One approach that eliminates port forwarding entirely is using a mesh VPN like Tailscale or WireGuard. Players connect to the VPN first, then reach the game server through the private network. This means no ports are exposed to the public internet at all. The tradeoff is that every player must install the VPN client, which adds friction for less technical friends.
For most home setups with a handful of trusted friends, traditional port forwarding with proper UFW rules is perfectly adequate. Reserve the VPN approach for larger communities or servers handling sensitive data.
Step 5: Install Fail2ban for Brute Force Protection
Even with key-based SSH authentication, automated bots will keep hammering your server with connection attempts. Fail2ban watches your log files and temporarily bans any IP address that fails too many login attempts. It is one of the most recommended tools in the r/selfhosted community for good reason.
Install fail2ban:
sudo apt install fail2ban
Fail2ban comes with sensible defaults that protect SSH out of the box. However, the default configuration can be overwritten by updates, so create a local override:
sudo nano /etc/fail2ban/jail.local
Add a basic SSH jail configuration:
[sshd]
enabled = true
port = 2222
maxretry = 3
bantime = 3600
findtime = 600
This configuration bans any IP that fails 3 login attempts within 10 minutes for a duration of 1 hour. Adjust the port to match your SSH port from Step 2. Restart fail2ban to apply changes:
sudo systemctl restart fail2ban
sudo systemctl enable fail2ban
Check the status of your jails at any time:
sudo fail2ban-client status sshd
You will see a list of currently banned IPs and the total number of bans. On a freshly exposed server, expect to see bans within the first few hours. This is normal and means fail2ban is doing its job.
Advanced: Docker Isolation and VPN Access
Once the basics are in place, two advanced strategies add another layer of protection. Both are optional but worth considering for larger or more sensitive setups.
Run Your Game Server in Docker
Docker containers isolate your game server from the host system. If an attacker exploits a vulnerability in the game software, they are trapped inside the container rather than having access to your full server. Docker also makes it easy to limit CPU, memory, and network resources per game.
Install Docker on Ubuntu:
sudo apt install docker.io
sudo usermod -aG docker gameserver
Log out and back in for the group change to take effect. Then run your game server using a Docker image. For example, the popular itzg/minecraft-server image lets you spin up a containerized Minecraft server with a single command. The container only exposes the ports you specify, and its filesystem is isolated from your host.
Use Tailscale for Private Access
Tailscale creates a secure mesh VPN between your devices with almost no configuration. Install it on your server and on each player’s device, and they can connect to the game server using a private IP address. No ports need to be forwarded on your router.
This approach is especially popular for Minecraft and Valheim servers shared among friends. The Reddit self-hosting community frequently recommends it as a safer alternative to exposing ports directly. The downside is that every player needs a Tailscale account, and free tier limits apply for larger groups.
Common Game Server Ports Reference
Here is a quick reference for the default ports used by popular self-hosted games. Always verify against the latest game documentation before configuring your firewall, as ports can change with updates.
Minecraft Java Edition: 25565 TCP
Valheim: 2456 to 2458 UDP
ARK Survival Evolved: 7777 UDP, 7778 UDP, 27015 UDP
Terraria: 7777 TCP
Rust: 28015 UDP (game), 28016 TCP (RCON)
Factorio: 34197 UDP
Palworld: 8211 UDP
CS2 (Counter-Strike 2): 27015 UDP and TCP
For RCON, the remote console port used to administer game servers, only open it if you actually use remote administration tools. Otherwise, leave it firewalled. RCON with a weak password is a common entry point for attackers.
FAQs
How do I make my home server secure?
Start with three steps: create a non-root user with sudo privileges, configure UFW to deny all incoming traffic by default, and switch SSH to key-based authentication. Add fail2ban to block brute force attempts and only open the specific ports your game requires. These four measures eliminate the vast majority of common attacks against home servers.
Is private server legal?
Yes, running a private game server for personal use is legal in most jurisdictions. However, some game publishers prohibit private servers in their terms of service, so check the EULA for your specific game. Hosting a server for a small group of friends is generally tolerated, while large public servers may attract attention.
How to completely secure a home network?
Complete security does not exist, but you can minimize risk significantly. Change default router credentials, disable UPnP, use WPA3 on Wi-Fi, segment IoT devices on a guest network, keep firmware updated, and place any public-facing servers in an isolated VLAN. Adding a firewall, non-root user, and fail2ban on each server completes the picture.
How much does a secure server cost?
A secure home game server can run on hardware you already own, such as an old PC or a Raspberry Pi, making the hardware cost effectively zero. Software like UFW, fail2ban, and Docker is free and open source. The main ongoing cost is electricity, typically a few dollars per month for a modest server.
Should I use a VPN instead of port forwarding for my game server?
A mesh VPN like Tailscale or WireGuard is safer than port forwarding because no ports are exposed to the public internet. However, it requires every player to install the VPN client. For small groups of trusted friends, port forwarding with proper UFW rules is adequate. For larger or public servers, a VPN adds meaningful protection.
Do I need to disable root login on my game server?
Yes. Disabling root login after creating a sudo user is one of the single most effective security changes you can make. Set PermitRootLogin no in your sshd_config file and use your non-root user with sudo for all administrative tasks.
Keep Your Server Locked Down
Securing a home game server is not a one-time task but a layered process. The five steps in this guide, creating a non-root user, hardening SSH, configuring UFW firewall rules, opening only necessary game ports, and installing fail2ban, form a baseline that stops the overwhelming majority of automated attacks. None of them require paid tools or advanced networking expertise.
Now that you know how to secure a home game server with firewall rules and a non-root user, the next steps are maintenance. Keep your system updated with regular package upgrades, monitor your fail2ban logs for unusual activity, and review your open ports periodically. If you outgrow the basics, Docker isolation and a mesh VPN like Tailscale give you even tighter control over who can reach your server.
Your game world is only as safe as the server it runs on. Spend 45 minutes on these steps now, and you can focus on building and exploring instead of worrying about who else is knocking on your network.