
Moving a Minecraft server sounds scary. I get it. After weeks, months, or even years of building in your world, the last thing you want is to lose player data, plugins, or your entire map when you switch hosts.
I’ve migrated server setups for gaming communities for years, and I’ll walk you through exactly how to move a Minecraft world and server to a new host without losing data. This guide covers the full process: backups, file transfers, configuration, and troubleshooting.
By the end, you’ll know how to safely transfer your Minecraft server between hosts, fix the most common errors, and protect your world from corruption along the way.
Table of Contents
Why You Might Need to Move Your Minecraft Server to a New Host
Server migration is more common than most players think. I’ve helped users move from one host to another for reasons that go well beyond “my provider is closing down.”
Here are the most common reasons owners choose to move Minecraft servers to a new host:
Performance issues: lag, low TPS, or poor hardware that can’t keep up with the player count.
Better pricing or features from a competing host.
Switching from free hosting (Aternos, Minehut) to a paid provider for 24/7 uptime.
Moving from local hosting to a dedicated or VPS solution.
Recovering from a failing provider with poor support or unstable servers.
Whatever the reason, the goal is the same: keep your world, plugins, and player data intact during the move. The good news is that the process is highly predictable when you follow the right steps.
Pre-Migration Checklist: What to Prepare Before You Move
Before you touch a single file, run through this checklist. Skipping any of these steps is the number one reason migrations fail.
1. Make a full backup of your current server. Don’t rely on a single copy. Download both the world folder and a compressed archive of your entire server directory.
2. Verify the Minecraft version. Check the version on both your old host and the new host. They must match exactly, or your world won’t load. A 1.20.4 server cannot open a 1.21 world without conversion, and even then it’s risky.
3. Note your server software type. Vanilla, Spigot, Paper, Bukkit, Forge, Fabric — every server type has different file structures. Note yours before you start.
4. List all installed plugins and mods. Write them down with versions. You’ll need to reinstall them on the new server to match.
5. Stop the server cleanly. Use the “stop” command in the console. Never kill the process abruptly, or you risk corrupting your world files.
6. Notify your players. Post a clear downtime window. Most migrations take 1 to 3 hours depending on world size.
Once this checklist is complete, you’re ready to begin the actual file transfer.
How to Move a Minecraft World and Server to a New Host Step by Step
This is the core process. Follow these steps in order, and you’ll have a working server on the new host with all your data preserved.
Step 1: Create a full backup. From your old host’s control panel, download your entire server directory. Many hosts also have a “Backup” button that creates a downloadable archive. If you’re on a local machine, copy the whole server folder to a safe location.
Step 2: Stop the server. Run the “stop” command in the console and wait for it to fully shut down. The process exits when the console returns to idle. Don’t move files while the server is running.
Step 3: Download the world folder and configuration files. Open your server directory. The files you need are inside. If your server is large, I recommend using FTP (we’ll cover that next). At minimum, grab the world folder, server.properties, spigot.yml (if used), and any whitelist or ops files.
Step 4: Upload files to the new host. Connect to your new host and upload the files into the root directory. Preserve the folder structure exactly. Your world folder should drop straight into the new server’s root directory.
Step 5: Match the server software and version. Install the same server type (Paper, Spigot, etc.) and version on the new host. If your new host provides a one-click installer, use that, then replace the auto-generated world folder with your backup.
Step 6: Configure and test. Update server.properties to match your old settings, including the world name, server port, and view-distance. Start the server and connect to verify everything works.
That’s the entire migration in six steps. Most of the work is in the details, which I’ll cover next.
Which Files You Need to Transfer (And Which You Can Skip)
Not every file in your server directory needs to move. Transferring the wrong files can actually break things. Here’s a clear breakdown of what to keep and what to drop.
Files to transfer:
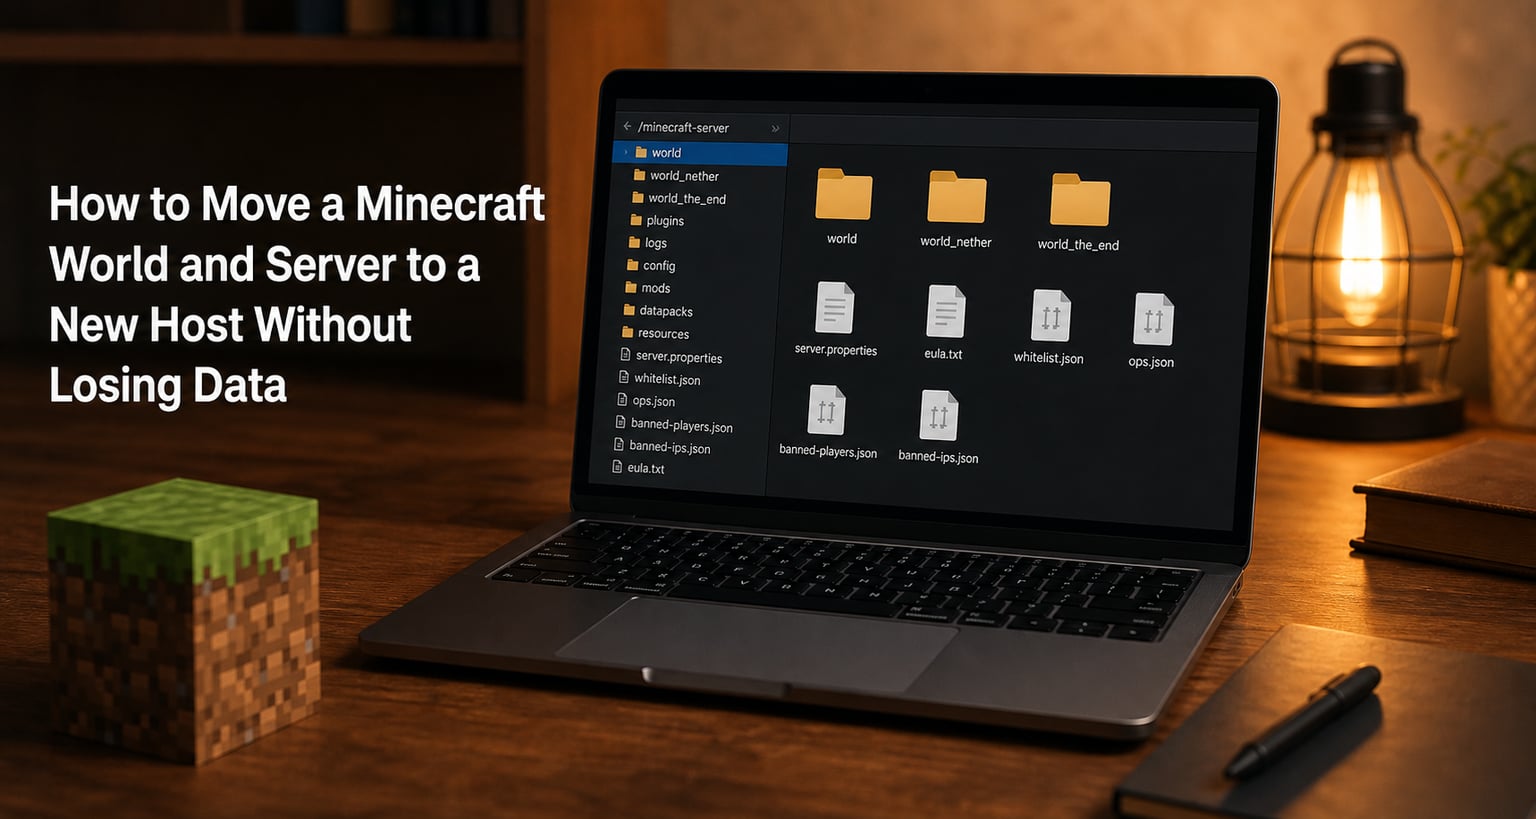
world, world_nether, world_the_end (your main world folders)
server.properties (server configuration)
spigot.yml, paper.yml, bukkit.yml (server-software settings)
ops.json (your operator list)
whitelist.json (whitelisted players)
banned-players.json, banned-ips.json (ban lists)
plugins/ folder (your plugins)
mods/ folder (if running Forge or Fabric)
server-icon.png (your custom icon)
resourcepacks/ (custom resource packs)
Files to skip or regenerate:
server.jar (let the new host install this fresh)
logs/ (regenerated automatically)
crash-reports/ (not needed on new server)
cache/ (auto-created on startup)
libraries/ (regenerated on first launch)
The world folder is the most important. If you only transfer one thing, transfer that. But plugins and config files are equally important for a smooth experience.
Transfer Methods Compared: FTP vs File Manager vs SCP
How you actually move the files matters. The three most common methods each have trade-offs.
File Manager (browser-based): Most hosting providers include a built-in file manager in the control panel. It’s simple and works for small servers, but it can time out on large worlds and is slow for hundreds of files.
FTP (FileZilla, WinSCP): This is the gold standard for server migration. FTP clients like FileZilla handle large file counts, allow pausing and resuming, and are much faster than browser-based tools. For any world over 2GB, FTP is the right choice.
SCP (command line): For Linux users comfortable in the terminal, SCP is the fastest method. A single command like scp -r user@oldhost:/server/world user@newhost:/server/ can move an entire world in minutes, depending on bandwidth.
For most users, FileZilla is the safest balance of speed and ease. If you’re on a local network or have SSH access, SCP is faster, but it requires some command-line comfort.
Updating server.properties, Plugins, and Configs After Migration
Once your files are on the new host, take a few minutes to verify the configuration. This is where most “why is my server broken” issues come from.
Check server.properties: Open the file and confirm the world name matches the folder you uploaded. If server.properties says level-name=world, your folder must be named “world.” A mismatch causes the “world not found” error that’s common in migration reports.
Update the server port if needed: Most hosts default to 25565, but if your old host used a non-standard port, update it to match.
Reinstall plugins: Copy the plugin .jar files into the new server’s plugins folder. Most plugins will regenerate their config files on first launch, but you can also copy the config folders from your backup to keep your settings intact.
Update the server IP for players: If your server IP changes, share the new address with your community. Bookmarks and Discord links will need updating.
Verify the EULA: Your new host must have eula.txt set to true. Most hosts handle this automatically, but it’s worth checking.
After these checks, start the server and watch the console. Errors usually appear within the first 30 seconds if there’s a configuration issue.
Migrating Bedrock Edition, Realms, and Modded Servers
Most guides only cover Java Edition servers. Here’s what you need to know about the other scenarios.
Bedrock Edition: Bedrock server migration is similar to Java, but the world folder structure is different. Bedrock worlds have a “db” folder and “levelname.dat” files. You’ll still use FTP or the file manager, and the same backup principles apply. Make sure your new host runs the same Bedrock server version (e.g., 1.21.x).
Realms to dedicated server: Moving from Minecraft Realms to a self-hosted or third-party host is more involved. You can’t directly download a Realms world. Instead, open the world in single-player, copy the world folder from your saves directory, then upload it to your new server using the same FTP process. The level.dat file may need a small edit to allow multiplayer, but most modern tools handle this automatically.
Modded servers (Forge, Fabric): Modded servers require transferring the mods folder, not just the world. The mod list on the new server must match the old one exactly, or the world will refuse to load. Use the same Minecraft version, the same mod loader version, and the same mod versions. Even a minor version mismatch will break the world.
Each of these scenarios adds a layer of complexity, but the core migration process is the same: backup, transfer, configure, test.
Troubleshooting Common Minecraft Server Migration Errors
Even with a perfect plan, things can go wrong. Here are the errors I see most often, and how to fix them.
“World not found” or world regenerates: Your server.properties has a different level-name than the folder name. Rename the folder to match, or update the level-name in server.properties.
“Failed to load world” or chunk errors: The world was copied while the server was still running or being saved. Restore from your backup and stop the server cleanly before retrying.
Plugin errors on startup: A plugin version is incompatible with the new server software or Minecraft version. Update or remove the offending plugin.
Players can’t connect: The server IP changed, or the firewall on the new host is blocking port 25565. Check both, and confirm the port is open in the new host’s panel.
Inventory and player data missing: The playerdata folder was not transferred. Download the entire playerdata folder from your backup and upload it to the new server.
Version mismatch crashes: The new server is running a different Minecraft version. Install the matching version and restart.
For most of these errors, the fix is in your backup. Keep multiple copies of your world from different dates until the new server is fully verified.
FAQs
Can you transfer a Minecraft server to another host?
Yes, you can transfer a Minecraft server to another host. The process involves creating a full backup of your current server, downloading the world folder and configuration files, uploading them to the new host, and verifying the server version matches. As long as you stop the server cleanly before transferring files, your world and player data will be preserved.
How to update a Minecraft server without losing data?
To update a Minecraft server without losing data, first stop the server cleanly using the stop command. Then make a full backup of the world folder and configuration files. Replace the server.jar with the new version, restart the server, and verify the world loads correctly. Always keep a backup until you have confirmed the update is stable.
Can I transfer a Minecraft world to a server?
Yes, you can transfer a Minecraft world to a server by uploading the world folder into the server’s root directory. The folder name must match the level-name value in server.properties. You can transfer the world from a single-player save, a Realms download, or another server using FTP or a file manager.
How to transfer data from one server to another in Minecraft?
To transfer data from one server to another in Minecraft, stop the old server, download the world folder and player data, then upload them to the new server. Use FileZilla or SCP for large world files. Match the Minecraft version and server software exactly, then start the new server and verify all data is intact.
Final Thoughts on Moving Your Minecraft Server
Moving a Minecraft server to a new host without losing data is straightforward when you follow a clear process. Backup first, stop the server cleanly, transfer files using FTP or SCP, match the version and software, and verify everything on the new host before announcing the move to your players.
If you take one thing from this guide, it’s this: never move files while the server is running, and never delete your backup until the migration is fully verified. With those two habits, you can move Minecraft servers between hosts as many times as you need, with zero data loss.