
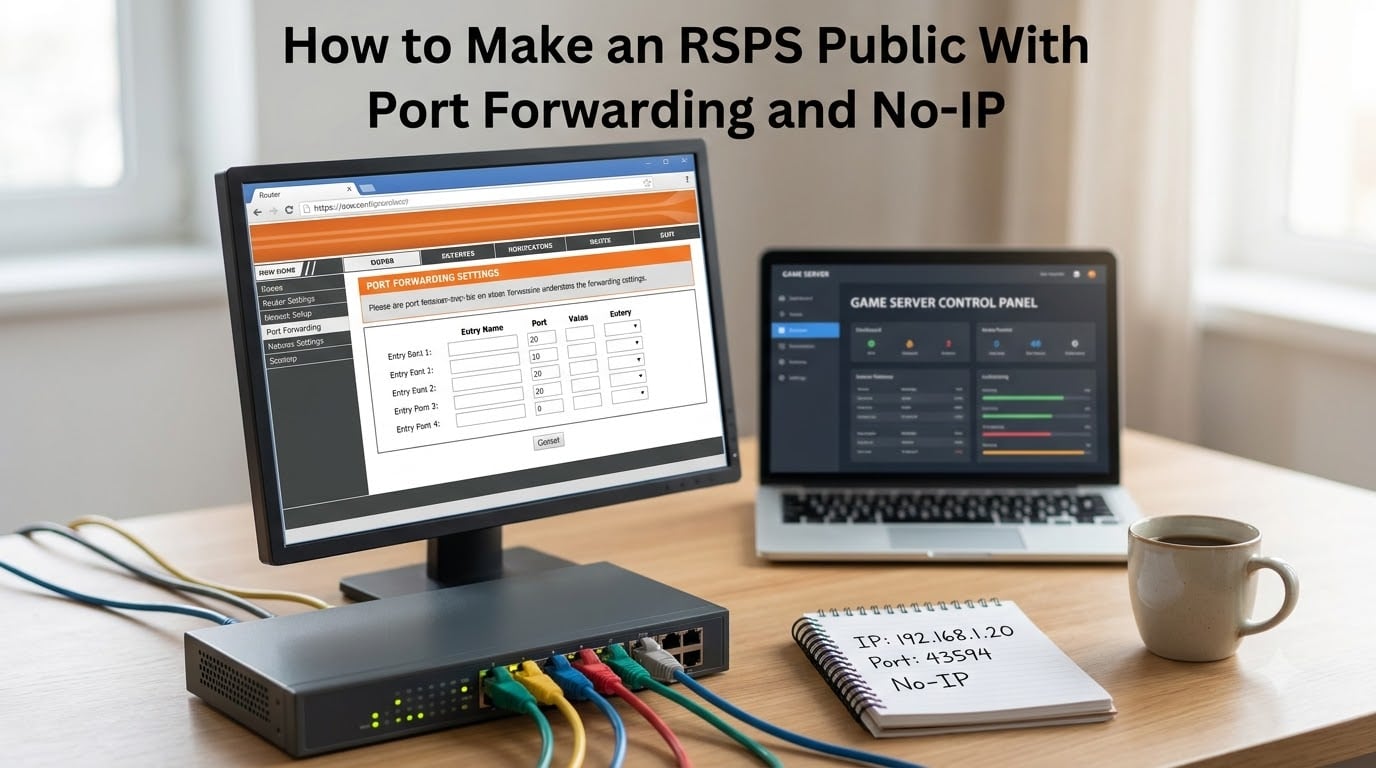
Getting your Runescape Private Server (RSPS) online so friends and players can connect is where most server owners hit a wall. The problem is not the server itself but rather the network between you and the outside world. Your router is designed to block incoming connections by default, which means no one outside your local network can reach your server.
The fix comes down to two things: port forwarding and a dynamic DNS service like No-IP. Port forwarding tells your router to let traffic through on specific ports (typically 43594 for RSPS). No-IP gives you a free hostname that always points to your home IP, even when it changes.
In this guide, I will walk you through exactly how to make an RSPS public with port forwarding and No-IP from start to finish. I have helped dozens of server owners troubleshoot their connections, and the steps below cover everything from setting a static IP to testing your setup externally. By the end, your server will be accessible to anyone with your hostname and client.
Table of Contents
What Is an RSPS and Why Does It Need Port Forwarding?
An RSPS (Runescape Private Server) is a custom-built server that emulates the Runescape game client, letting players connect and play together on a private or community server. These servers typically run on Java and listen for connections on a specific port, most commonly port 43594.
When you run the server locally, it works fine because your computer talks directly to itself. The moment you want someone outside your home network to connect, things break down. Your router acts as a gateway between your private network and the public internet, and it uses NAT (Network Address Translation) to manage connections.
NAT allows multiple devices in your home to share one public IP address, but it blocks unsolicited incoming traffic. This is a security feature, not a bug. Without port forwarding, when a player’s client tries to connect to your server, your router sees an incoming connection request it did not initiate and drops it.
Port forwarding solves this by creating a rule that tells your router: “When traffic arrives on port 43594, send it to this specific internal IP address.” Now your router knows where to route those RSPS connection requests instead of blocking them.
One thing I see constantly on forums like r/RSPS is server owners thinking they only need to open ports on a firewall. The router-level port forward is the critical piece. Without it, the traffic never reaches your machine in the first place.
Understanding Port Forwarding and No-IP
Before diving into the setup, let me break down the three concepts you need to understand: port forwarding, public versus private IP addresses, and dynamic DNS.
Port Forwarding Explained
Port forwarding is a router configuration that maps an external port on your public IP to an internal IP and port on your private network. Think of it like a mail forwarding address. Your router receives a letter (incoming connection) addressed to port 43594 and forwards it to the correct desk (your server machine).
For RSPS, you typically forward TCP port 43594. Some servers use additional ports for world hopping or different client revisions. Check your server configuration files to confirm which port yours listens on.
Public IP vs Private IP
Every device on your local network has a private IP address, something like 192.168.1.50 or 10.0.0.15. These addresses are only reachable within your home network.
Your router also has a public IP address assigned by your ISP, which is how the internet sees your entire network. When someone connects to your RSPS, they are connecting to your public IP on a forwarded port. The router then passes that traffic to your server machine’s private IP.
Here is the catch: most home internet plans use a dynamic public IP. Your ISP can change that IP at any time, usually when the router reboots or the DHCP lease expires. If your IP changes, anyone using your old IP to connect will fail. This is where No-IP comes in.
How No-IP Dynamic DNS Works
No-IP is a free dynamic DNS (DDNS) service that gives you a hostname like myrsps.ddns.net. You install a small client called the Dynamic Update Client (DUC) on your server machine, which continuously monitors your public IP. Whenever your IP changes, the DUC updates your No-IP hostname automatically.
Players connect using your hostname instead of a raw IP address. If your ISP changes your IP, the hostname updates within minutes, and players never notice. This is why No-IP is essential for any home-hosted RSPS that wants to stay online reliably.
How to Make an RSPS Public With Port Forwarding and No-IP: Step-by-Step
Now let me walk you through the complete process. Follow these steps in order, and do not skip any of them. I have seen people jump straight to port forwarding without setting a static IP, then wonder why their server stops working the next day.
Step 1: Set a Static IP on Your Server Machine
Your router needs to know exactly where to send RSPS traffic. If your computer gets a different local IP each time it restarts, your port forwarding rule will break. Setting a static IP prevents that.
On Windows, open Settings, go to Network and Internet, then click Properties under your active connection. Scroll down to IP assignment and click Edit. Switch from Automatic (DHCP) to Manual, turn on IPv4, and enter:
IP Address: Use your current IP but pick a high last octet, like 192.168.1.150, to avoid conflicts with DHCP-assigned devices.
Subnet Mask: 255.255.255.0 (usually auto-filled).
Gateway: Enter your router’s IP address (you will find this in the next step).
DNS: Use 8.8.8.8 and 8.8.4.4 (Google DNS) or your router’s IP.
Save and restart your machine to confirm the IP sticks.
Step 2: Find Your Router’s Default Gateway
You need your router’s internal IP address to access its configuration page. On Windows, press Win+R, type cmd, and hit Enter. In the command prompt, type ipconfig and press Enter.
Look for the line that says “Default Gateway.” That number (commonly 192.168.1.1, 192.168.0.1, or 10.0.0.1) is your router’s IP. Note it down because you will need it for the port forwarding rule as well.
Step 3: Log Into Your Router
Open a browser and type your default gateway address into the URL bar. You will see a login screen.
If you have never logged in before, the default credentials are usually printed on a sticker on the bottom of your router. Common defaults include admin/admin, admin/password, or admin/(blank). Many modern routers use a unique password printed on the device instead of a generic one.
If those do not work, check RouterPasswords.com for your specific brand and model. I have used that site dozens of times when helping people who inherited a router from someone else.
Step 4: Create the Port Forwarding Rule (TCP/UDP 43594)
Once logged in, look for a section called Port Forwarding, Virtual Server, NAT, or Applications and Gaming. Every router buries this setting in a slightly different menu, but the concept is identical.
Create a new rule with these settings:
Service Name: RSPS (or whatever label you prefer)
Internal IP Address: Your server machine’s static IP from Step 1
Internal Port: 43594
External Port: 43594
Protocol: TCP (select Both or TCP/UDP if your server uses both)
Enabled: Check the box to activate the rule
Save and apply the changes. Some routers require a restart after saving port forwarding rules, so give it 30 seconds if the page tells you to wait.
One common mistake I see: people enter their public IP in the internal IP field. Always use the local IP of your server machine, not the one you find on WhatIsMyIP.com.
Step 5: Allow RSPS Through Windows Firewall
Your router might be forwarding traffic correctly, but if Windows Defender Firewall blocks it, nothing gets through. You need to create an inbound rule for your RSPS.
I cover the detailed steps in the firewall section below, but the short version is: open Windows Defender Firewall with Advanced Security, create a new Inbound Rule, select Port, enter 43594, and allow the connection for all profiles.
Step 6: Create a Free No-IP Hostname
Go to noip.com and sign up for a free account. Once logged in, navigate to Dynamic DNS and click Create a New Hostname.
Choose a hostname from their free domains, like myrsps.ddns.net or myrssp.sytes.net. This is the address players will type into their client to connect to your server.
Set the hostname’s IP address to your current public IP (find it at whatismyip.com). Do not worry about keeping it updated manually; the DUC client handles that in the next step.
Confirm the hostname is set to Dynamic DNS type, then save it. Free No-IP accounts require you to confirm your hostnames every 30 days via an email they send, so watch your inbox for those.
Step 7: Install the No-IP DUC Client
Download the No-IP Dynamic Update Client (DUC) from the No-IP website. Run the installer on your server machine.
After installation, launch the DUC and log in with your No-IP account credentials. Select the hostname you created in Step 6 from the list.
Enable the hostname by checking the box next to it. The DUC will now monitor your public IP and automatically update the hostname whenever your ISP assigns you a new one. Leave the DUC running in the background whenever your server is online.
Step 8: Test the Connection Externally
First, verify your port is actually open. Go to portchecktool.com (recommended by multiple forum users) and enter port 43594. If it says open, your port forwarding is working.
Next, test from outside your network. Ask a friend to add your No-IP hostname to their RSPS client and attempt to connect. You can also test from your phone on mobile data (not Wi-Fi) to simulate an external connection.
If the port check tool says closed, double-check your firewall rule, confirm the static IP matches your port forwarding rule, and verify you selected the correct protocol. The troubleshooting section below covers these issues in detail.
Configuring Windows Firewall for RSPS Ports
Windows Defender Firewall blocks incoming connections by default, which is a good security practice but a headache for RSPS hosting. You need to create an exception for your server port.
Press Win+R, type wf.msc, and press Enter. This opens Windows Defender Firewall with Advanced Security.
Click Inbound Rules on the left panel, then click New Rule on the right panel. Select Port and click Next.
Choose TCP and enter 43594 (or your server’s port) in the Specific local ports field. Click Next.
Select Allow the connection and click Next. Check all three profiles: Domain, Private, and Public. Click Next.
Name the rule something recognizable like “RSPS Port 43594” and click Finish. Repeat the same process selecting UDP if your server requires it.
If you are running a third-party antivirus with its own firewall (Bitdefender, Kaspersky, McAfee), you may need to create a separate exception there as well. Those programs can override Windows Defender and silently block your port.
I have seen cases where server owners had perfect port forwarding rules and a correct Windows Firewall exception, but their antivirus firewall was still dropping packets. Always check both layers if your port shows as closed externally.
RSPS Port Forwarding Troubleshooting Guide
Even with everything set up correctly, things can go wrong. Here are the most common issues I see when helping people troubleshoot RSPS connections, along with how to fix each one.
Players Cannot Connect to My RSPS
This is the number one complaint on r/RSPS. The cause is almost always one of three things: a missing or incorrect port forwarding rule, a firewall blocking the port, or using the wrong IP address in the client.
Run portchecktool.com first. If the port shows closed, focus on your router and firewall. If it shows open but players still cannot connect, verify the client is using your No-IP hostname (not a stale IP address).
Port Forwarding Was Working but Stopped
If your server was accessible and suddenly stopped, check two things. First, confirm your server machine still has the same static IP. Sometimes a Windows update or network change resets it to DHCP.
Second, check whether your public IP changed. If the DUC client crashed or is not running, your No-IP hostname might be pointing to an old IP. Restart the DUC and manually verify the hostname at noip.com.
Port Shows Open Internally but Closed Externally
This usually means your ISP is blocking the port or you have Carrier-Grade NAT (CGNAT). Some ISPs put all their residential customers behind a shared public IP, which makes port forwarding impossible from your router alone.
To check for CGNAT, compare the public IP shown on your router’s status page with the IP shown on whatismyip.com. If they are different, you are behind CGNAT. The solution is to call your ISP and request a public IP, or switch to a VPN-based approach like Tailscale or ZeroTier.
Connection Refused Error
A “connection refused” error is different from a timeout. It means your router accepted the connection but nothing on your server machine responded. Your RSPS server is likely not running or is listening on a different port than what you forwarded.
Check that your server is running and look at its console output for the port it is listening on. Make sure that port matches your port forwarding rule and firewall exception exactly.
Only Local Players Can Connect
If players on your Wi-Fi can join but remote players cannot, your port forwarding rule is either missing, pointing to the wrong internal IP, or using the wrong protocol. Re-verify every field in your router’s port forwarding page.
Also confirm remote players are using your public IP or No-IP hostname, not your internal IP like 192.168.1.x. That address only works within your local network.
Security Considerations When Port Forwarding for RSPS
Port forwarding opens a direct path from the public internet to your server machine. Done carelessly, that path can be exploited. Here is how to keep your RSPS and your network secure.
Only forward the specific port your RSPS needs (43594 or whichever your server uses). Never forward a broad range of ports or set a DMZ on your server machine. A DMZ exposes every port on that device to the internet, which is unnecessary for RSPS and dangerous.
Does port forwarding hide your IP address? No, it does the opposite. Port forwarding makes your IP more accessible. Players connecting to your server can see your public IP. If you are concerned about exposing your home IP, a VPN service or a small VPS provides a buffer.
Keep your RSPS server software updated. Private server emulators can have vulnerabilities, and an outdated server with an open port is an attractive target. Check for updates from your server’s source repository regularly.
Use strong passwords on your router and your RSPS admin account. Default router credentials are publicly documented and easily guessed. Change them as soon as you set up your port forwarding.
VPN Alternatives to Port Forwarding
Port forwarding is not the only way to make an RSPS public. If your ISP blocks ports, you are behind CGNAT, or you simply want an easier setup, several VPN-based alternatives exist.
Tailscale and ZeroTier create a virtual private network between your server and each player’s machine. Players install the client, join your network, and connect to your server using the virtual IP. No port forwarding required. The downside is every player needs to install the client.
NordVPN Meshnet was mentioned on portforward.com as another option. It lets you share your machine over a secure mesh network, similar to Tailscale but bundled with a commercial VPN service.
Netmaker is a self-hosted WireGuard-based mesh network that gives you more control but requires more setup knowledge.
These alternatives are excellent for small communities. For larger servers expecting dozens of random players, traditional port forwarding with No-IP remains the most frictionless option because players only need the hostname to connect.
Frequently Asked Questions
How to port forward with no IP?
You still need port forwarding to make your RSPS public, but No-IP provides a free dynamic DNS hostname so players connect using a name like myrsps.ddns.net instead of a raw IP address. Set up port forwarding on port 43594, create a No-IP hostname, and install the DUC client to keep the hostname updated when your IP changes.
Can you port forward without public IP?
No, port forwarding requires a public IP address assigned by your ISP. If your ISP uses Carrier-Grade NAT (CGNAT), your router shares a public IP with other customers and incoming connections cannot reach your server. In that case, use a VPN alternative like Tailscale or ZeroTier, or contact your ISP to request a dedicated public IP.
How to port forward rsps?
Log into your router using the default gateway address, find the Port Forwarding or Virtual Server section, create a new rule forwarding TCP port 43594 to your server machine’s static local IP, save the rule, and allow port 43594 through Windows Firewall. Test with portchecktool.com to confirm the port is open externally.
Does port forwarding hide IP address?
No, port forwarding does the opposite. It makes your public IP address more accessible by directing incoming traffic to your server. Players connecting to your RSPS can see your IP. Using a dynamic DNS service like No-IP gives players a hostname to use instead, but the underlying IP is still reachable. To hide your IP, use a VPN or VPS as an intermediary.
Conclusion
Making an RSPS public with port forwarding and No-IP comes down to eight steps: set a static IP, find your gateway, log into your router, forward port 43594, configure your firewall, create a No-IP hostname, install the DUC client, and test externally.
The biggest hurdles people face are missing firewall exceptions, CGNAT from their ISP, and forgetting to keep the DUC running. If you hit a wall, start with portchecktool.com to isolate whether the problem is your router, your firewall, or your ISP.
Learning how to make an RSPS public with port forwarding and No-IP is a foundational skill for any server owner, and once your setup is working, you will rarely need to touch it again. Get your server online, share your hostname, and start building your community.