
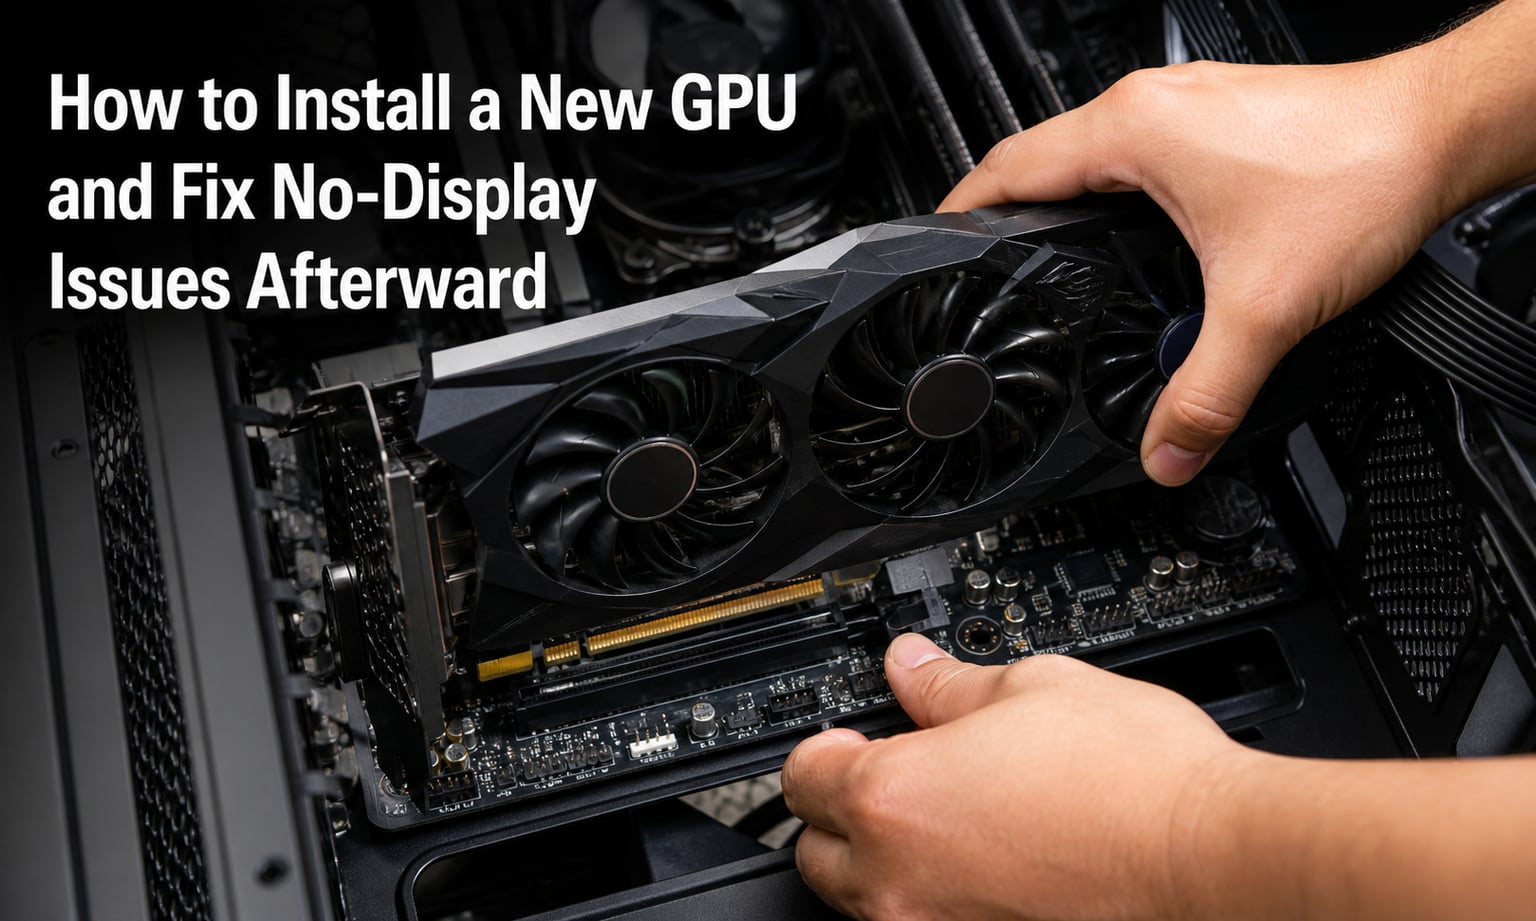
I remember the first time I dropped a brand-new RTX card into my build, pressed the power button, and got nothing but a black screen and a spinning fan. After 20 years of building PCs, I can tell you the no-display problem after a GPU install is one of the most common headaches in PC building.
Whether you upgraded from an older card, switched from AMD to NVIDIA, or installed your very first discrete GPU, this guide will walk you through exactly how to install a new GPU correctly and fix no display issues afterward. I’ll cover the actual installation steps, the troubleshooting ladder I use on my own builds, and the advanced fixes that rescue stubborn cards.
By the end, you should have a working display – or at least know whether the GPU, the motherboard, or the drivers are to blame.
Table of Contents
Pre-Installation Checklist: What to Do Before You Touch the Hardware
Most no-display issues after a GPU install actually start before the new card goes in. Skipping prep is the single biggest cause of black screens, and it’s a gap I see in nearly every forum thread I read while researching this guide.
Here’s my pre-flight checklist that I run on every single GPU swap.
Confirm Your PSU Can Handle the New Card
Every modern GPU has a recommended wattage printed on the spec sheet. If your power supply falls below that number, the card may technically power on – fans will spin – but it will fail to initialize properly. That produces the classic “GPU no display but fan spinning” symptom.
As a rule of thumb, give yourself at least 20% headroom above the GPU’s recommended PSU wattage. A card that recommends a 650W PSU should ideally run on a 750W or 850W unit.
Check Physical Clearance
Measure the new card’s length, height, and thickness against your case’s GPU clearance spec. Triple-slot and 3.5-slot cards can be a tight fit, and forcing a card into a slot it doesn’t have room for can crack the PCB or bend the PCIe connector.
Download Drivers Ahead of Time
Before you uninstall your old card, download the latest driver package for your new GPU onto a USB stick or a separate drive. The cleanest install path requires booting into Windows without any GPU drivers loaded – and you’ll want the installer ready when you get there.
Gather Your Tools
You only need a Phillips #2 screwdriver and an anti-static wrist strap (or just touch a grounded metal surface before handling). Have a flashlight nearby – the PCIe latch on modern motherboards is small and easy to miss.
How to Install a New GPU: Step-by-Step Walkthrough
The physical install takes about 10 minutes once you know the steps. I’ve done this on builds ranging from a $400 budget rig to a $3,000 workstation, and the procedure is identical.
Step 1: Shut Down and Disconnect Power
Power off the PC through Windows, flip the switch on the back of the PSU, and unplug the power cable from the wall. Press the case power button once with the cord unplugged to drain residual charge from the motherboard capacitors.
Step 2: Remove the Side Panel and Locate the PCIe Slot
Remove the side panel (usually the left panel when looking at the front of the case). Locate the topmost PCIe x16 slot on your motherboard – this is almost always the slot wired directly to the CPU and the slot you want for your GPU.
Step 3: Remove the Old GPU (If Upgrading)
First, disconnect any PCIe power cables from the old card. Then unscrew the bracket screw holding the card to the case. Finally, push down (or outward, depending on the design) on the PCIe retention latch at the end of the slot to release the card. Gently pull the card straight out.
Step 4: Install the New GPU
Remove the metal bracket covers from the case that match your new card’s output panel. Open the PCIe latch on the motherboard. Line the card’s gold contacts up with the slot and press down firmly and evenly until the latch clicks closed. Secure the card with the bracket screw.
Step 5: Connect PCIe Power Cables
Modern GPUs require one or two PCIe power connectors – typically 8-pin, 6-pin, or the new 12VHPWR connector on RTX 4000-series and newer. Use dedicated PCIe cables from your PSU, not adapters unless the manufacturer specifically includes them. Push each connector until you hear it click.
Step 6: Connect Your Monitor to the GPU (Not the Motherboard)
This is the single most common mistake. Plug your HDMI or DisplayPort cable into one of the ports on the GPU’s rear bracket – not the ports on the motherboard’s rear I/O. The motherboard ports only work when you’re using integrated graphics.
Step 7: First Boot
Reconnect power, turn on the PSU switch, and press the case power button. If everything is seated correctly and the PSU is up to the task, you should see your motherboard splash screen within a few seconds.
First-Boot Troubleshooting: Why Your New GPU Has No Display
So you followed the steps, hit the power button, and the fans spin – but the monitor says “No Signal.” Don’t panic. About 80% of no-display cases resolve with the next three checks.
Confirm the Monitor Is on the Right Input
Most monitors have multiple inputs (HDMI 1, HDMI 2, DisplayPort 1, etc.). Use the monitor’s input/source button to cycle to the input that matches the cable you plugged in. I’ve personally wasted 15 minutes troubleshooting a “broken” GPU that was just on the wrong input.
Try a Different Cable or Port
Swap to a known-good HDMI or DisplayPort cable. Try each output port on the GPU – some cards have four or five, and any single one can fail independently. If you have a second monitor, try that too.
Watch the Motherboard Debug LEDs
Most modern motherboards have small diagnostic LEDs labeled CPU, DRAM, VGA, and BOOT. If the VGA or BOOT LED stays lit after power-on, the motherboard can’t initialize the GPU. That tells you to focus on reseating the card, clearing CMOS, or checking power delivery.
Switch to Integrated Graphics (iGPU) for Diagnosis
If your CPU has integrated graphics (most Intel chips ending in “K” or “F” don’t, but many non-K chips and AMD Ryzen G-series do), you can use the motherboard’s video outputs to confirm the rest of the system works. This isolates the GPU as the problem.
Enable iGPU in BIOS
You’ll need a display to get into BIOS, which creates a chicken-and-egg problem if you have no working output. The fix: most motherboards default to auto-detect for the primary display, so plugging into the motherboard port while the GPU is installed should still produce a signal.
If you do get a display, enter BIOS (usually DEL or F2 at startup) and navigate to the graphics configuration. Set “Primary Display” or “Init Display First” to “IGFX” or “Integrated.” Save and exit.
Plug Into the Motherboard’s Video Ports
Use the HDMI or DisplayPort ports on the motherboard’s rear I/O panel – these run directly off the CPU. If you get a picture here, your CPU, RAM, motherboard, and PSU are all functioning. The fault is either the GPU itself, the PCIe slot, or a driver conflict.
What a Working iGPU Tells You
A working iGPU with a non-working discrete GPU narrows the problem dramatically. The remaining suspects are: the PCIe slot, the GPU’s power delivery, the GPU’s hardware, or driver/firmware conflicts. The next three sections address each one.
Reseat the GPU, Reroute Cables, and Recheck Power Connectors
This is the cheapest fix in this entire guide, and it solves more “no display after GPU install” cases than any other step. Reseating means physically removing the card and putting it back in.
Power Down Completely First
Flip the PSU switch and unplug. Wait 30 seconds for capacitors to discharge. Then open the case.
Remove and Reseat the GPU
Disconnect PCIe power cables, unscrew the bracket, release the PCIe latch, and pull the card straight up. Inspect the gold contacts for dust or damage, then press it back into the slot firmly until the latch clicks.
Verify Power Connectors
Push each PCIe power cable in until it clicks. Loose power connectors are the silent cause of black screens on many builds – the card gets partial power, fans spin, but the GPU core never fully initializes.
Try a Different PCIe Slot
If your motherboard has two PCIe x16 slots, try the second one. Some boards have specific slot bifurcation issues, and slot swapping can confirm whether the slot itself is the problem.
Clear CMOS / Reset BIOS to Default Settings
The BIOS stores boot priority, PCIe configuration, and a bunch of legacy settings. After a major hardware change, a stale BIOS config can refuse to initialize the new GPU. Clearing CMOS wipes everything to factory defaults.
What CMOS Reset Does for GPU Issues
A CMOS reset restores the PCIe slot to default Gen speed (usually Gen 3 or Gen 4), resets the primary display output, and clears any custom boot overrides. In practice, this fixes about 30% of “installed new GPU, no display” cases where the card is properly seated and getting power.
Method 1: Use the Motherboard Jumper
Most motherboards have a 2-pin jumper labeled “CLR_CMOS” or “JBAT1.” With the PSU unplugged, move the jumper from its default position to the clear position for 10 seconds, then move it back.
Method 2: Remove the CMOS Battery
If there’s no jumper, remove the small coin-cell battery from the motherboard. With the PSU unplugged and the power button pressed to drain charge, pull the battery, wait 5 minutes, and reinstall it. This works even without a working display.
Method 3: Use the BIOS Reset Button
Some premium motherboards have a physical reset button on the rear I/O. Press and hold it for 10 seconds with the PSU unplugged.
After the Reset, Configure the Primary Display
Once the system boots, enter BIOS and verify the primary display is set to PCIe (or Auto) rather than integrated. Save and exit.
Reinstall GPU Drivers Cleanly Using DDU
If reseating and CMOS reset didn’t fix it, the next most likely cause is a driver conflict. When you swap GPUs – especially from AMD to NVIDIA or vice versa – Windows often tries to load drivers from the old card, which can prevent the new card from initializing.
The fix is DDU (Display Driver Uninstaller), a free utility that strips every trace of the old GPU driver from your system.
Download DDU and Prepare a Clean Boot
Grab DDU from guru3d.com (the official source). Put it on a USB stick along with the latest driver installer for your new GPU. Restart Windows into Safe Mode: Settings > Recovery > Advanced Startup > Restart Now, then choose Safe Mode with Networking.
Run DDU and Select “Clean and Shutdown”
Launch DDU, select your GPU vendor (NVIDIA, AMD, or Intel) from the dropdown, and click “Clean and restart.” DDU will remove the driver package, registry entries, and any leftover traces. When prompted, let the system reboot.
Boot Into Windows and Install Fresh Drivers
After DDU runs, Windows will boot with a low-resolution default display driver. Run the installer for your new GPU’s driver package. Restart one final time when the installer prompts you.
Flash the GPU VBIOS (Advanced, Last Resort)
VBIOS is the firmware stored on the GPU itself. On rare occasions – usually with used cards, mining cards, or cards that lost power during a firmware update – the VBIOS becomes corrupt and prevents the card from initializing.
This step is for advanced users only. A bad flash can permanently brick your GPU.
When VBIOS Flashing Is Appropriate
If your card spins its fans but never outputs a signal, and the card was working before (or was sold as working), VBIOS corruption is a possibility. Before flashing, eliminate every other cause first – reseat, CMOS reset, DDU, and test the card in another system.
Identify Your VBIOS With GPU-Z
Download TechPowerUp GPU-Z. It displays the card’s BIOS version, GPU codename, memory type, and board partner. Save the current VBIOS file (click the arrow next to the BIOS Version field) as a backup before doing anything.
Find a Compatible VBIOS
Search for your exact card model on TechPowerUp’s VGA BIOS Collection. Match the board partner, memory size, and revision. Download a stable VBIOS from the same card – never flash a different model’s BIOS.
Flash With NVFlash (NVIDIA) or AMDVBFlash (AMD)
NVIDIA uses NVFlash; AMD uses AMDVBFlash. Both run from a DOS or Windows command prompt. The standard command is: nvflash -b backup.rom to back up, then nvflash newbios.rom to write the new file. AMD’s tool has a similar interface.
The system will reboot automatically. If the flash succeeded, you should see a display on the next boot. If not, do not flash again – the card may need professional recovery.
Test the GPU in Another System to Isolate the Fault
If you’ve tried reseating, CMOS reset, DDU, and the card still won’t display, the GPU itself is the most likely culprit. The fastest way to confirm is to test it in another PC.
Build a Test Bench or Borrow a Friend’s PC
You don’t need a full second build – even a minimal test bench with a CPU, motherboard, RAM, and PSU is enough. Or ask a friend with a working desktop to slot your GPU into their spare PCIe slot.
What a Working Test Result Tells You
If the GPU works in another system, the fault is in your original build’s motherboard, PCIe slot, or PSU. If it doesn’t work in any system, the GPU is dead and needs an RMA or replacement.
Prevention Tips: Avoid GPU No-Display Problems Next Time
Once you’ve got your display back, a few simple habits will save you the same headache on your next upgrade.
Always Use a Quality PSU With Headroom
Buy a PSU from a reputable brand (Corsair, Seasonic, EVGA, be quiet!, etc.) with at least 20% more wattage than your GPU recommends. Quality PSUs deliver clean, stable power that GPUs need to initialize correctly.
Run DDU Before Every GPU Swap
Make DDU part of your standard upgrade workflow. Even swapping from an RTX 3060 to an RTX 4070 – same brand, same family – can leave driver fragments that confuse the new card.
Keep Spare Cables on Hand
Loose PCIe power cables are the silent cause of many black screens. Keep a spare 8-pin and 6-pin PCIe cable in your parts drawer, and always push connectors in until they click.
Update Your Motherboard BIOS Periodically
Motherboard vendors release BIOS updates that add support for new GPUs and fix PCIe compatibility issues. Check your motherboard’s support page every few months, especially before a major GPU upgrade.
Frequently Asked Questions
How to repair a GPU with no display?
Start with the cheapest fixes: reseat the GPU firmly in the PCIe slot, confirm the PCIe power cables are fully clicked in, and try a different HDMI or DisplayPort cable. If that fails, clear the CMOS to reset BIOS settings and switch to your CPU’s integrated graphics to confirm the rest of the system works. Finally, use DDU (Display Driver Uninstaller) in Safe Mode to wipe old drivers, then install fresh drivers for the new card.
Why is my monitor not showing up after installing a new graphics card?
The most common reason is the monitor cable is plugged into the motherboard’s video ports instead of the new GPU’s ports. Other frequent causes include a loose PCIe power connector, an insufficient PSU, an unseated card, or stale BIOS settings. Work through these checks in order: cable location, reseat, power connectors, CMOS reset, then DDU driver reinstall.
What to do after replacing a GPU?
After physically installing the new GPU, connect your monitor to the GPU (not the motherboard), boot into Windows, and immediately run DDU in Safe Mode to remove old drivers. Then install the latest drivers from NVIDIA GeForce Experience or AMD Adrenalin Software. Finally, restart the system and confirm the new card is detected in Device Manager and your monitoring software.
How to reset GPU without display?
Without a working display, the best resets are physical: power down, unplug the PSU, remove and reseat the GPU, and clear the CMOS by removing the coin-cell battery for 5 minutes. You can also try a blind DDU run by booting into Safe Mode (hold Shift while clicking Restart) and letting DDU run automatically, then reinstalling drivers.
Conclusion
Learning how to install a new GPU and fix no display issues afterward comes down to working through a troubleshooting ladder in the right order: check the cable location, reseat the card, verify power, clear CMOS, run DDU, and only then consider VBIOS flashing or a faulty card. Most no-display problems after a GPU install resolve in the first three steps.
If you’re still stuck after following this guide, drop a comment below with your motherboard model, GPU model, PSU wattage, and what you’ve already tried. I’ll help you narrow down the cause.