
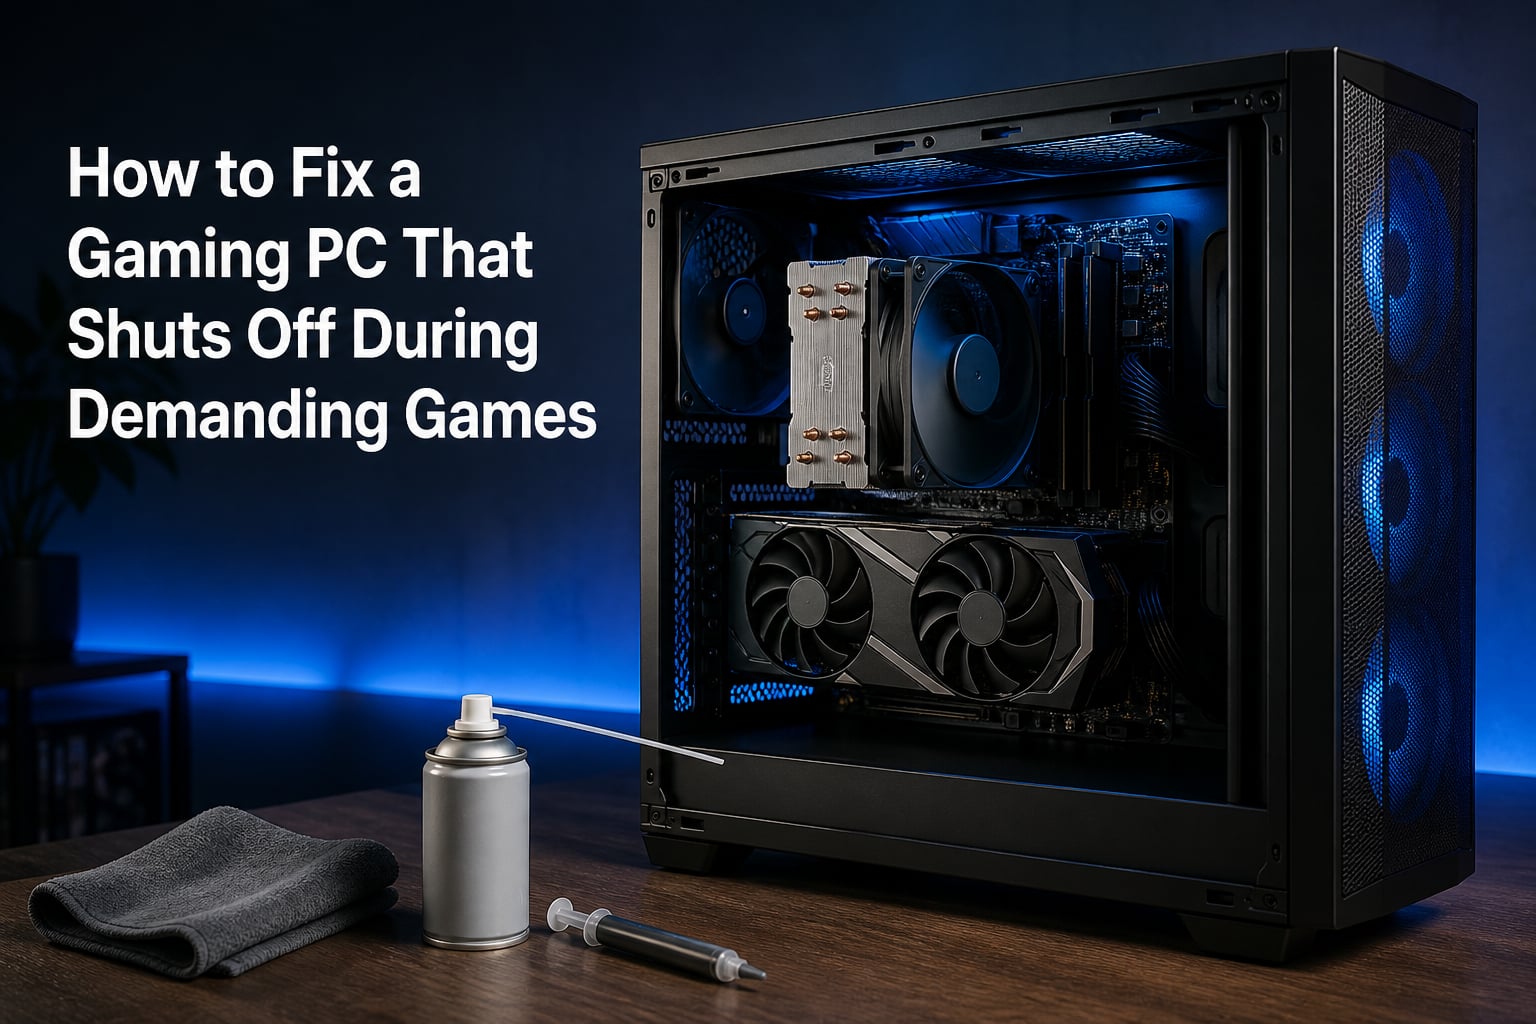
You are mid-raid in Helldivers 2. The boss is at 10 percent health. Your team is counting on you. Then your screen goes black, your fans spin down, and your PC sits there dead. No blue screen, no error message, no warning. If your gaming PC shuts off during demanding games, you already know how frustrating this feels.
The most common reason your PC shuts down under gaming load is either insufficient power delivery from your PSU or thermal protection triggering when your CPU or GPU exceeds safe temperature thresholds. These two causes account for the vast majority of random shutdowns during gameplay. Modern components have built-in protection circuits that instantly cut power when they detect dangerous conditions.
I have helped dozens of gamers troubleshoot this exact problem across Reddit, Discord servers, and local build communities. The fix is almost always one of five things: an undersized power supply, dried-out thermal paste, dust-clogged heatsinks, failing fans, or daisy-chained PCIe cables that cannot handle transient power spikes. This guide walks you through every single cause and fix, step by step.
You will learn how to tell whether you are dealing with a power delivery problem or a thermal one, how to use Windows Event Viewer to confirm the shutdown type, and what temperature and wattage numbers your specific components should stay under.
Table of Contents
How to Fix a Gaming PC That Shuts Off During Demanding Games: The Two Main Culprits
Every random shutdown during gaming falls into one of two categories: power delivery or thermal protection. Understanding this split is the foundation for fixing the problem.
Power delivery problems happen when your PSU cannot supply enough clean voltage to your components under heavy load. The PSU detects a dangerous condition and trips its protection circuit, instantly shutting everything down to prevent damage.
Thermal protection problems happen when your CPU or GPU reaches a critical temperature threshold. The component sends a signal to the motherboard to cut power before the silicon literally burns itself up.
Here is the quick way to tell them apart. If your PC shuts off instantly like someone pulled the plug, and will not turn back on for several seconds, you are likely looking at a PSU protection trip. If you notice rising fan noise, stuttering, or frame drops before the shutdown, heat is more likely the culprit. If the PC turns right back on with no delay, thermal throttling may have escalated to a full thermal shutdown.
Power Supply Issues: When Your PSU Cannot Keep Up
Your power supply is the single most overlooked component in a gaming PC. Gamers will spend $800 on a GPU and pair it with a $40 budget PSU that cannot handle the load.
Insufficient Wattage for Modern GPUs
Modern GPUs are power-hungry in ways that catch people off guard. An RTX 4070 Ti can draw 285W under sustained load. An RTX 4090 can pull 450W or more. If your PSU is rated for 650W and your total system draw approaches 600W during gaming, you have almost zero headroom.
PSU manufacturers recommend running at 50 to 70 percent of rated capacity for maximum efficiency and lifespan. That means a 650W PSU should ideally see a sustained load of 325 to 455W. If your system pulls 580W during a demanding game, you are operating near the PSU’s ceiling.
Forum users on r/buildapc consistently report that upgrading to a higher-wattage PSU fixes shutdowns during demanding titles like Baldur’s Gate 3, RDR2, and Cyberpunk 2077. A good rule of thumb for 2026: take your GPU’s TDP, add 150W for the rest of the system, then multiply the total by 1.5 to get your ideal PSU wattage.
Aging Capacitors and Voltage Degradation
PSUs do not last forever. The capacitors inside them degrade over time, especially in units with lower-quality components. A PSU that delivered clean 12V power four years ago may now sag to 11.4V or lower under load.
This degradation is gradual. You might game fine for two years, then suddenly start getting shutdowns. The PSU did not fail overnight. It slowly lost its ability to handle peak loads as the capacitors aged and their capacitance dropped.
If your PSU is more than four years old and you are experiencing shutdowns, capacitor aging is a prime suspect. This is especially true if the unit has been running in a hot case with poor airflow, as heat accelerates capacitor degradation.
Transient GPU Power Spikes During Gameplay
This is the single most misunderstood cause of gaming shutdowns, and almost no troubleshooting guide covers it properly. Modern GPUs do not draw steady power. They draw power in rapid spikes called transients.
When a demanding game scene loads with explosions, complex shaders, or rapid camera movement, your GPU can briefly pull 1.5 to 2 times its rated power draw for a few milliseconds. An RTX 4070 rated at 285W might spike to 450W for a split second during a scene transition in Cyberpunk 2077.
Your PSU’s protection circuits react to these spikes. If the transient exceeds the over power protection (OPP) threshold, the PSU shuts down instantly. This explains why your PC passes a 30-minute FurMark stress test but shuts off five minutes into a real gaming session.
Synthetic benchmarks like FurMark and Cinebench apply a steady, predictable load. Real games apply wildly fluctuating loads with massive microsecond spikes. The benchmark stays under your PSU’s limits. The game does not.
Daisy-Chained PCIe Cables Causing Voltage Drop
If you are using a single PCIe cable with daisy-chained connectors to power a high-end GPU, you are asking for trouble. Each PCIe cable is rated for a specific current. Splitting that current across two connectors on the same cable increases resistance and voltage drop.
Multiple Reddit users have reported that switching from daisy-chained to dedicated PCIe cables immediately resolved shutdowns during demanding games. The GPU was not getting enough voltage through the shared cable, triggering under voltage protection.
Always use separate cables for each connector on your GPU. If your GPU has two 8-pin connectors, run two separate cables from the PSU. Yes, it means more cable management. It also means your PC stays on during gameplay.
PSU Protection Circuits: Why Your Power Supply Shuts Itself Off
Modern PSUs have multiple protection circuits designed to prevent fires, component damage, and explosions. When any of these circuits trip, the PSU instantly cuts power. Understanding which protection is triggering helps you pinpoint the root cause.
OCP (Over Current Protection)
OCP trips when the current on a specific rail exceeds its safe limit. On multi-rail PSUs, each 12V rail has its own OCP threshold. If you have too many components drawing from one rail, OCP will trip during peak gaming load.
Single-rail PSUs have one massive 12V rail with a high OCP threshold, making trips less common. Multi-rail PSUs distribute the load across several rails with lower individual thresholds, making OCP trips more likely if components are poorly distributed.
OPP (Over Power Protection)
OPP trips when the total power output of the PSU exceeds its rated maximum. This is the protection circuit most commonly triggered by transient GPU spikes during demanding games. Your 650W PSU might handle 620W sustained but trip OPP at 680W during a millisecond-long spike.
If your PC shuts off during a specific game scene with lots of action and you can replicate it consistently, transient spikes hitting OPP are likely the cause.
UVP (Under Voltage Protection)
UVP trips when the voltage on any rail drops below a safe threshold. This is what happens when aging capacitors or daisy-chained cables cause the 12V rail to sag under load. The PSU detects 11.2V instead of 12V and shuts down to prevent unstable operation.
You can check your 12V rail voltage using HWiNFO64. Open the sensors panel and look for your motherboard’s 12V reading. Under gaming load, it should stay above 11.76V (within 2 percent of 12V). If it drops below that, UVP is likely causing your shutdowns.
OTP (Over Temperature Protection)
OTP lives inside the PSU itself, not on your CPU or GPU. If the internal components of the power supply get too hot (usually above 100C on key capacitors), OTP trips. This often happens when the PSU is mounted in a compartment with zero airflow or when the PSU fan has failed.
If your PSU feels hot to the touch and the fan is not spinning during gaming, OTP may be the culprit. Check that the PSU intake is not blocked by cables or dust.
Overheating Issues: When Thermal Protection Kicks In
If your PSU is fine, the next suspect is overheating. CPUs and GPUs have built-in thermal throttling that reduces clock speeds to manage heat. If throttling is not enough and temperatures continue climbing, the component triggers a full thermal shutdown.
Thermal Paste Degradation Over Years
Thermal paste does not last forever. Over two to four years, it dries out, becomes brittle, and loses its ability to transfer heat from the CPU die to the heatsink. The compound that once filled microscopic gaps between the heat spreader and cooler has turned to powder.
I have seen systems that ran perfectly for three years suddenly start shutting down during gaming. The thermal paste had degraded to the point where the CPU hit 100C within minutes of launching a demanding game. A simple repaste dropped temperatures by 20C.
If your system is older than three years and you have never repasted your CPU, this should be one of your first fixes. Quality thermal paste costs under $10 and takes 15 minutes to apply.
Dust Buildup Blocking Airflow
Dust is the silent killer of gaming PCs. Over months of use, dust accumulates on heatsink fins, fan blades, and intake filters. This insulation layer traps heat inside your components and restricts airflow through the case.
A PC that ran at 72C on the CPU during gaming might hit 92C after a year of dust accumulation. That is the difference between stable operation and thermal shutdown.
Check your intake filters, GPU heatsink fins, and CPU cooler fins for dust buildup. Use compressed air to clean them out, holding fans still with your finger to prevent overspin damage.
Fan Failure and Bad Fan Curves
A single failed fan can cause cascading thermal problems. If your CPU cooler fan, GPU fan, or case exhaust fan has stopped spinning, heat builds up rapidly with nowhere to go.
Open your case while the PC is running a game and visually confirm every fan is spinning. Listen for grinding or clicking noises that indicate bearing failure. A fan that spins but makes noise is on its way out.
Also check your fan curves in BIOS or software like Fan Control. Many builders leave fans at default settings that ramp too slowly. Set a custom curve that ramps case fans to 80 percent by 75C and CPU fans to 90 percent by 85C.
Poor Case Airflow Design
Even with clean components and working fans, a poorly designed airflow setup will cause thermal problems. Common mistakes include negative pressure (too many exhaust fans), blocked intake vents, and cables blocking the air path.
Aim for slightly positive pressure with two or three intake fans and one or two exhaust fans. Keep the cable management tidy behind the motherboard tray. Make sure nothing blocks the front intake or top exhaust paths.
Safe Temperature Ranges for Gaming Components
Knowing the exact temperature thresholds helps you determine whether heat is causing your shutdowns. Here are the ranges you need to watch.
CPU Temperature Ranges
Safe gaming range: 65-85C. Your CPU should sit in this range during sustained gaming load.
Warning range: 85-95C. The CPU is throttling to manage heat. Performance drops and shutdown risk increases.
Critical shutdown threshold: 95-105C (varies by model). Most Intel CPUs trigger thermal shutdown at 100C or 105C. Most AMD Ryzen CPUs trigger at 90C (thermal limit) or 95C.
GPU Temperature Ranges
Safe gaming range: 65-80C. Most modern GPUs operate comfortably here during gaming.
Warning range: 80-85C. The GPU is hot but still within specification. Check airflow.
Critical shutdown threshold: 83-90C (varies by model). Most NVIDIA GPUs throttle at 83C and trigger thermal shutdown around 90C. AMD GPUs typically throttle at 90-100C and shut down above 110C.
Use HWiNFO64 to monitor these temperatures in real time while gaming. Set up logging so you can review the temperature curve right before a shutdown. If you see a sharp spike to the critical threshold immediately before the shutdown, thermal protection is your confirmed cause.
How to Diagnose Whether Your PC Shuts Off From Power or Heat
Guessing wastes time. Here are four diagnostic methods that will tell you exactly what is causing your shutdowns.
Method 1: Check Windows Event Viewer for Event ID 41
Open Event Viewer by pressing Windows + X and selecting it from the menu. Navigate to Windows Logs, then System. Look for Event ID 41 (Kernel-Power) entries at the exact time of your shutdowns.
Event ID 41 means the system rebooted without cleanly shutting down first. This confirms the shutdown was a hardware-level power cut, not a software crash or blue screen. The BugcheckCode field will be 0 if it was a clean power cut (no bugcheck), confirming PSU or thermal protection rather than a driver crash.
If you see Event ID 41 with BugcheckCode 0, you are dealing with PSU protection or thermal shutdown. If you see a non-zero BugcheckCode, you have a software or driver issue instead.
Method 2: HWiNFO64 Temperature Logging
Download HWiNFO64 (free) and enable logging in the sensors panel. Start logging before you launch your game, then play until the shutdown occurs. After rebooting, open the log file and look at the last few rows before the shutdown timestamp.
If CPU or GPU temperatures spiked to critical levels (95C+ for CPU, 90C+ for GPU) right before the log ends, thermal shutdown is confirmed. If temperatures were stable and normal, your PSU is the culprit.
Also check the 12V, 5V, and 3.3V rail readings in the log. If the 12V rail dropped below 11.76V before the shutdown, under voltage protection likely triggered.
Method 3: OCCT Power Stress Test
Download OCCT (free) and run the Power test, which simultaneously stresses both CPU and GPU to simulate worst-case gaming load. This test applies both a thermal and power load at the same time, closely replicating demanding game conditions.
If your PC shuts off during the OCCT Power test but survives the CPU-only or GPU-only tests, the combined power draw is exceeding your PSU’s capacity. Multiple Reddit users on r/buildapc recommend this exact method for confirming PSU-related shutdowns.
Run the test for 15 minutes. Monitor temperatures and voltages with HWiNFO64 simultaneously. If the test passes with stable temperatures and voltages but your game still crashes, you are dealing with transient spikes that the steady-state test cannot replicate.
Method 4: The Benchmark vs Game Test
Run a synthetic benchmark like FurMark or 3DMark Time Spy for 30 minutes. If your PC survives the benchmark but shuts off during actual games, you are almost certainly dealing with transient GPU power spikes.
This happens because benchmarks apply steady loads while real games apply rapidly fluctuating loads with massive microsecond spikes. The benchmark stays within your PSU’s continuous power rating. The transient spikes during gameplay briefly exceed it, triggering OPP.
This is one of the most confusing symptoms for gamers, but it is a well-documented phenomenon. The fix is a PSU with higher wattage headroom (at least 20 percent above your calculated peak load) and a unit specifically rated for transient spike handling.
Power Supply Troubleshooting: Step-by-Step Fixes
If your diagnosis points to the PSU, here are the concrete steps to fix it.
Step 1: Calculate your actual power needs using a PSU calculator like the Seasonic Wattage Calculator or OuterVision. Enter your exact CPU, GPU, RAM, storage, fans, and peripherals. Take the recommended wattage and add 20 percent headroom.
Step 2: Check your 12V rail voltage using HWiNFO64 under gaming load. If it drops below 11.76V, your PSU is either underpowered or suffering from capacitor aging.
Step 3: Switch from daisy-chained PCIe cables to dedicated cables. Run one cable per 8-pin connector on your GPU. This eliminates voltage drop from shared cables.
Step 4: Check your PSU’s age. If it is more than four years old, consider replacing it regardless of rated wattage. Capacitor degradation is invisible but significant.
Step 5: If your PSU is undersized, replace it with a quality unit from a reputable brand. Look for 80 PLUS Gold or Platinum certification, independent reviews from sites like GamersNexus or Hardware Busters, and a minimum 5-year warranty.
Step 6: If you have a multi-rail PSU, check your manual for rail distribution. Make sure your GPU is not sharing a rail with other high-draw components. On some PSUs, you can switch between multi-rail and single-rail modes.
Overheating Troubleshooting: Step-by-Step Fixes
If your diagnosis points to overheating, here are the concrete steps to fix it.
Step 1: Clean all dust from your case. Use compressed air on heatsink fins, fan blades, intake filters, and the PSU intake. Hold fans still while cleaning to prevent bearing damage from overspin.
2: Check that every fan is actually spinning. Replace any fans that are dead, clicking, or grinding. This includes CPU cooler fans, GPU fans, and case fans.
Step 3: Replace your CPU thermal paste if the system is more than three years old. Remove the old paste with isopropyl alcohol, apply a small pea-sized amount of quality paste (like Arctic MX-6 or Thermal Grizzly Kryonaut) to the center of the CPU, and remount the cooler.
Step 4: Optimize your case airflow. Set up front and bottom fans as intake, rear and top fans as exhaust. Aim for slightly positive pressure (more intake than exhaust). Remove any drive cages or cables blocking the airflow path.
Step 5: Adjust fan curves in BIOS or using Fan Control (free software). Set case fans to ramp to 80 percent by 75C and CPU fans to 100 percent by 85C. Do not leave fans at silent defaults if you are hitting thermal limits.
Step 6: Consider undervolting your GPU using MSI Afterburner. A 5-10 percent voltage reduction can drop GPU temperatures by 5-10C with minimal performance loss. This is one of the most effective free fixes for GPU thermal issues.
Step 7: If your CPU cooler is a stock or basic model, upgrade to a quality air cooler or 240mm AIO liquid cooler. A better cooler with more thermal mass handles gaming spikes far better than a budget unit.
Other Causes of Random Shutdowns During Gaming
Power and heat account for 90 percent of gaming shutdowns. Here are the less common causes to check if neither applies.
Driver Conflicts
Corrupted or conflicting GPU drivers can cause sudden shutdowns that look like power or thermal issues. Use Display Driver Uninstaller (DDU) to completely remove your current GPU drivers in Safe Mode, then install the latest drivers fresh from NVIDIA or AMD.
This is a quick fix worth trying before spending money on hardware. Several users report that a clean driver install resolved shutdowns that persisted after PSU replacement.
VRM Thermal Issues on the Motherboard
The voltage regulator modules (VRMs) on your motherboard deliver power to your CPU. If they overheat, the motherboard can shut down to protect itself. This is common on budget motherboards with no VRM heatsinks when paired with power-hungry CPUs.
Check your VRM temperatures with HWiNFO64 if supported. If VRMs are hitting 100C+, you need better motherboard cooling or a motherboard upgrade.
Loose Power Connectors
A slightly loose 24-pin ATX connector, 8-pin CPU connector, or PCIe power connector can cause intermittent shutdowns under vibration or thermal expansion. Power down your PC, unplug and firmly reseat every power connector, and make sure latching mechanisms click into place.
RAM Instability
Faulty or unstable RAM can cause sudden reboots during gaming. Run Windows Memory Diagnostic or MemTest86+ for at least one full pass. If errors appear, try running with fewer sticks or replacing the faulty module.
Prevention: Keeping Your Gaming PC Running Cool and Stable
Once you fix the immediate problem, here is how to prevent it from coming back.
Clean your PC every three to six months. Dust accumulation is gradual but relentless. A regular cleaning schedule prevents the slow thermal creep that eventually triggers shutdowns.
Keep HWiNFO64 running in the background with temperature overlays while gaming. You will catch thermal problems before they cause shutdowns. Set alarm thresholds at 85C for CPU and 80C for GPU so you get an audible warning before hitting critical levels.
When upgrading your GPU, always recalculate your power needs. A GPU upgrade is the most common trigger for new PSU-related shutdowns because people forget to check whether their existing PSU can handle the new card’s power draw and transient spikes.
Replace thermal paste every two to three years on your CPU. It is cheap insurance against thermal degradation. Do the same for your GPU if you are comfortable disassembling it.
Buy a quality PSU with at least 20 percent headroom above your calculated peak load. A good PSU lasts through multiple GPU upgrades and protects your components from dirty power.
FAQs
Why is my PC shutting off while playing games?
Your PC is likely shutting off during games due to either insufficient power delivery from your PSU or thermal protection triggering when your CPU or GPU exceeds safe temperature thresholds. Check Windows Event Viewer for Event ID 41 to confirm it is a hardware-level shutdown, then use HWiNFO64 to monitor temperatures and 12V rail voltage during gaming to identify which cause applies.
Why does my computer crash when playing demanding games?
Demanding games push your CPU and GPU to peak power draw and temperature, exposing weaknesses that lighter tasks do not. The most common causes are an undersized or aging PSU that cannot handle transient power spikes, overheating from dust buildup or degraded thermal paste, or daisy-chained PCIe cables causing voltage drop. Run HWiNFO64 logging to capture temperatures and voltages right before the crash.
Why does my computer shut down when under high load gaming?
Under high gaming load, your components draw maximum power and generate maximum heat. If your PSU cannot supply enough power, protection circuits like OPP (Over Power Protection) or UVP (Under Voltage Protection) trip and instantly cut power. If temperatures exceed the shutdown threshold (typically 95-105C for CPU, 90C for GPU), thermal protection triggers the same instant shutdown.
What are the signs of a failing PC?
Signs of a failing PC include random shutdowns during demanding tasks, the PC not turning back on immediately after a shutdown, rising fan noise before crashes, frame drops or stuttering before shutdown, burning or hot plastic smells from the PSU, 12V rail voltage dropping below 11.76V under load, and CPU or GPU temperatures exceeding 90C. Check Event Viewer for Event ID 41 entries to confirm hardware-level shutdowns.
How do I know if my PSU is failing or overheating is the problem?
Use HWiNFO64 to log temperatures and voltages during gaming. If temperatures spike to critical levels (CPU above 95C, GPU above 90C) before the shutdown, overheating is the cause. If temperatures are stable but the 12V rail drops below 11.76V, your PSU is the problem. You can also run OCCT Power stress test to confirm PSU issues, and check Event Viewer Event ID 41 with BugcheckCode 0 for hardware-level shutdown confirmation.
Why does my PC shut off during games but not during benchmarks?
Synthetic benchmarks like FurMark apply a steady, predictable power load. Real games apply rapidly fluctuating loads with transient spikes that can briefly exceed your PSU rated capacity by 50 to 100 percent for milliseconds. These spikes trigger Over Power Protection (OPP) on undersized PSUs. The benchmark stays within your PSU limits while the game spikes past them. The fix is a PSU with at least 20 percent headroom above your calculated peak load.
Conclusion
Fixing a gaming PC that shuts off during demanding games comes down to identifying whether you have a power delivery problem or a thermal protection problem. Start with Event Viewer Event ID 41 to confirm the shutdown type. Then use HWiNFO64 logging to check whether temperatures or voltages are the culprit. Run OCCT’s Power test to stress your PSU under combined load.
The most common fixes are replacing an undersized or aging PSU, cleaning dust from heatsinks and fans, repasting the CPU after three-plus years, and switching from daisy-chained to dedicated PCIe cables. Most shutdowns fall into one of these four fixes.
Remember that transient GPU power spikes during real gameplay are different from steady benchmark loads. If your PC survives FurMark but crashes in actual games, your PSU needs more headroom. Aim for at least 20 percent above your calculated peak power draw, and always buy from reputable brands with proper reviews.
Take it one step at a time. Diagnose first, fix second, and you will be back to stable gaming sessions without the constant fear of a mid-raid shutdown.