
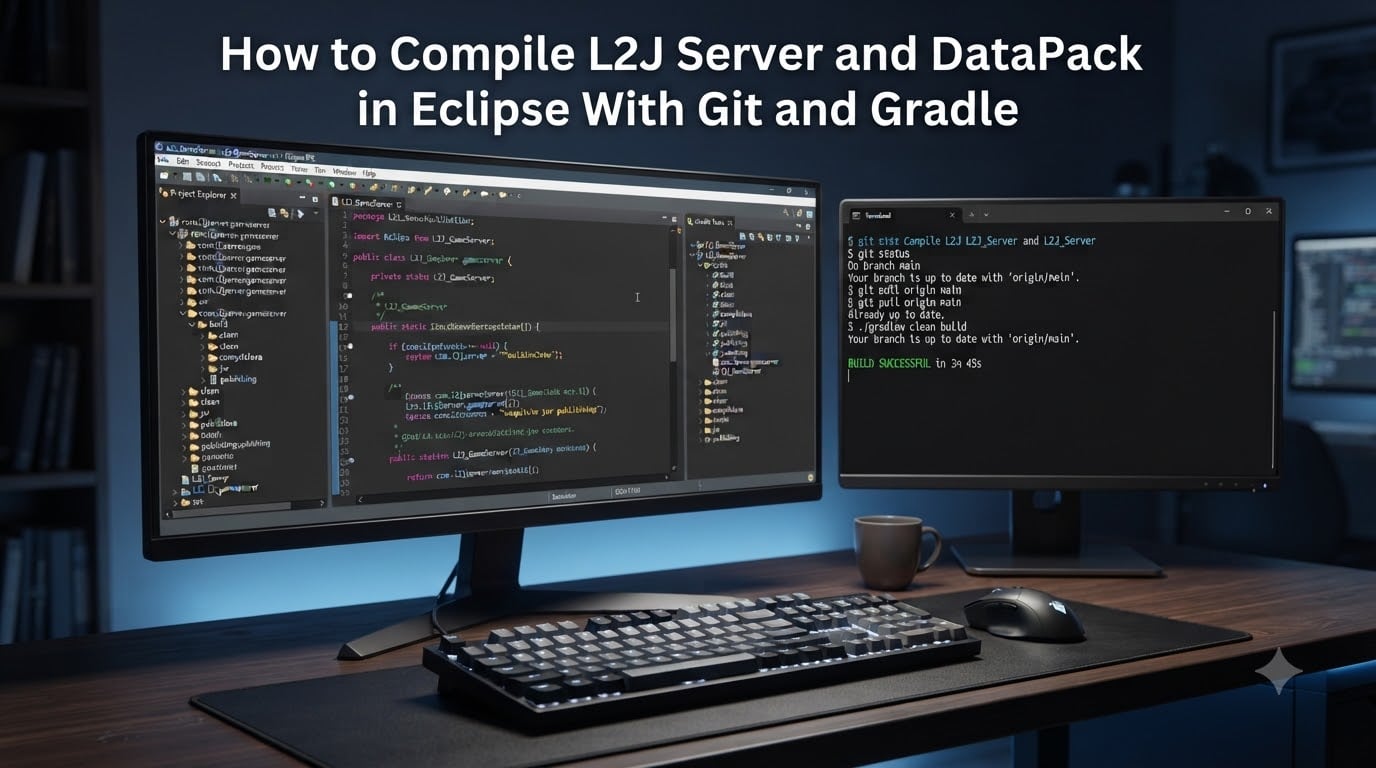
Setting up a Lineage II private server takes more than just downloading an emulator. You need to compile L2J Server and DataPack in Eclipse with Git and Gradle to get a working development environment. In this tutorial, I will walk you through the entire process I have used myself to build custom L2J servers, from installing the JDK to running your first compiled server in Eclipse.
I have spent several weekends wrestling with build path issues, missing JARs, and confusing Gradle errors while setting up L2J forks on Windows and Linux. The seven-step workflow below is the exact sequence that finally gave me a clean compile and a running login server. By the end, you will understand not only what each tool does, but why each step matters.
Table of Contents
What Is L2J Server and DataPack?
L2J Server is an open-source Java emulator for the MMORPG Lineage II. It recreates the original server-side logic of the game, including NPCs, quests, skills, and networking, so you can run your own private server or study the code to learn game server development.
The DataPack is a separate repository that holds the game data: XML scripts, HTML dialogs, item definitions, skill templates, AI scripts, and localized text. Think of it as the content layer. The server is the engine, and the DataPack is the world it renders.
Both repositories live on GitHub under the L2J project family, including popular forks like L2JMobius, L2JInterlude, and L2JServer. You will clone them separately, but they compile and run together as one system.
Prerequisites: What You Need Before You Start
Before you compile anything, make sure your machine has these four tools installed. I recommend matching the versions below because L2J forks are sensitive to JDK releases.
Java JDK 17 or JDK 21 (LTS). Most current L2J branches target JDK 17. Older forks (Interlude, High Five) still build on JDK 11, so check your fork’s README first.
Eclipse IDE for Java Developers (latest 2026-06 release or newer). The “for Java Developers” package ships with EGit and supports Buildship out of the box.
Git for Windows / macOS / Linux (version 2.40 or later). You can use the bundled EGit client in Eclipse, but having Git CLI installed makes troubleshooting easier.
Eclipse Buildship Plugin. This is the official Gradle integration for Eclipse. We install it in Step 3.
You also need about 5 GB of free disk space for the two repositories, Gradle caches, and compiled artifacts. An SSD makes a meaningful difference: my first full Gradle build took 18 minutes on HDD and 6 minutes on NVMe.
How to Compile L2J Server and DataPack in Eclipse With Git and Gradle
Follow these seven steps in order. Skipping ahead is the most common cause of the “100+ errors” problems I have seen on MaxCheaters and the L2J subreddit.
Step 1: Install Java JDK
Download the LTS build of your choice from Adoptium (Eclipse Temurin 17) or Oracle. After installing, set the JAVA_HOME environment variable and verify:
java -versionjavac -version
Both commands should report the same major version. If they do not, your PATH still points to a different Java install. Fix that first or Gradle will pick the wrong compiler and fail silently.
Step 2: Install Eclipse IDE for Java Developers
Grab the “Eclipse IDE for Java Developers” package from eclipse.org. The “for Enterprise Java Developers” build also works but pulls in extra plugins you do not need. Unzip to a stable path like C:deveclipse or /opt/eclipse.
On first launch, Eclipse prompts you to choose a workspace folder. I keep mine outside the Eclipse install directory, for example C:devworkspacel2j. Pick a fresh, empty folder.
Step 3: Install the Eclipse Buildship Plugin
Buildship is the bridge between Eclipse and Gradle. Without it, Eclipse has no idea how to read build.gradle files, which is why imports fail with red exclamation marks.
To install:
1. Open Help > Eclipse Marketplace.
2. Search for “Buildship”.
3. Click Install next to “Buildship: Eclipse Plug-ins for Gradle”.
4. Restart Eclipse when prompted.
After restart, go to Window > Preferences > Gradle and confirm the “Gradle User Home” points to a writable directory. On Windows, the default C:Users<you>.gradle works fine.
Step 4: Clone the L2J Server and DataPack Repositories from Git
Open a terminal in your workspace folder. Pick the L2J fork that matches the chronicle and expansion you want. For example, to clone the Mobius Interlude server and DataPack:
git clone https://github.com/L2JMobius/L2J-Server.gitgit clone https://github.com/L2JMobius/L2J_DataPack.git
Put both folders side by side in the workspace. Eclipse can also clone them through File > Import > Git > Projects from Git, but the CLI is faster and avoids the empty repository bug I have hit on Windows.
Once cloned, check out the branch that matches your build. Most L2J forks use a named branch per expansion (for example interlude, highfive, classic). The default branch is usually master for development snapshots.
Step 5: Import the L2J Projects into Eclipse
This step is where most beginners get stuck. You cannot use File > Import > General > Existing Projects for Gradle projects. Eclipse will try to read them as plain Java projects and the build paths will be missing.
The correct workflow:
1. Go to File > Import > Gradle > Existing Gradle Project.
2. Point the import wizard at the L2J-Server folder.
3. Eclipse scans build.gradle and proposes the project name. Accept it.
4. Repeat the import for the L2J_DataPack folder.
After import you should see two top-level projects in the Package Explorer: L2J_Server and L2J_DataPack, both with a small Gradle icon overlay. If you only see folders without that overlay, the import did not register the build script and you need to repeat with the Gradle wizard.
Step 6: Build and Compile with Gradle
Open the Gradle Tasks view (Window > Show View > Other > Gradle > Gradle Tasks). Each project exposes a list of tasks. The two you care about are:
build — compiles main sources, runs unit tests, and produces JAR artifacts under
build/libs/.dist — packages a full distributable server layout with configuration files, scripts, and the compiled GameServer and LoginServer JARs.
Right-click L2J_Server > build > Run Gradle Task the first time. Gradle downloads dependencies on the first run, which can take 5 to 10 minutes depending on your network. Watch the console for red “FAILED” markers.
You can also build from the command line for cleaner logs:
cd L2J-Server./gradlew clean dist
The clean task wipes previous builds, useful when you change branches. The dist task outputs a ready-to-run server into build/dist/.
Step 7: Run the Compiled Server
Navigate to L2J-Server/build/dist/ (or the equivalent folder in your fork). You should see:
login/ — login server scripts, configs, and JAR.
game/ — game server scripts, configs, and JAR.
datapack/ — a copy or link to the compiled DataPack scripts.
On Windows, double-click startLoginServer.bat and then startGameServer.bat. On Linux, run ./startLoginServer.sh and ./startGameServer.sh. Each opens a console window that should report “Listening on port 7777” for the game server.
You can also run them directly from Eclipse using custom Run Configurations, which I prefer for development because Eclipse streams the logs into the Console view. Right-click the project, choose Run As > Run Configurations, and create a Java Application launch pointing at com.l2jserver.gameserver.GameServer or com.l2jserver.loginserver.LoginServer.
Understanding the L2J Project Structure
After import, the two projects look very different. Knowing the layout saves you hours when modifying quests or skills.
L2J_Server is the engine. It contains the Java packages com.l2jserver.gameserver, com.l2jserver.loginserver, and com.l2jserver.commons. Network handling, AI logic, skill formulas, and packet processing all live here. When you change skill damage or add a custom event, you edit this project.
L2J_DataPack is the content layer. It holds XML files for each quest, skill, item, and NPC. It does not contain Java source by default. Gradle treats it as a resource jar that the GameServer loads at runtime. Custom datapacks do not require recompiling Java, so designers can add content without touching the server project.
The build.gradle in each project controls dependencies. The server usually depends on l2j-server-commons, MySQL connector, log4j, and a handful of utility libraries. The DataPack has no external dependencies, only file resources.
Common Build Errors and How to Fix Them
These are the four issues I run into most often, in the same order other developers report them.
100+ Errors After Import
Almost always caused by importing through the wrong wizard. If you see red exclamation marks on every package, you used File > Import > General > Existing Projects. Delete the project (without deleting contents) and reimport via File > Import > Gradle > Existing Gradle Project. The errors vanish instantly.
Gradle Build Stuck at “Resolving Dependencies”
Your network is throttling Maven Central or the Gradle plugin portal. Switch the JVM heap to fix OOM errors, or set a Gradle proxy under Window > Preferences > Gradle > JVM Settings. Adding --no-daemon to the launch arguments sometimes resolves stuck tasks.
Build Paths Reset Every Time You Reopen Eclipse
This is the classic symptom of importing without the Gradle wizard. Buildship writes classpath information that survives restarts. A manually configured build path does not. Always reimport through Gradle if your path resets.
Unsupported Class File Major Version
Gradle is using the wrong JDK. Run ./gradlew --version and confirm the JVM line matches the version your project expects (usually 17). If not, edit build.gradle sourceCompatibility and targetCompatibility to match your installed JDK.
FAQs
How to integrate Git with Eclipse?
Install EGit from the Eclipse Marketplace, then use File u0026gt; Import u0026gt; Git u0026gt; Projects from Git u0026gt; Clone URI. Paste the L2J repository URL, choose a branch, and finish the wizard. The cloned project appears in the Git Repositories view, ready to be imported as a Gradle project.
Does Eclipse support Gradle?
Yes, through the Buildship plugin. Buildship adds the Import u0026gt; Gradle u0026gt; Existing Gradle Project wizard, a Gradle Tasks view, and full build script awareness. Without it, Eclipse treats Gradle projects as plain Java projects and cannot read build.gradle.
Why is Eclipse not compiling Java files?
The most common cause is a wrong project import. Gradle projects must be imported via File u0026gt; Import u0026gt; Gradle u0026gt; Existing Gradle Project. JDK mismatches also cause silent failures: confirm ./gradlew u002du002dversion reports the JDK Eclipse is using. Other causes include syntax errors introduced by edits and missing dependencies in build.gradle.
How to build and run in Eclipse?
Open the Gradle Tasks view, expand L2J_Server, and double-click the build task. For running, create a Run Configuration under Run u0026gt; Run Configurations, choose Java Application, set the main class to com.l2jserver.gameserver.GameServer, and add the DataPack path as a program argument.
Conclusion
You now have a complete workflow to compile L2J Server and DataPack in Eclipse with Git and Gradle. The seven steps (JDK install, Eclipse install, Buildship plugin, Git clone, Gradle import, Gradle build, server run) cover every phase from a fresh machine to a live GameServer console. Keep the troubleshooting section bookmarked for the inevitable first build hiccup.
From here, your next move is to customize: edit a quest XML in the DataPack, recompile, and reload the GameServer to see the change. Once that loop feels natural, you can move on to custom skills, custom events, and database schema changes. The Gradle workflow makes each iteration quick and repeatable.