
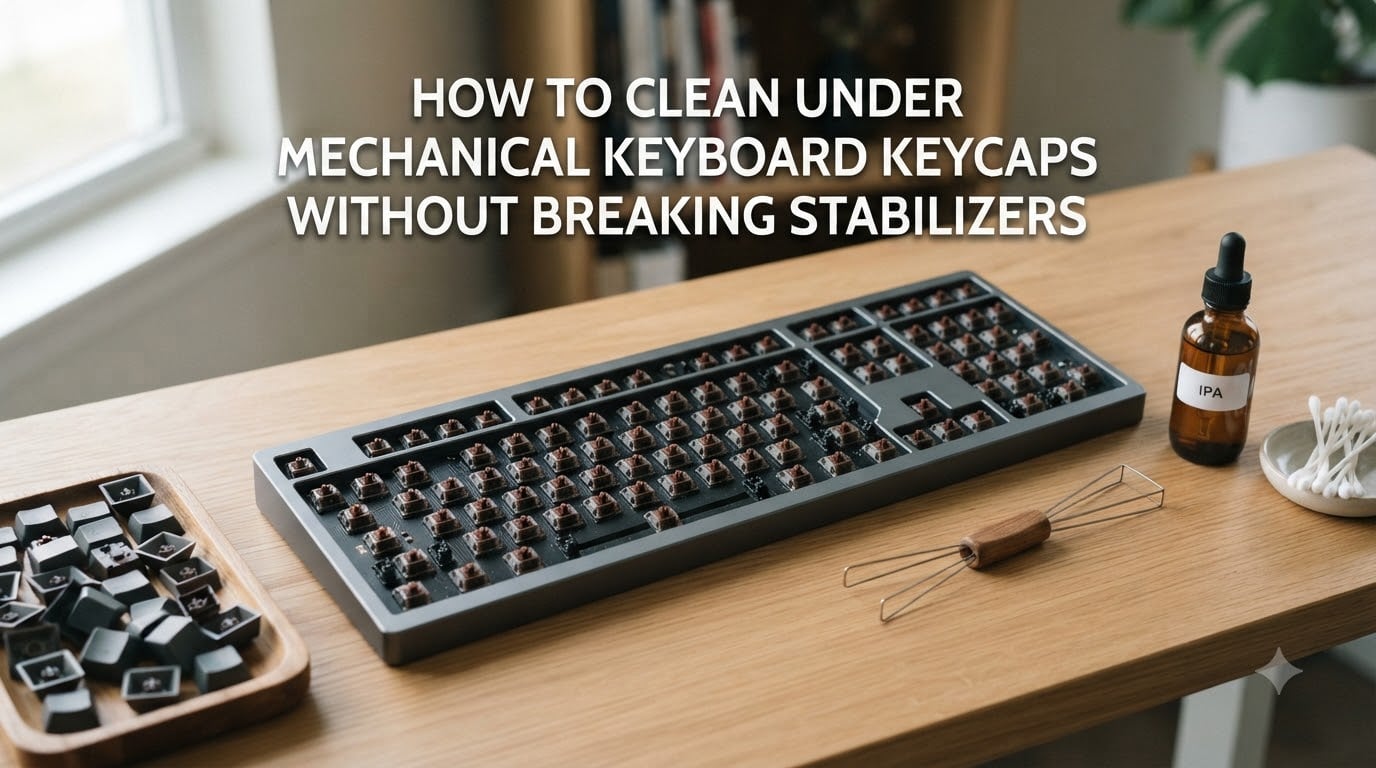
If you have ever pulled a keycap off your mechanical keyboard and heard a dreaded plastic pop, you know the panic. Stabilizers break during cleaning more often than most guides admit. I have seen it happen to friends, forum members, and experienced builders alike. The good news is that nearly every stabilizer break is preventable with the right technique.
This guide walks you through how to clean under mechanical keyboard keycaps without breaking stabilizers, step by step. I will cover safe keycap removal, washing methods, stabilizer-specific care, drying, and reassembly. The stabilizer safety focus here is something most cleaning guides gloss over or skip entirely, and it is the single biggest reason people damage their keyboards during routine maintenance.
Whether you are doing your first deep clean or you have built a dozen keyboards, you will find specific techniques for stabilized keys like the spacebar, Enter, Shift, and Backspace. By the end, you will know exactly how to clean your keyboard safely and confidently.
Table of Contents
What Are Stabilizers and Why They Break During Cleaning?
Stabilizers are the metal wire mechanisms under larger keys that keep them level when you press off-center. Without them, your spacebar would wobble and bind every time you hit the edge. Each stabilized key has two plastic inserts (stems) that slide onto the stabilizer wire, plus a switch stem in the middle. The keycap has matching mounts on its underside that connect to all three points.
Stabilizers break during cleaning for three main reasons. First, people pull one side of the keycap up while the other side stays locked into the stabilizer stem, which bends or snaps the plastic mount. Second, some pullers grip unevenly and twist the keycap sideways as it comes off. Third, stabilized keys require significantly more force to remove than single keys, which tempts people to yank harder and lose control.
The stabilizer wire itself rarely breaks. What breaks is the thin plastic stem on the keycap that hooks into the stabilizer insert, or the insert itself pops out of the keyboard plate. Both are fixable if you know what to do, but the goal is to prevent them in the first place.
A key distinction: switch stems are the small plastic cross on individual keys. Stabilizer stems are the wider plastic inserts on the left and right sides of large keys. Both can break, but stabilizer stems are the more fragile and more expensive to replace.
Tools You Need to Clean Under Keycaps Safely
Having the right tools makes stabilizer-safe cleaning dramatically easier. Here is what I recommend before you start.
Wire keycap puller: This is the safest option for stabilized keys. A wire puller uses two thin metal loops that slide under the keycap evenly on both sides, distributing force symmetrically. Ring-style pullers and plastic pry tools can tilt the keycap and stress stabilizer mounts.
Compressed air or a keyboard vacuum: For clearing loose debris from the keyboard plate before and after removing keycaps. A soft brush attachment works well for loosening dust.
Cotton swabs and 70% isopropyl alcohol: For cleaning grime off the plate, stabilizer wires, and between switches. Use 70% concentration, not 90%, because it has enough water to dissolve oils but still evaporates quickly.
Mild dish soap and warm water: For soaking keycaps. Lukewarm water between 100 and 110 degrees Fahrenheit is ideal. Avoid hot water, which can warp ABS plastic keycaps.
Microfiber cloth or paper towels: For drying keycaps and wiping the keyboard base. A soft-bristled brush helps scrub stubborn residue off keycaps during soaking.
A camera or phone: Take a photo of your keyboard layout before removing any keycaps. You will thank yourself when it is time to put everything back.
How to Clean Under Mechanical Keyboard Keycaps Without Breaking Stabilizers: Step-by-Step
Follow these steps in order. I have broken them down to prioritize stabilizer safety at every stage.
Step 1: Unplug and photograph. Disconnect your keyboard from your computer or turn off wireless mode. Take a clear photo of your full keyboard layout from above. This is your reference map for reassembly.
Step 2: Remove non-stabilized keys first. Start with standard single keys like letters and numbers. Slide the wire puller under the keycap, squeeze gently to engage both sides, and pull straight up with steady pressure. These keys come off easily and give you practice before tackling stabilized keys.
Step 3: Clear loose debris from the plate. Use compressed air or a keyboard vacuum to remove dust and crumbs before removing stabilized keys. This prevents debris from falling deeper into stabilizer mechanisms during removal.
Step 4: Remove stabilized keys with the leveling technique. This is where most people break stabilizers. Slide the wire puller under the keycap and apply upward pressure evenly on both sides. Do not let one side lift before the other. Keep the keycap level as it rises. If one side resists, stop, reposition the puller, and try again. Never twist or tilt the keycap.
Step 5: If resistance is high, remove an adjacent key first. Forum users on r/MechanicalKeyboards consistently recommend this trick. Removing a neighboring keycap gives you more room to maneuver the puller and lets you see the stabilizer mechanism underneath. You can gently guide the stabilizer wire free if needed.
Step 6: Clean the exposed plate. With all keycaps off, use compressed air to blow out remaining debris. Then dampen a cotton swab with 70% isopropyl alcohol and wipe the plate between each switch. Pay special attention to stabilizer wires and the plastic inserts around them.
Step 7: Wash the keycaps. Fill a container with lukewarm water (100 to 110 degrees Fahrenheit) and add a few drops of mild dish soap. Submerge the keycaps and let them soak for 30 to 60 minutes. Stir gently occasionally. Do not shake the container vigorously, as keycaps crashing together can chip the stems.
Step 8: Scrub and rinse. After soaking, use a soft brush to scrub each keycap, especially inside the stem mounts. Rinse with cool water to remove all soap residue.
Step 9: Dry completely. Place keycaps on a microfiber cloth or paper towel, stem-side down, and let them air dry for at least 4 to 6 hours. Overnight is safest. Do not use a hair dryer or heat gun, as hot air warps plastic.
Step 10: Reassemble carefully. Replace stabilized keys first, pressing straight down until you feel each stabilizer stem click into place. Then replace standard keys using your reference photo.
Stabilizer-Safe Removal: How to Handle the Spacebar and Large Keys
The spacebar is the key most likely to break during cleaning. It uses a large stabilizer wire spanning the full width, and the plastic stems on the keycap are under significant tension even at rest. Enter, Shift, Backspace, and the zero key on numpads follow the same rules.
The golden rule: keep the keycap level. When you pull a stabilized key, both stabilizer stems must release simultaneously. If the left side pops free while the right side stays seated, the keycap tilts, and the freed stem slams sideways into the stabilizer insert. This is how stems snap.
Use both hands if needed. For the spacebar, place the wire puller in the center and pull straight up. If the keycap is particularly tight, position a finger on each side of the keycap to guide it upward evenly. You are not pulling harder, you are pulling straighter.
Wiggle slightly, never twist. A gentle back-and-forth rocking motion can help break the friction seal between the stem and the keycap mount. But rocking side to side (twisting) is dangerous. Rock front to back only, in tiny movements, while maintaining upward pressure.
Remove adjacent keys for access. Take off the keys next to the stabilized key first. For a spacebar, remove the Alt and FN or Command keys. For Enter, remove the nearby quote and bracket keys. This gives you a clear view of the stabilizer mechanism and room to guide it free if it catches.
Watch for the insert popping out. On some keyboards, the stabilizer insert (the plastic piece sitting in the plate) can pop out with the keycap instead of staying seated. This is not damage. It just means the insert came loose. Note which way it was oriented, remove it from the keycap, and press it back into the plate before reinstalling the key.
Be patient with Costar-style stabilizers. If your keyboard uses Costar stabilizers (where the wire has small hooks that insert directly into the keycap), removal is trickier than plate-mount or PCB-mount stabilizers. The wire hooks can catch on the keycap. Angle the keycap very slightly to guide the hooks free, one side at a time, while supporting the wire so it does not bend.
How to Clean the Keyboard Base Under the Keycaps
Once your keycaps are soaking, turn your attention to the keyboard base. This is where years of finger oils, pet hair, and snack crumbs accumulate.
Start with compressed air. Hold the keyboard at an angle and blow air between the switches and around the stabilizer wires. Short bursts work better than continuous spraying, which can cause condensation. Follow up with a keyboard vacuum or soft brush to lift loosened debris.
Next, dampen a cotton swab with 70% isopropyl alcohol. Wipe the plate between switches, focusing on the areas around stabilizer wires and inserts. You will likely see dark residue come off, especially near the spacebar and Enter key. Use fresh swabs as they get dirty.
For stabilizer wires specifically, wrap an alcohol-dampened microfiber cloth around the wire and slide it along the length. This removes old lubricant and grime. If you plan to re-lubricate your stabilizers, cleaning the wire thoroughly first is essential for smooth results.
Avoid spraying any liquid directly onto the PCB or switches. Always apply cleaning solutions to your swab or cloth first, then wipe. Even alcohol can seep into switch housings and wash away factory lubricant inside the switch, which changes the feel and sound.
Let the keyboard base air dry for 10 to 15 minutes before reinstalling keycaps. Isopropyl alcohol evaporates fast, but giving it time ensures no moisture remains near the PCB.
Washing and Drying Keycaps Properly
The soaking method I described in the step-by-step section works for both ABS and PBT keycaps, but there are material-specific differences worth knowing.
ABS keycaps are softer and more sensitive to heat. Never use hot water, which can warp them and ruin the smooth surface. Stick to lukewarm water under 110 degrees Fahrenheit. ABS keycaps also develop a shiny surface over time from finger oils, and soaking helps reduce this shine temporarily.
PBT keycaps are denser and more heat-resistant. They can tolerate slightly warmer water and are less prone to warping. PBT keycaps tend to hold less odor and grime than ABS, so they may not need soaking as frequently.
For both materials, 30 to 60 minutes of soaking is sufficient. Longer soaks do not clean better and increase the risk of water seeping into the stem mounts and taking longer to dry. If keycaps are extremely grimy, scrub with a soft brush during soaking rather than extending the soak time.
Drying is where patience matters most. After rinsing, shake each keycap gently to remove excess water from the stem mount. Place them stem-side down on a microfiber cloth. The inside of the stem is the last part to dry because water pools in the cross-shaped channel. Air dry for at least 4 hours, but overnight is the gold standard.
Never reinstall a damp keycap. Trapped moisture inside the stem can corrode switch contacts over time. If you are unsure whether a keycap is dry inside, press a corner of a paper towel into the stem mount. If it comes out dry, the keycap is ready.
Quick Clean Without Removing Keycaps
Not every cleaning session requires a full teardown. For routine maintenance between deep cleans, you can keep your keyboard in good shape with keycaps on.
Hold the keyboard upside down and shake gently to dislodge loose debris. Follow with compressed air, angling the nozzle between key rows to blow out dust. Short bursts at a 45-degree angle work best.
Use a soft-bristled brush or a clean makeup brush to sweep dust from the keycap surfaces and the gaps between keys. Brush in one direction to push debris toward the edge where you can wipe it away.
For sticky residue or visible grime between keys, lightly dampen a cotton swab with 70% isopropyl alcohol. Run it along the gaps between keycaps. The alcohol dissolves oils and evaporates within seconds, so there is no drying time needed. Avoid dripping alcohol down between the keys, as it can reach the switches below.
I recommend a quick clean every 1 to 2 weeks and a full deep clean every 3 to 6 months, depending on how much you use the keyboard and whether you eat at your desk.
Common Mistakes That Break Stabilizers (and How to Avoid Them)
Based on forum discussions from r/MechanicalKeyboards, Deskthority, and community.frame.work, here are the most common stabilizer-breaking mistakes and how to prevent each one.
Mistake 1: Tilting the keycap during removal. This is the number one cause of broken stabilizer stems. Fix: keep the keycap perfectly level using both hands or a centered wire puller. Pull straight up, not at an angle.
Mistake 2: Using a ring-style puller on stabilized keys. Ring pullers grip one point and can cause the keycap to tilt. Fix: use a wire puller that engages both sides simultaneously. Save ring pullers for standard single keys.
Mistake 3: Pulling too hard too fast. Stabilized keys need more force than regular keys, but jerking the puller is where control is lost. Fix: apply slow, steady upward pressure. If the keycap does not budge, stop and reposition.
Mistake 4: Not removing adjacent keys first. Neighboring keycaps block your view and access to the stabilizer mechanism. Fix: remove at least one adjacent key before tackling a stabilized key. The extra space makes a huge difference.
Mistake 5: Using hot water on ABS keycaps. This does not break stabilizers directly, but warped keycaps will not seat properly on stabilizer stems, causing wobble and eventual stress damage. Fix: always use lukewarm water for soaking.
Mistake 6: Metal pullers leaving indentations. Several forum users report that aggressive metal wire pullers can leave small marks on softer keycap plastics. Fix: choose a puller with rubber-coated or rounded wire tips, and do not over-squeeze.
What to Do If a Stabilizer Stem Pops Out or Breaks
Even with careful technique, accidents happen. Here is what to do based on the type of damage.
If the stabilizer insert pops out with the keycap: This is not breakage. Remove the insert from the keycap, note its orientation, and press it back into the plate firmly. It should snap into place. Then reinstall the keycap normally.
If the stabilizer wire bends: Gently bend it back to straight using your fingers or needle-nose pliers with light pressure. A slightly bent wire causes key wobble but is usually fixable. If the bend is severe, replacement stabilizer wires are inexpensive and widely available.
If a keycap stem breaks off inside the stabilizer insert: Use fine tweezers or a small flathead screwdriver to carefully extract the broken plastic. If it is stuck, a tiny dab of superglue on a toothpick applied to the broken piece, then pulled out after it bonds, can work as a last resort. Avoid getting glue inside the insert itself.
If the stabilizer insert breaks: You will need a replacement insert, which typically costs under $5. Many keyboard manufacturers sell replacement stabilizer kits. Match the stabilizer type (plate-mount, PCB-mount, or Costar) to your keyboard before ordering.
If a switch stem breaks: This is more serious. If your keyboard has hot-swappable switches, replace the damaged switch. If switches are soldered, you will need to desolder and replace the switch, which requires a soldering iron and some experience.
FAQs
How to clean under keycaps without removing them?
Use compressed air at a 45-degree angle between keys, then sweep debris out with a soft brush. For sticky grime, dampen a cotton swab with 70% isopropyl alcohol and run it through the gaps. This method works for routine maintenance but cannot replace a deep clean for accumulated oils and buildup.
How to clean under mechanical keyboard keys?
Remove keycaps with a wire puller, soak them in lukewarm water with mild dish soap for 30 to 60 minutes, then scrub with a soft brush. Clean the keyboard base with compressed air and alcohol-dampened cotton swabs. Dry keycaps completely for at least 4 hours before reinstalling.
Is Dawn dish soap safe for keycaps?
Yes, Dawn and other mild dish soaps are safe for both ABS and PBT keycaps. Use just a few drops in lukewarm water (100 to 110 degrees Fahrenheit). Avoid harsh detergents, bleach, or abrasive cleaners, which can damage plastic surfaces and fade legends.
How to clean mechanical keyboard stabilizers?
Remove the keycap keeping it perfectly level to avoid snapping stabilizer stems. Wipe the stabilizer wire with an alcohol-dampened microfiber cloth to remove old lubricant and grime. Clean the plastic inserts with a cotton swab. If re-lubricating, apply a thin layer of dielectric grease or Krytox to the wire and inserts before reassembly.
Is isopropyl alcohol safe for keycaps?
Yes, 70% isopropyl alcohol is safe for cleaning keycaps and the keyboard plate. It dissolves oils and evaporates quickly. Use it on cotton swabs or microfiber cloths rather than spraying directly. Avoid prolonged soaking in alcohol, as it can dry out or discolor some plastics over time.
Is it safe to clean a mechanical keyboard?
Yes, cleaning a mechanical keyboard is safe when done correctly. Always unplug the keyboard first, use mild cleaning solutions, and keep liquids away from the PCB and switches. Never reinstall damp keycaps, and handle stabilized keys with a level pulling motion to prevent damage.
Conclusion
Cleaning under your mechanical keyboard keycaps does not have to be risky. The key takeaway from this guide is simple: keep stabilized keys level during removal, use a wire puller, and be patient. Nearly every stabilizer break happens because of tilting or rushing, not because the task is inherently dangerous.
With the techniques in this guide, you can safely clean under mechanical keyboard keycaps without breaking stabilizers, wash your keycaps properly, and keep your keyboard performing and looking its best. Start with a quick clean between deep sessions, and you will extend the life of your keyboard for years.