
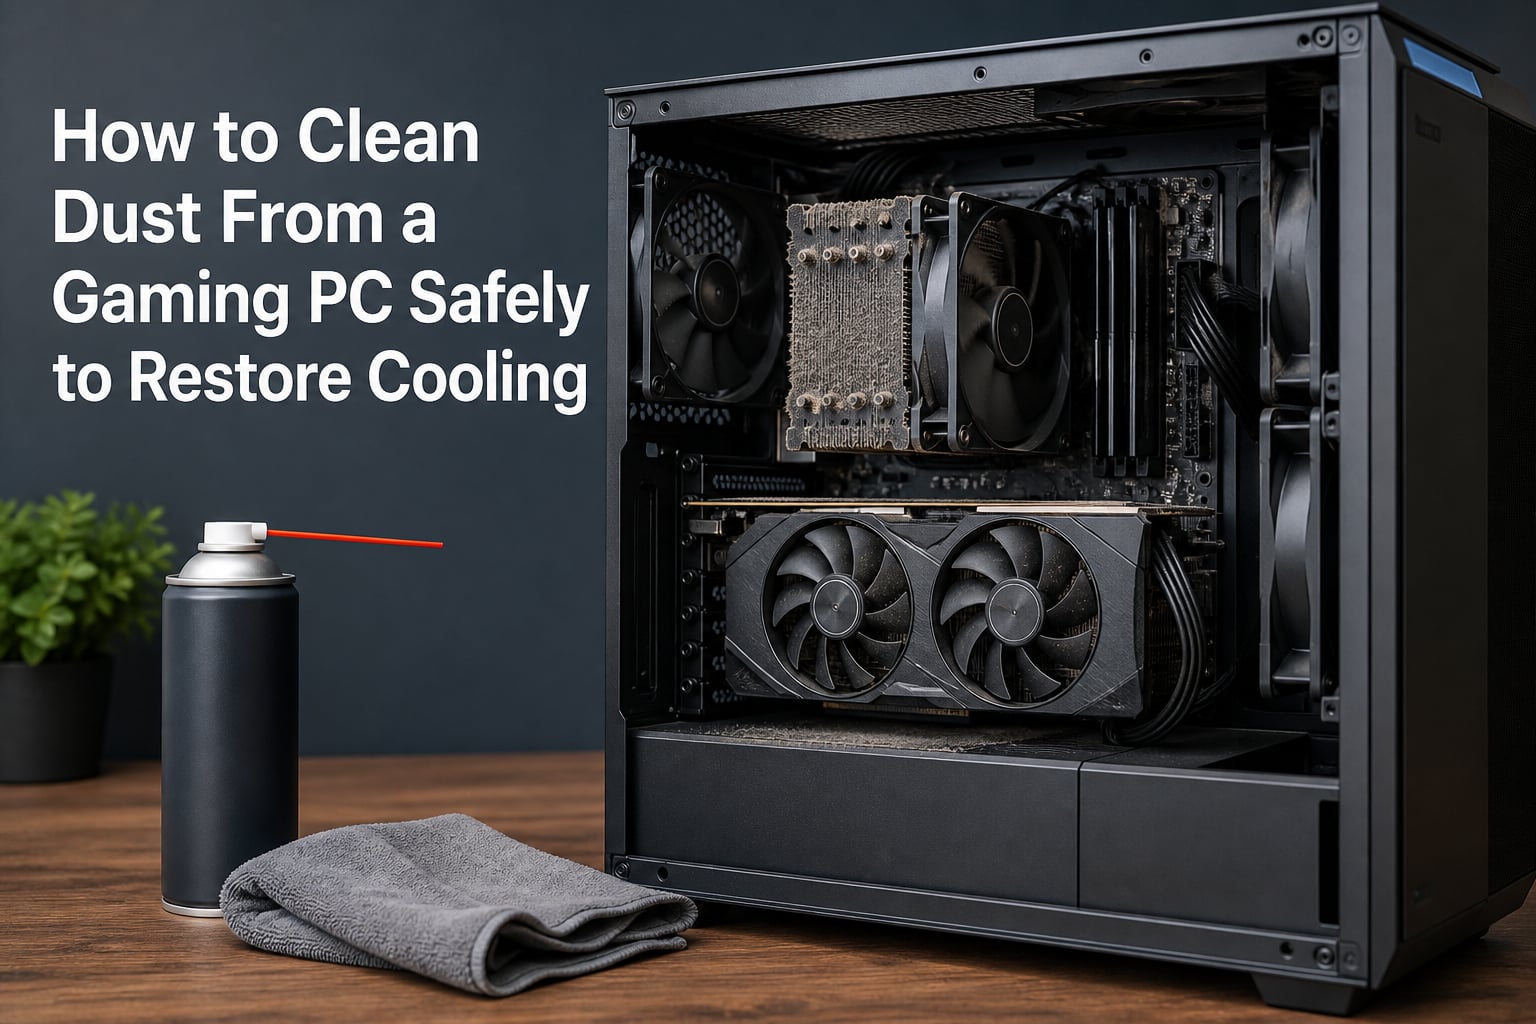
If your gaming PC sounds like a jet engine during intense sessions or temperatures keep creeping upward, dust buildup is almost always the culprit. Learning how to clean dust from a gaming PC safely to restore cooling is one of the most impactful maintenance skills you can develop — it can drop your component temperatures by 15-25 degrees Celsius without spending a cent on upgrades.
I have cleaned dozens of gaming rigs over the years, from budget builds caked in pet hair to high-end systems with custom liquid cooling loops. The process is straightforward once you know the steps, but doing it wrong can damage expensive components.
This guide walks you through everything: why dust causes overheating, the tools you need, a complete step-by-step cleaning process, how often to clean based on your environment, and special scenarios like pet hair and liquid cooling systems. By the end, you will have the exact process I use to keep gaming PCs running cool and quiet.
Table of Contents
Why Dust Damages Gaming PCs and How It Hurts Cooling?
Dust is the silent killer of gaming PC performance. It acts as an insulating blanket that traps heat inside your components, forces fans to work harder, and restricts the airflow your system was designed to move.
How Dust Causes Overheating
Every component in your gaming PC generates heat — your CPU, GPU, power supply, VRMs, and even RAM modules. The entire cooling design relies on steady airflow carrying that heat away. When dust fills heatsink fins, coats fan blades, and clogs intake filters, that airflow gets choked off.
As temperatures rise, your system triggers thermal throttling. This is a built-in protection mechanism where your CPU and GPU automatically reduce their clock speeds to generate less heat. You might see your frame rates drop by 20-30 percent during gaming sessions without realizing dust is the cause.
Prolonged overheating shortens component lifespan. Capacitors degrade faster at high temperatures, thermal paste dries out more quickly, and fans burn out sooner from running at maximum RPM constantly. In extreme cases, dust combined with humidity can even create conductive paths that cause electrical shorts on your motherboard.
Signs Your Gaming PC Needs Dust Cleaning
Most PC owners wait too long before cleaning. Here are the warning signs I look for when diagnosing a dusty system:
Increased fan noise: Your fans run at higher RPMs and never seem to quiet down, even at idle.
Higher temperatures: CPU or GPU idle temperatures exceed 50 degrees Celsius, or load temperatures push past 85 degrees.
Frame rate drops: Games stutter or lose FPS after extended play sessions due to thermal throttling.
Visible dust on exterior vents: Dust bunnies clinging to intake grilles and exhaust ports are a clear signal the inside needs attention.
Random shutdowns: Your PC powers off during gaming, which indicates the CPU or GPU hit its thermal shutdown threshold.
Dusty fan blades: If you can see a gray film on visible fan blades through the case window, the heatsinks are worse.
If you notice three or more of these signs, it is time to clean. I use temperature monitoring software like HWMonitor or HWiNFO64 to check baseline temps before and after cleaning — the difference is often dramatic.
Tools You Need to Clean a Gaming PC Safely
You do not need a workshop full of specialized gear. Here is what I recommend for a safe and effective cleaning session:
Essential tools:
Compressed air canister or electric air duster — The workhorse for blowing dust out of heatsinks and hard-to-reach areas. An electric duster like a DataVac is a worthwhile investment if you clean multiple PCs.
Anti-static brush or soft-bristled brush — A clean makeup brush or dedicated electronics brush dislodges stubborn dust from fan blades and heatsink fins before you blow it out.
Microfiber cloth — For wiping down case panels, fan housings, and exterior surfaces without scratching.
Isopropyl alcohol (90 percent or higher) — Safe for cleaning thermal paste residue, electrical contacts, and sticky grime on components.
Screwdriver set — Phillips head for removing side panels, GPU screws, and CPU cooler mounting hardware if you plan a deep clean.
Optional but helpful:
Anti-static wrist strap — Clips to the metal case frame and grounds you to prevent static discharge damage.
Cable ties or Velcro straps — For tidying up cables after reassembly, which improves airflow.
Thermal paste — If your CPU cooler is over two years old, cleaning is a good time to repaste.
Face mask — Saves you from breathing in a cloud of dust during the process.
What to avoid: Never use a vacuum cleaner inside your PC. Vacuums generate static electricity that can instantly fry sensitive components. Also avoid household cleaners, paper towels on lenses or acrylic panels, and anything wet near exposed circuitry.
How to Clean Dust From a Gaming PC Safely: Step-by-Step Process
This is the exact process I follow every time I clean a gaming PC. Work through each step in order, and do not rush — the entire process takes 30-60 minutes depending on how dusty your system is.
Step 1: Power Down and Disconnect
Shut down your PC completely through the operating system. Do not just put it to sleep. Once it powers off, flip the switch on the back of the power supply to the off position (the O symbol).
Unplug the power cable from the wall and from the power supply. Disconnect all peripherals — monitor cables, USB devices, ethernet, audio cables. Press and hold the power button for 5-10 seconds to drain residual charge from the capacitors.
This step is non-negotiable. Working inside a powered-on PC risks electrical shorts, component damage, and personal injury.
Step 2: Open the Case and Prepare Your Workspace
Move your PC to a well-ventilated area, preferably outdoors or in a garage. Cleaning will release a significant amount of dust, and doing it inside your room means you will be vacuuming afterward. I learned this lesson the hard way.
Never clean your PC on carpet. Carpet generates static electricity and provides a poor surface for component handling. Use a wooden table, a hard floor, or a large cutting board.
Remove the tempered glass side panel or metal panel by unscrewing the thumb screws at the back. Set the panel aside on a soft surface to avoid scratching. If your case has a front panel or dust filters that pop off, remove those too.
Step 3: Hold Fans Still While Cleaning
This is the single most important safety tip I can share, and it comes directly from the PC building community on Reddit. When you hit a fan with compressed air, it spins fast enough to act as a generator.
A spinning fan motor generates electrical current that flows backward into your motherboard or GPU. This back-current can damage fan controllers, motherboard headers, and in rare cases, the GPU itself. I have seen forum posts from users who destroyed GPU fan headers this way.
Before you use compressed air on any fan — case fans, CPU cooler fans, GPU fans, power supply fans — hold the blade still with your finger or a non-conductive tool like a wooden skewer or plastic toothpick. Clean one section, rotate the blade manually, clean the next section, and repeat until you have gone all the way around.
Step 4: Blow Out Dust With Compressed Air
Start from the top of the case and work downward. Gravity is on your side — dust you dislodge from the upper components will settle, and you can blow it out as you go.
Use short bursts of compressed air, not long continuous blasts. Short bursts prevent the can from freezing up and give you better control over where dust goes. Keep the canister upright — tilting it past 45 degrees can cause liquid refrigerant to spray out, which can damage components.
Work through each component methodically. Hit the heatsink fins from multiple angles to push dust all the way through rather than packing it deeper. Use the included straw attachment for tight spaces between RAM sticks and around the CPU socket.
For the power supply, blow air through the intake fan grill at the bottom or front. Most PSUs have sealed interiors, so you are cleaning the fan blade and intake filter area. Never open a power supply unit — the capacitors inside can hold dangerous voltage even when unplugged.
Step 5: Clean Heatsinks, GPU, and PSU
The CPU cooler heatsink is usually the dustiest component because its dense fin stacks act like an air filter. If you have a tower air cooler, blow air through the fins parallel to the heat pipes. For stock coolers, remove the fan clip if possible and blow air through the radial fins.
For the GPU, hold the fan blades still and blow air through the heatsink beneath the shroud. Dust accumulates heavily on the GPU heatsink because it sits directly in the airflow path. Use your soft brush to loosen caked-on dust from the fan blades, then blow it away.
If you are comfortable with deeper disassembly, you can remove the GPU from the PCIe slot for a more thorough cleaning. Unscrew it from the case, disconnect the power cables, and gently pull it out. This gives you full access to the heatsink fins and backplate area.
Stubborn dust that compressed air will not remove responds well to a combination of soft brush and isopropyl alcohol. Dab alcohol on a microfiber cloth, not directly on components, and gently wipe dusty surfaces. The alcohol evaporates quickly and leaves no residue.
Step 6: Wipe Surfaces and Reassemble
Once all the internal dust is blown out, wipe down the interior case panels, fan housings, and cable management area with a dry microfiber cloth. Check the dust filters — if they are removable, take them out and rinse them under warm water, then let them dry completely before reinstalling.
Inspect your cable routing while the case is open. Loose cables blocking intake fans or draped across the GPU restrict airflow. Use Velcro straps or cable ties to route cables behind the motherboard tray.
Reinstall all panels, filters, and side glass. Reconnect all cables and peripherals. Flip the power supply switch back on and boot up. Let the system idle for 10 minutes and check your temperatures — you should see a noticeable improvement.
Special Cleaning Scenarios: Pet Hair, Liquid Cooling, and More
Not every gaming PC lives in a clean, pet-free environment. Here is how I handle the tricky situations that standard cleaning guides often skip.
Removing Pet Hair From Your Gaming PC
Pet hair is the hardest contaminant to remove because it wraps around fan blades, mats into heatsink fins, and sticks to every surface with static cling. Compressed air alone will not remove it effectively.
Start with tweezers to pull clumps of hair out of fan blades and heatsink fins. For fur matted inside a CPU heatsink, remove the fan from the heatsink and pull the hair out with tweezers, then blow the remaining dust out with compressed air.
If you have pets, clean your PC twice as often — every 2-3 months instead of every 6. Pet hair accumulates faster than household dust and blocks airflow more aggressively because it is denser and clumps together.
Cleaning Liquid Cooling Systems and Radiators
Liquid-cooled PCs need special attention. AIO (all-in-one) coolers and custom loops have radiators with dense fin stacks that trap dust heavily. The radiator fans sit between the case and the radiator, creating a dust-catching sandwich.
Blow compressed air through the radiator fins from both directions — push-through and pull-through — to clear all the dust. Hold the fans still while cleaning. Wipe down the radiator tubes and pump housing with a dry microfiber cloth.
Never disconnect any liquid cooling lines during cleaning unless you are draining the entire loop. AIO units are sealed and should not be opened. If you have a custom loop and want to clean the blocks or change the fluid, that is a separate maintenance task that requires proper draining procedures.
Cleaning Without Compressed Air
If you do not have compressed air or an electric duster available, you can still clean your PC effectively. A soft brush combined with careful manual dusting works for light buildup. Use a rubber bulb blower (the type used for camera lenses) to dislodge dust from heatsink fins.
A handheld hair dryer set to the lowest speed with no heat can substitute for compressed air in a pinch. Keep it at least 8 inches from components and never use the heat setting.
Caked-On Dust Removal
Sometimes dust combines with humidity or cooking grease and forms a hard crust that compressed air bounces off. This happens most often in kitchens, near windows, or in humid climates.
For caked-on dust, use a combination of soft brush and 90 percent isopropyl alcohol. Dampen a microfiber cloth with alcohol — never pour or spray directly — and gently wipe the affected surfaces. The alcohol breaks down the grease holding the dust together, and the cloth lifts it away. Let everything dry completely before reconnecting power.
How Often to Clean Dust From Your Gaming PC?
Cleaning frequency depends entirely on your environment. I have seen PCs that look pristine after a year and others that need cleaning every two months. Here is the schedule I recommend based on real-world conditions.
Cleaning Frequency by Environment
Every 3-4 months: Homes with pets, high-pollen areas, PCs sitting on the floor, rooms with open windows, or dusty climates. If you have a shedding dog or cat, your PC is pulling in fur with every breath of intake air.
Every 6 months: Typical clean household environments. PCs on a desk, moderate climate, air conditioning running regularly. This is the baseline I recommend for most gaming PC owners.
Every 12 months: Very clean environments — carpeted rooms that are vacuumed regularly, no pets, air purifier running, PC elevated on a desk. Even in ideal conditions, dust finds its way in through intake fans.
Key factors that increase cleaning frequency: keeping your PC on the floor (especially carpet), having pets, living in a dry or dusty climate, smoking near the PC, or running your fans at high speeds constantly.
Monthly and Annual Maintenance Checklist
Monthly quick checks: Wipe the exterior vents and front intake mesh with a microfiber cloth. Check dust filters for buildup and rinse if needed. Listen for changes in fan noise that indicate dust accumulation.
Every 3-6 months: Full internal cleaning following the step-by-step process above. Check temperatures before cleaning to track degradation over time.
Annually: Deep clean that includes removing the GPU for separate cleaning, repasting the CPU with fresh thermal paste, inspecting fan bearings for wear, and checking all cable connections for security.
I keep a simple spreadsheet tracking temperature readings over time. When I see idle temps climb 5-7 degrees above my clean baseline, I know it is time for another cleaning session.
Preventing Future Dust Buildup in Your Gaming PC
Cleaning is reactive. Prevention keeps your PC running cooler for longer between cleanings. These are the steps I take on every build to minimize dust intake.
Install dust filters on all intake fans. Most modern cases include magnetic or clip-on mesh filters for front, bottom, and side intakes. If your case did not come with filters, you can buy universal magnetic mesh filters cheaply. They catch the majority of dust before it enters the case.
Set up positive case pressure. Configure more intake fans than exhaust fans so the case has slightly higher air pressure than the room. This forces air out through every gap and vent, preventing dust from sneaking in through unfiltered openings. A 2-intake, 1-exhaust setup creates positive pressure naturally.
Elevate your PC off the floor. Floor-level placement exposes your intake fans to the dustiest air in the room. Carpet is especially bad because it blocks bottom intake fans entirely. A desk or a simple wooden stand makes a measurable difference.
Keep cables organized. Tangled cables disrupt airflow paths and create dust-catching obstacles behind the motherboard tray and around the GPU. Route cables neatly and use Velcro straps. Good cable management is not just aesthetic — it directly impacts cooling efficiency.
Run an air purifier in the room. A HEPA air purifier near your gaming setup reduces ambient dust dramatically. This is the single most effective preventative measure if you struggle with persistent dust buildup.
FAQs
How do I clean my gaming PC from dust?
Power down and unplug your PC, move it to a ventilated non-carpeted area, and open the side panel. Hold all fans still with your finger to prevent damage from back-current, then use short bursts of compressed air to blow dust from heatsinks, GPU fans, case fans, and the power supply intake. Use a soft brush for stubborn dust, wipe surfaces with a microfiber cloth, and reassemble. The entire process takes 30-60 minutes.
Is dust bad for gaming PCs?
Yes. Dust acts as insulation that traps heat inside your components, restricts airflow through heatsinks and fan blades, and forces your cooling system to work harder. Over time this causes thermal throttling, reduced frame rates, louder fan noise, shorter component lifespan, and in extreme cases electrical shorts from conductive dust combined with humidity.
Should I clean dust out of my PC?
Absolutely. Cleaning dust from your gaming PC is one of the simplest and most effective ways to restore cooling performance. A thorough cleaning can reduce CPU and GPU temperatures by 15-25 degrees Celsius, eliminate thermal throttling, reduce fan noise, and extend the life of your components. Most gaming PCs should be cleaned every 3-6 months depending on environment.
Does dust overheat a PC?
Yes, dust is a leading cause of overheating in gaming PCs. Dust blocks airflow through heatsink fins, coats fan blades so they move less air, and clogs intake filters so less cool air enters the case. When your CPU and GPU cannot shed heat effectively, temperatures rise until the system triggers thermal throttling or shuts down to prevent damage.
Final Verdict on Safely Cleaning Dust From Your Gaming PC
Knowing how to clean dust from a gaming PC safely to restore cooling is a skill that pays dividends for the entire life of your system. A 45-minute cleaning session can drop temperatures by 15-25 degrees, eliminate thermal throttling, quiet your fans, and add years to your hardware.
The process comes down to five core principles: power down completely, hold your fans still, use short bursts of compressed air, work from top to bottom, and never use a vacuum inside your case. Follow these rules every time and you will never damage a component.
Pair your cleaning routine with good prevention — dust filters, positive case pressure, and keeping your PC off carpet — and you will spend less time cleaning and more time gaming at peak performance. Check your temperatures before and after your next cleaning to see the difference for yourself.