
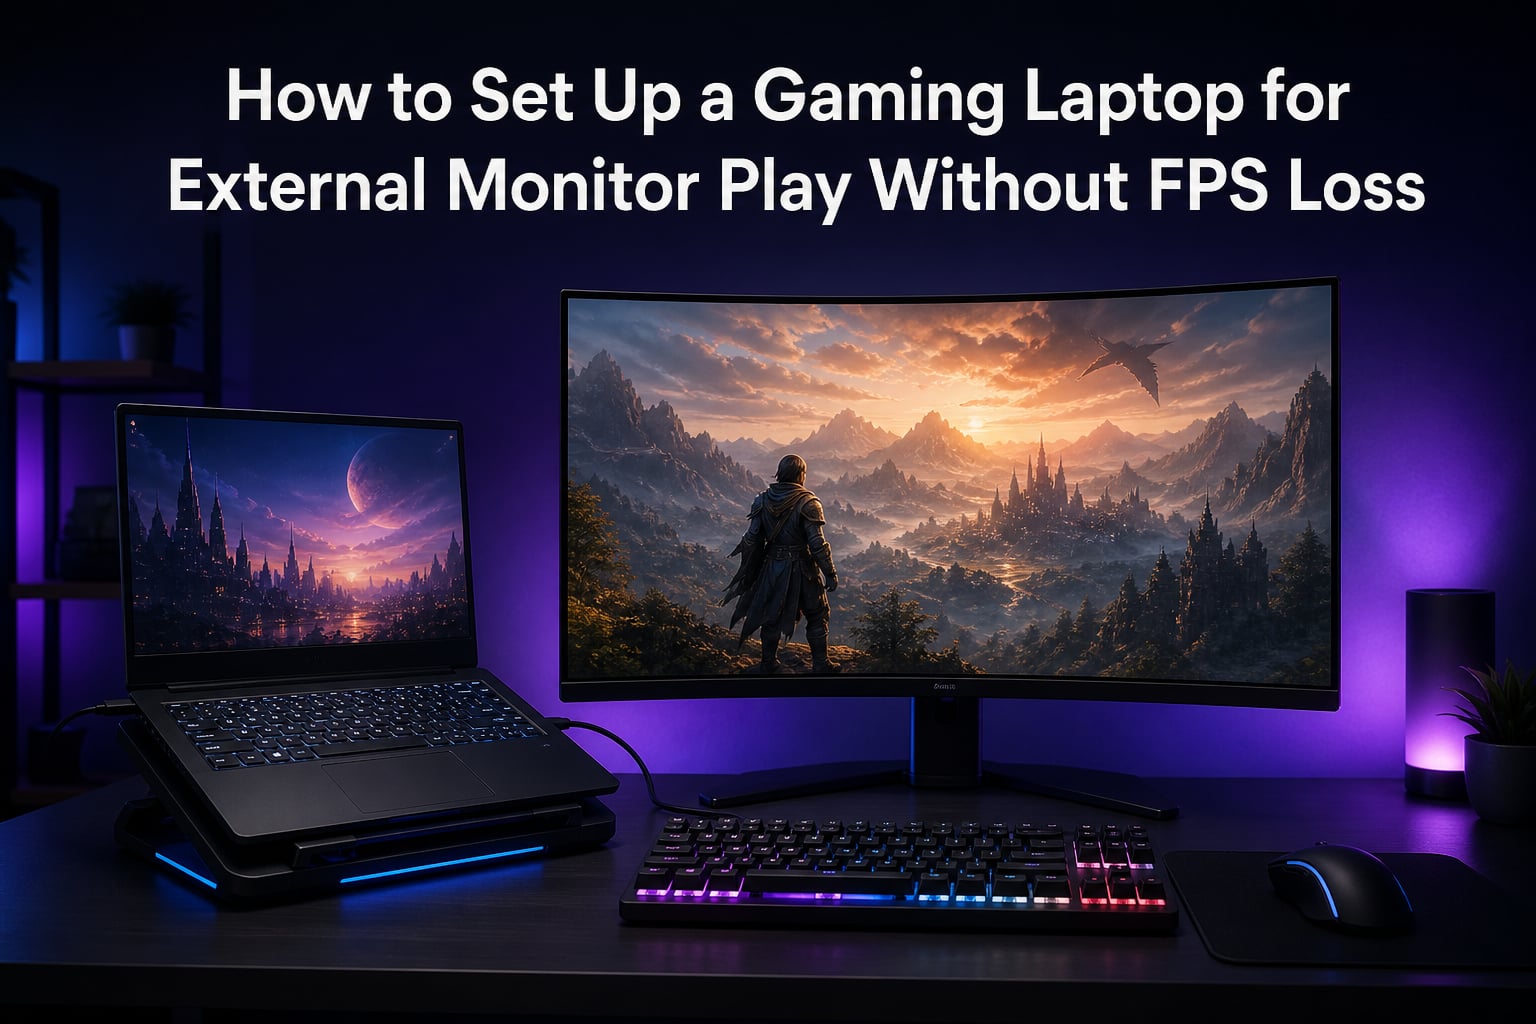
Connecting your gaming laptop to an external monitor sounds like a simple upgrade, but many players notice a frustrating problem: their frame rates tank the moment they plug in. If you have ever experienced a gaming laptop external monitor FPS loss, you are not imagining it. The issue is real, and in most cases, it is entirely fixable.
Our team has tested external monitor setups across multiple laptop brands, GPU configurations, and cable types. The FPS drops usually come down to how the laptop routes graphics signals, not from the monitor itself being slower. When your dedicated GPU has to push frames through the integrated graphics processor before they reach the external display, you lose performance. Sometimes the drop is minor, and sometimes it cuts your FPS in half.
This guide walks through every step of setting up a gaming laptop for external monitor play without FPS loss. We cover cable selection, GPU routing, BIOS settings, Mux switch configuration, thermal management, and troubleshooting. By the end, you will have a complete checklist to get every frame your hardware can deliver on that bigger screen.
Table of Contents
Why Your FPS Drops When Connecting an External Monitor?
Understanding the root cause is the first step. Most gaming laptops use a design called NVIDIA Optimus (or AMD equivalent), which routes the dedicated GPU signal through the integrated graphics chip before sending it to the display. This routing adds latency and reduces performance. When you connect an external monitor, the same bottleneck applies unless your laptop has specific hardware to bypass it.
Here are the most common reasons for FPS drops on external monitors:
GPU routing through integrated graphics: Without a Mux switch or direct GPU output, your dedicated GPU sends frames through the integrated GPU. This can cost 10 to 15 percent of your performance, and sometimes more in demanding titles.
Resolution mismatch: If your laptop screen runs at 1080p and your external monitor runs at 1440p or 4K, the GPU has to work harder. Higher resolution means more pixels per frame, which directly lowers FPS.
Dual display overhead: Running both the laptop screen and the external monitor simultaneously forces the GPU to drive two separate displays. Even if the laptop screen shows nothing but your desktop, the GPU is still rendering it.
Cable bandwidth limitations: Using an older HDMI cable or a port that does not support the full bandwidth your monitor needs can cause the display to run at a lower refresh rate, making gameplay feel choppy.
Driver conflicts: Outdated or mismatched graphics drivers can prevent the dedicated GPU from activating properly when an external display connects.
How to Set Up a Gaming Laptop for External Monitor Play Without FPS Loss?
The fix comes down to forcing your dedicated GPU to output directly to the external monitor and eliminating anything that adds overhead. Follow these steps in order, because some changes depend on earlier ones.
Step 1: Connect your external monitor to the port wired to your dedicated GPU. On most gaming laptops, the HDMI port connects directly to the NVIDIA or AMD GPU. Some USB-C ports with DisplayPort Alt Mode also connect to the dedicated GPU, but not all of them do.
Step 2: Update your graphics drivers to the latest version from NVIDIA, AMD, or Intel. Use the official driver download pages rather than relying on Windows Update, which often installs older versions.
Step 3: Enable the Mux switch if your laptop supports it. Open your laptop manufacturer’s control software (Armoury Crate for ASUS, Vantage for Lenovo, NitroSense for Acer, Omen Gaming Hub for HP) and look for GPU mode settings. Switch from Hybrid or Optimus mode to Ultimate or Dedicated GPU mode.
Step 4: Restart your laptop after enabling the Mux switch. This change requires a full reboot to take effect because it changes the display signal routing at the hardware level.
Step 5: Disable your laptop’s built-in screen. Right-click the desktop, select Display Settings, click on the laptop screen (usually labeled 1), and choose Disconnect This Display under Multiple Displays. This forces the GPU to focus entirely on the external monitor.
Step 6: Set the external monitor to its native resolution and maximum refresh rate in the same Display Settings menu. Scroll down to Advanced Display Settings and verify the refresh rate matches what your monitor supports.
Step 7: Configure your GPU control panel (NVIDIA Control Panel or AMD Adrenalin) to force the dedicated GPU for all applications. This prevents any game from accidentally launching on the integrated graphics.
Step 8: Set your Windows power plan to High Performance and plug in your laptop. Gaming on battery power will always throttle the GPU regardless of your settings.
Choosing the Right Cable and Port
The cable you use directly affects what your external monitor can display. A cable that cannot handle the bandwidth will limit your refresh rate or resolution, and you might not even realize it. I have seen users blame their GPU for low FPS when the real culprit was a cheap HDMI cable from five years ago.
HDMI 2.0: Supports 1080p at 144Hz, 1440p at 75Hz, and 4K at 60Hz. Fine for most 1080p gaming monitors but will bottleneck high refresh rate 1440p displays.
HDMI 2.1: Supports 4K at 120Hz and 1440p at 240Hz. This is what you want for high refresh rate gaming at 1440p or 4K. Most gaming laptops from the last few generations have at least one HDMI 2.1 port.
DisplayPort (via USB-C): Many gaming laptops use USB-C with DisplayPort Alt Mode instead of a full size DisplayPort connector. Look for a USB-C port with a display icon or thunderbolt symbol next to it. DisplayPort 1.4 supports 1440p at 144Hz and 4K at 60Hz with no compression.
Thunderbolt 4: Found on newer laptops, this supports DisplayPort 1.4 signals and can handle high bandwidth displays. Make sure the port is wired to your dedicated GPU, not the integrated graphics.
A quick way to test: connect your monitor, then open your GPU control panel. If the monitor shows up under the dedicated GPU section, you are using the right port. If it appears under integrated graphics, try a different port.
Enabling the Mux Switch for Direct GPU Output
The Mux switch is the single biggest factor in eliminating gaming laptop external monitor FPS loss. A Mux (multiplexer) switch physically connects your dedicated GPU directly to the display output, bypassing the integrated graphics entirely. Laptops without a Mux switch always route through the integrated GPU, which adds overhead and latency.
Not all laptops have a Mux switch, but most gaming laptops released after 2021 include one. Here is where to find it by brand:
ASUS ROG (Armoury Crate): Open Armoury Crate, go to Device, then System, then GPU Mode. Select Ultimate mode. The laptop will prompt you to restart. In Ultimate mode, the dedicated GPU connects directly to all display outputs including the external monitor.
Lenovo Legion (Vantage): Open Lenovo Vantage, navigate to Display and Camera, and look for Hybrid Mode. Turn Hybrid Mode off to force dedicated GPU only mode. This effectively activates the Mux switch. A restart is required.
Acer Nitro (NitroSense): Open NitroSense, go to GPU Mode, and switch from Optimized to Dedicated. This disables hybrid graphics and routes everything through the dedicated GPU.
HP Omen (Omen Gaming Hub): Open Omen Gaming Hub, go to your laptop’s settings, and look for GPU mode or Hybrid Graphics. Switch to Dedicated mode.
If your laptop does not have a Mux switch, you can still improve performance by disabling the integrated GPU in Device Manager. This is more aggressive and can cause display issues if done incorrectly, so only try this if your laptop lacks a hardware Mux switch.
BIOS Settings for GPU Optimization
BIOS level settings give you control over how your laptop handles graphics at the lowest level. No competitor in the current search results covers BIOS configuration for this problem, which makes this section especially valuable if your software based Mux switch is not working.
Restart your laptop and enter BIOS by pressing F2, Delete, or the key specified on your manufacturer’s splash screen. The exact menu layout varies by brand, but look for these settings:
Graphics or Display Configuration: Change the graphics mode from Hybrid, Switchable, or Optimus to Dedicated, Discrete, or UMA Disabled. This forces the laptop to use the dedicated GPU for all output at all times.
Hybrid Mode / Advanced Optimus: If present, disable this. Hybrid mode is what causes the GPU routing through integrated graphics.
NVIDIA Optimus: If you see an option to disable Optimus, turn it off. This prevents the automatic switching between integrated and dedicated GPU.
PCIe GPU power management: Set this to maximum performance to prevent the GPU from downclocking during gameplay.
Save and exit BIOS. After rebooting, verify that the dedicated GPU is handling your external monitor by checking your GPU control panel or running a game with an FPS counter enabled.
Display Settings Configuration
Once your hardware and GPU routing are correct, Windows display settings need attention. Running two displays at the same time splits GPU resources, even when you are only gaming on one.
Disable the laptop screen: In Display Settings, select the laptop display and choose Disconnect This Display. This is different from just turning off the screen. Disconnecting it tells the GPU to stop rendering for it entirely.
Set native resolution: Right-click your desktop, select Display Settings, and make sure the external monitor is set to its native resolution. Running below native resolution forces the GPU to upscale, which can add input lag.
Set maximum refresh rate: Scroll to Advanced Display Settings. If your monitor supports 144Hz or 165Hz but Windows shows 60Hz, you are losing half your potential smoothness. Select the highest available refresh rate from the dropdown.
Turn off HDR if FPS matters more than visuals: HDR processing adds GPU overhead. If you are chasing maximum FPS, disable HDR in Windows Display Settings.
Disable scaling overrides: In Display Settings under Scale and Layout, set scaling to 100 percent. Higher scaling values add processing overhead that can affect gaming performance.
Power Management and Thermal Throttling Prevention
Power and thermal management are closely linked. When your laptop gets hot, it reduces GPU and CPU clock speeds to protect itself. This is called thermal throttling, and it is one of the most common hidden causes of FPS drops during extended gaming sessions.
Always game plugged in: Gaming on battery power limits GPU performance by design. Even with the best settings, battery mode caps your GPU at a fraction of its capability.
Use High Performance power plan: Open Windows Power Settings and select the High Performance plan. On some laptops, this option is hidden. Click Show Additional Plans to find it. You can also create a custom plan with minimum processor state set to 100 percent.
Set GPU power management to maximum: In your GPU control panel, find Power Management Mode and set it to Prefer Maximum Performance. This prevents the GPU from downclocking during lighter moments in games.
Manage heat with the lid closed: Many gamers close the laptop lid when using an external monitor, but this traps heat. The keyboard and chassis are part of the cooling system. If you close the lid, ensure your laptop has good airflow underneath. Use a laptop stand or cooling pad to keep temperatures down.
Change lid close action: In Power Options, click Choose What Closing the Lid Does and set it to Do Nothing when plugged in. This prevents the laptop from sleeping when you close the lid for external monitor gaming.
Forum users from Reddit’s GamingLaptops community consistently report that thermal throttling is the number one cause of FPS drops after 30 to 45 minutes of gaming on external monitors. Keep your laptop elevated and clean the vents regularly.
NVIDIA and AMD Control Panel Settings for External Displays
After setting up hardware and Windows, your GPU control panel is where you fine tune performance. These settings ensure every game runs on the dedicated GPU and outputs at the correct specifications.
NVIDIA Control Panel steps: Right-click the desktop and open NVIDIA Control Panel. Go to Manage 3D Settings, then Global Settings. Set Preferred Graphics Processor to High Performance NVIDIA Processor. Scroll down and set Power Management Mode to Prefer Maximum Performance. Apply the changes.
Next, go to Set Up Multiple Displays and uncheck the laptop screen if it is still listed. This ensures only the external monitor is active. Finally, go to Change Resolution and verify the external monitor shows its full native resolution and maximum refresh rate.
For G-Sync users, go to Set Up G-Sync and select Enable for Full Screen Mode. G-Sync requires a DisplayPort connection on most monitors, though some newer monitors support G-Sync over HDMI.
AMD Adrenalin steps: Open AMD Adrenalin, click the Settings gear, then Graphics. Under Advanced, enable Radeon Anti-Lag for reduced input latency. In the Display tab, verify the refresh rate matches your monitor’s maximum. Set GPU workload to Graphics, not Compute.
For FreeSync users, enable FreeSync in the Adrenalin Display tab if your monitor supports it. FreeSync works over both DisplayPort and HDMI, depending on the monitor.
Windows Graphics Settings: Open Windows Settings, go to System, then Display, then Graphics. Add your games to the list and set each one to High Performance. This forces the dedicated GPU for specific applications, which is useful if you do not want to disable hybrid mode globally.
Troubleshooting Common Connection Issues
If you have followed all the steps above and still experience FPS drops, work through this checklist. These are the issues that most commonly slip through.
Verify the correct GPU is active: Open Task Manager during gameplay, go to the Performance tab, and check GPU usage. If GPU 0 (integrated) shows high usage while GPU 1 (dedicated) sits idle, the game is running on integrated graphics. Repeat the GPU routing steps.
Test with a different cable: Swap your HDMI or USB-C cable with a known good one. Cables degrade over time, and a damaged cable can cause bandwidth drops that result in lower refresh rates or screen flickering.
Check for duplicate display mode: If your display is set to Duplicate instead of Extend or Second Screen Only, the GPU is rendering for two displays. Switch to Second Screen Only in Display Settings.
Roll back drivers if problems started after an update: Sometimes the newest driver introduces bugs. Use Device Manager to roll back to the previous driver version if FPS drops started after a recent update.
Check for background processes: Close streaming software, recording tools, and browser tabs running video. These compete for GPU resources even when you are focused on gaming.
Monitor temperatures during gameplay: Use HWMonitor or MSI Afterburner to track GPU and CPU temperatures. If GPU temperatures exceed 85 degrees Celsius, thermal throttling is likely reducing your performance. Improve cooling or reduce in-game graphics settings.
Verify refresh rate is not being capped: Some games have a frame rate limiter in their settings. Check that the game is not capped at 60 FPS when your monitor supports 144Hz or higher.
FAQs
Does an external monitor increase FPS on a laptop?
An external monitor does not directly increase FPS. However, if your laptop has a Mux switch and you connect the external monitor to the port wired to the dedicated GPU, you can bypass the integrated graphics bottleneck. This bypass can improve FPS compared to gaming on the laptop screen with Optimus routing. The monitor itself does not add frames, but the direct GPU connection can.
Does connecting a laptop to a monitor decrease FPS?
Connecting a laptop to a monitor can decrease FPS if the laptop routes the signal through integrated graphics, runs both displays simultaneously, or uses a cable that limits bandwidth. With proper setup including Mux switch, disabled laptop screen, and the correct cable, you should not experience FPS loss on the external monitor.
Can you game on a laptop with the lid closed?
Yes, you can game with the lid closed if you set the lid close action to Do Nothing in Windows Power Options. However, closing the lid reduces airflow and can cause thermal throttling. Use a laptop stand or cooling pad to maintain adequate ventilation when gaming with the lid closed.
Why does my game lag when I connect my laptop to a monitor?
Game lag when connecting to a monitor usually comes from the GPU routing through integrated graphics, running dual displays simultaneously, using a low bandwidth cable, or thermal throttling. Enable the Mux switch, disable the laptop screen, use an HDMI 2.1 or DisplayPort cable, and ensure proper cooling to fix lag issues.
What cable is best for connecting a gaming laptop to an external monitor?
For 1080p gaming at 144Hz or higher, HDMI 2.0 or DisplayPort 1.4 both work well. For 1440p at high refresh rates or 4K gaming, use HDMI 2.1 or USB-C with DisplayPort Alt Mode rated for DisplayPort 1.4. Always verify the port on your laptop is wired to the dedicated GPU for maximum performance.
Conclusion
Eliminating gaming laptop external monitor FPS loss comes down to three things: forcing your dedicated GPU to output directly, disabling anything that adds overhead, and keeping your system cool. The Mux switch is your most powerful tool for this, followed closely by BIOS configuration and proper cable selection.
Work through the steps in order, from cable and port selection through GPU routing, BIOS settings, display configuration, power management, and GPU control panel tweaks. Test with an FPS counter after each major change so you know what makes a difference.
Every laptop is slightly different, but the principles are the same across ASUS ROG, Lenovo Legion, Acer Nitro, HP Omen, and other brands. If you hit a wall, the troubleshooting checklist covers the most common issues that slip through initial setup. With the right configuration, your external monitor will give you a bigger, sharper gaming experience without sacrificing a single frame.