
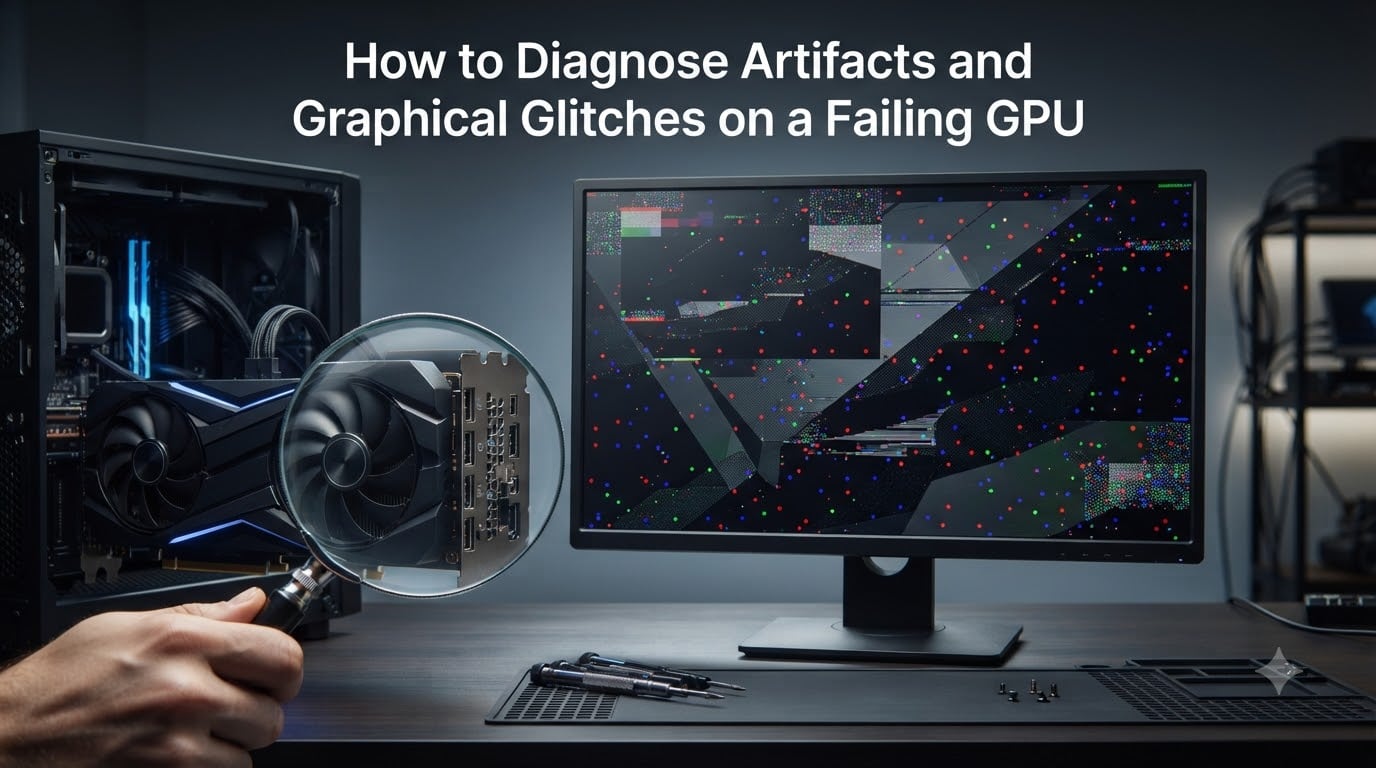
I have been chasing GPU glitches for over a decade, and I can tell you that strange pixels on your screen are never normal. If you are seeing scattered colored dots, flickering textures, or torn blocks of geometry, you are watching your graphics card send bad data to your monitor.
This guide on how to diagnose artifacts and graphical glitches on a failing GPU walks through every step I use when a friend hands me a PC that is misbehaving. We will start with a clear definition, move through pattern recognition, then test software fixes before touching the hardware.
By the end, you will know whether your GPU is genuinely dying, whether your monitor is the real culprit, and exactly which fixes are worth your time. I will also show you the temperature thresholds I personally use before declaring a card at fault.
Table of Contents
What Are GPU Artifacts?
GPU artifacts are visual defects the graphics card itself produces. These include scattered colored dots, stray shapes, flickering textures, or torn blocks of pixels that appear across the system rather than inside one application.
The graphics processor and its memory (VRAM) work together to render each frame. When either component sends incorrect data to your monitor, the result is the random noise we call artifacting. I describe it to newcomers as “your GPU is showing its homework with errors still in it.”
Artifacts differ from screen tearing, which is a horizontal line caused by your frame rate not matching your monitor refresh rate. Artifacts are also different from a bad HDMI or DisplayPort cable, which usually shows up as sparkles, signal dropouts, or a black screen. Real GPU artifacts persist even when you swap cables and monitors.
If you want the textbook answer for how to diagnose artifacts and graphical glitches on a failing GPU, it starts here: any pixel corruption that survives a clean driver install and a stress test almost always points at hardware.
Common Types of Visual Artifacts and What They Mean
Different glitch patterns point at different root causes. I keep a mental chart when I diagnose a system, and you can use the same one.
Checkerboard Patterns
A repeating checkerboard pattern of colored squares usually means VRAM failure. The memory cells responsible for storing texture data are returning inconsistent results. This pattern almost always survives a driver reinstall, so it is hardware, not software.
Colored Dots in the Same Location
When you see bright pink, green, or red dots clustered in the same screen region, that is also a strong VRAM signal. The location matters because specific memory addresses are failing. I have seen identical issues on three different AMD cards and one RTX 3070 over the years.
Flickering Textures and Geometry Glitches
Textures that flash between correct and corrupted, or polygons that flicker into stretched shapes, often indicate overheating. The GPU is so hot that memory cells flip state during a frame. These glitches usually appear during intense gaming scenes and vanish on the desktop.
Screen Tearing Combined with Color Corruption
Pure screen tearing is a V-sync issue. Tearing combined with strange color blocks or shifted geometry suggests the GPU pipeline itself is failing. That usually means unstable clocks or dying VRAM under load.
BIOS or Boot Logo Corruption
If your artifacts appear before Windows even loads, during the BIOS splash screen or POST, this almost certainly indicates hardware failure. No software fix will resolve POST-level artifacts.
Common Causes of GPU Artifacts
Five root causes account for roughly 90 percent of the artifact cases I have worked on. Knowing which one is hitting you saves hours of troubleshooting.
Overheating is the most common culprit. Modern GPUs throttle around 90 to 100 degrees Celsius, but VRAM can fail well before the GPU core reports thermal throttling. If your card idles at 50C and hits 85C under load, the junction temperature on the VRAM could already be 105C.
Driver corruption is the second most common cause. A botched driver update, an interrupted Windows update, or a partial Windows reinstall can leave the driver stack in an inconsistent state. This produces artifacts that look random and change with every reboot.
Unstable overclocks cause the third cluster. If you pushed the core clock or memory clock past what your specific card can handle, artifacts will appear under load. They vanish the moment you reset to stock.
VRAM failure is fourth. Memory chips degrade over time, and lower-quality VRAM can fail within two years. Heat accelerates the process, which is why so many laptop GPUs artifact before their desktop counterparts.
Power delivery issues round out the list. A failing power supply, or a PCIe power cable that is not fully seated, can produce the same symptoms as VRAM failure. I always check the PSU first because a swap costs less than a GPU replacement.
Software Fixes for GPU Artifacts
Always try the cheap fixes first. Software causes account for nearly half of all artifact reports I see, and the fixes take less than an hour.
Reset All Overclocks
Open MSI Afterburner or whatever tool you used to overclock and click reset. Then restart the PC and run a game you know triggers artifacts. If they are gone, your overclock was unstable. That is the easiest win in this whole guide.
Roll Back or Update the Driver
If artifacts appeared right after a driver update, roll back through Device Manager. If they appeared after a Windows update, grab the latest driver directly from AMD or NVIDIA and try that. I have seen one bad driver release cause hundreds of false reports in the same week.
Clean Install with DDU in Safe Mode
Display Driver Uninstaller (DDU) removes every trace of the old driver. Boot into Safe Mode, run DDU, choose “Clean and restart,” then install the latest driver fresh. This is the gold standard for how to diagnose artifacts and graphical glitches on a failing GPU when you suspect software.
Check Game-Specific Settings
Sometimes the issue is one bad game setting. Disable anisotropic filtering, drop shader quality to medium, and turn off ray tracing. If artifacts vanish, you have a workload issue, not a GPU issue.
Test in Safe Mode with a Basic Driver
If you boot into Safe Mode with the Microsoft basic display driver and artifacts still appear, your GPU hardware is the problem. If they disappear, your driver was at fault. This single test removes a lot of guesswork.
Hardware Causes and Physical Fixes
When software fixes fail, it is time to open the case. I always work with the PC unplugged and press the power button to discharge any residual current before touching anything.
Monitor Temperatures in Real Time
Install HWiNFO64 or GPU-Z and watch the GPU and VRAM junction temperatures. For modern NVIDIA cards, sustained junction temperatures above 95C are a red flag. For modern AMD cards, the same applies to hotspot temperatures above 110C. Anything past these numbers under normal load means your cooling is failing.
Reseat the GPU and Check Power Cables
Remove the graphics card, blow out the PCIe slot with compressed air, and reseat it firmly. Unplug and replug every PCIe power connector. A loose 8-pin cable can cause exactly the same symptoms as a dying GPU. I have fixed at least four “dead” GPUs this way.
Clean Dust from Heatsinks and Fans
Dust acts like insulation. A clogged heatsink can raise VRAM temperatures by 15 to 20 degrees. Use compressed air to clear the fans and heatsink fins. Hold the fan blades still while you blow, or the fans spin fast enough to damage themselves.
Repaste the GPU (Advanced)
Thermal paste dries out after three to five years. If your card is older and runs hot, repasting with a quality thermal compound like Thermal Grizzly Kryonaut can drop temperatures by 10 to 15 degrees. This is an advanced fix and will void your warranty, so only do it on out-of-warranty cards.
Test with a Different PSU
If you have a spare power supply or a friend who does, swap it in. A failing PSU can cause exactly the same symptoms as a failing GPU, and a PSU swap is cheaper than replacing the graphics card.
How to Test for GPU Artifacts
Once you have done the basic software and hardware checks, it is time to actually stress the card. A controlled stress test separates flaky GPUs from healthy ones.
Step 1: Baseline Visual Check
Open the desktop, then open a web browser, then open a 3D application. Note whether artifacts appear at idle, in light use, or only under heavy load. This narrows the cause immediately.
Step 2: Run FurMark or 3DMark
FurMark pushes the GPU to 100 percent load and is the classic stress test. Run it for 20 to 30 minutes while watching HWiNFO64 for temperatures and clock speeds. If artifacts appear during FurMark, your GPU cannot handle full load. If they appear within 5 minutes, the GPU is severely degraded.
Step 3: Run a VRAM Test
OCCT includes a VRAM test mode that cycles through memory addresses to catch failing cells. memtest_vulkan is another free option that exercises the VRAM directly. A clean run does not guarantee a healthy card, but a failing run confirms VRAM failure.
Step 4: Test in Multiple Games
A single game might have a bad asset or shader bug. Run three different GPU-heavy games for 20 minutes each. If artifacts show up in two of three, the GPU is the problem. If they only show up in one, the game is the problem.
Step 5: Test on a Different System
If you can, install your suspect GPU in a different PC. If artifacts follow the card, the GPU is at fault. If artifacts stay with the original PC, the issue is the monitor, cable, or motherboard.
Software vs Hardware Diagnosis: The Key Distinction
This is the most important section for anyone trying to learn how to diagnose artifacts and graphical glitches on a failing GPU. The software-versus-hardware split determines whether you spend an hour fixing things or whether you buy a new card.
Software causes produce artifacts that change pattern with reboots, driver updates, or game restarts. They usually appear in one application first and spread over time. A clean DDU install fixes the majority of software-related cases.
Hardware causes produce artifacts that survive a clean driver install, show up across multiple applications, and worsen under heat or load. They often appear in the same screen location because specific memory cells are failing.
The single best test is the Safe Mode check I described earlier. If artifacts appear in Safe Mode with the Microsoft basic display driver, the GPU hardware is at fault. Period. No amount of driver reinstalling will help.
Another tell is timing. If artifacts appear only during intense gaming and disappear at idle, you are looking at a thermal issue. If they appear at idle and worsen over time, you are looking at dying VRAM or a degraded GPU core.
Underclocking as a Diagnostic Technique
Underclocking is a powerful tool that most guides skip. When I suspect marginal VRAM, I drop the memory clock by 200 to 400 MHz using MSI Afterburner. If the artifacts disappear or become much rarer, the VRAM is degraded but not completely dead.
This is also a temporary fix. I have kept an aging GTX 1080 running for an extra year by underclocking the memory from 1000 MHz to 700 MHz. The card loses performance, but it stops artifacting in everyday use.
Underclocking does not help if the GPU core itself is dying. Drop the core clock by 100 MHz to test that separately. If artifacts persist even at heavily reduced clocks, the GPU core has hardware damage that underclocking cannot mask.
When to RMA or Replace Your GPU?
Once you have confirmed a hardware fault, the question becomes how long to live with it. I use three criteria when deciding.
First, is the card still under warranty? Most GPUs have a 3-year warranty. EVGA famously offered lifetime warranties on some models. If your card qualifies, file the RMA immediately. Even if you can underclock around the issue, the card will keep getting worse.
Second, are the artifacts getting worse over time? If a card that artifacted once a week now artifacts every session, the failure is accelerating. Continued use risks collateral damage to other components.
Third, can you afford a replacement? Sometimes an underclocked card still does what you need. If your games still run at acceptable frame rates and you can tolerate the occasional glitch, you might choose to defer the replacement. That is a reasonable call for a budget build.
If the card is out of warranty, the artifacts are severe, and a new GPU would meaningfully improve your setup, replacement is the right move. Trying to nurse a dying card too long usually ends in a sudden total failure at the worst possible moment.
Preventing GPU Artifacts Before They Start
A small amount of maintenance goes a long way toward keeping your GPU healthy for years.
Dust your PC every six months. Replace thermal paste every three to four years on cards that run hot. Avoid aggressive overclocks unless you are willing to underclock when needed. Keep drivers reasonably current, but do not chase every minor release.
Make sure your case has good airflow. A GPU that runs 10C cooler will last years longer than one that sits at its thermal limit. I recommend at least two intake fans and one exhaust fan as a baseline for any gaming build.
Frequently Asked Questions
How to test if GPU is artifacting?
Run FurMark for 20 to 30 minutes while watching HWiNFO64 for temperatures. If you see colored dots, flickering textures, or strange patterns, your GPU is artifacting. Also test with memtest_vulkan or OCCT’s VRAM mode to catch memory-specific failures.
How to diagnose if a GPU is faulty?
Perform a clean DDU driver install in Safe Mode, then boot with the Microsoft basic display driver. If artifacts still appear, your GPU hardware is faulty. Run a 20-minute FurMark stress test combined with a VRAM test to confirm.
Can an artifacting GPU be fixed?
Yes, in many cases. Software causes like driver corruption or unstable overclocks can be fully fixed. Hardware causes like VRAM degradation can sometimes be temporarily fixed by underclocking the memory clock. Severe hardware damage requires RMA or replacement.
Does artifacting mean your GPU is dying?
Not always, but it is a warning sign. Artifacts caused by drivers or overclocks can be fully fixed without hardware failure. Artifacts caused by VRAM or GPU core degradation mean the card is failing and will get worse over time.
Why does my GPU keep artifacting?
The most common causes are overheating, unstable overclocks, driver corruption, failing VRAM, and power delivery issues. Run a temperature check, reset all overclocks, perform a DDU clean install, and reseat power cables to isolate the cause.
Is artifacting permanent?
Software-related artifacting is not permanent and goes away once the driver or settings are fixed. Hardware-related artifacting is permanent and will worsen over time, though underclocking can temporarily mask marginal VRAM failures.
Is it possible to fix a failing GPU?
A failing GPU cannot be permanently repaired at home once the silicon itself is damaged. You can extend its life by underclocking, repasting, or improving case airflow, but the only true fix is RMA replacement under warranty or buying a new card.
Wrapping Up
That is the complete playbook for how to diagnose artifacts and graphical glitches on a failing GPU in 2026. Start with the cheap fixes: reset overclocks, run DDU in Safe Mode, and check temperatures. If artifacts persist, run a proper stress test and VRAM check. If they still show up in Safe Mode with the basic driver, your GPU hardware is at fault.
For software causes, a clean DDU install usually resolves the issue. For hardware causes, decide between underclocking as a temporary workaround and RMA or replacement based on warranty status and severity. Either way, you now have the diagnostic framework to make the right call.
If you want my personal rule of thumb: I never ignore a GPU artifact, but I also never panic about one. I run the tests, identify the cause, and act based on what I find. That is exactly what this guide helps you do.