
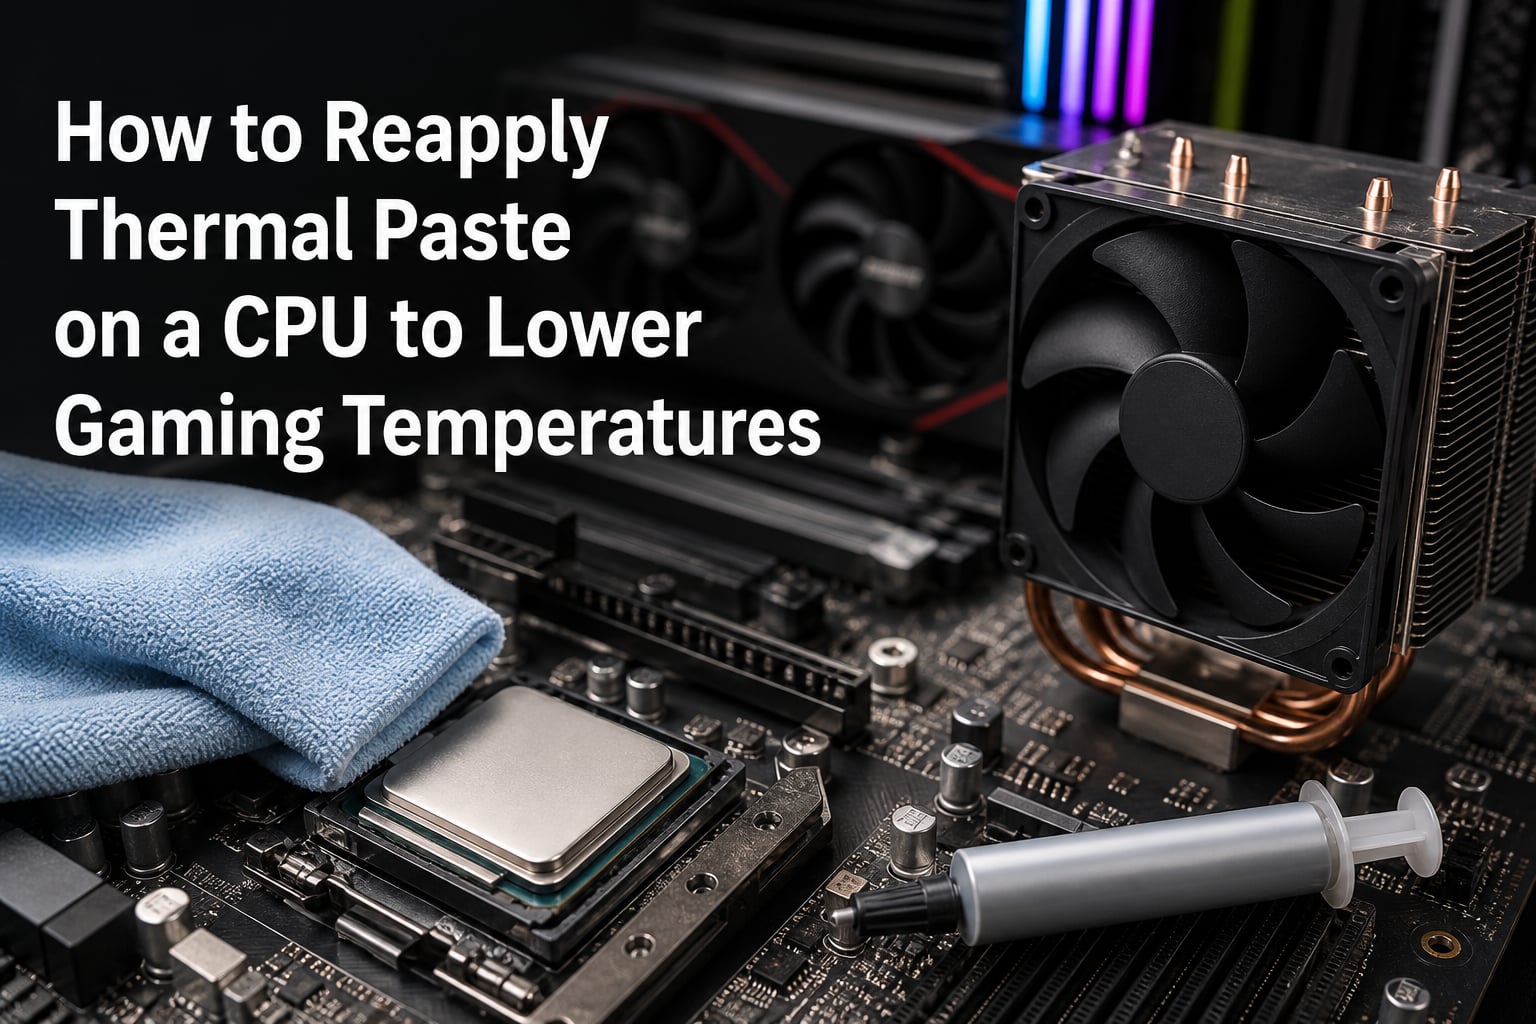
If your gaming rig keeps hitting high temperatures during intense sessions, old or dried-out thermal paste might be the culprit. Learning how to reapply thermal paste on a CPU to lower gaming temperatures is one of the most effective and inexpensive maintenance tasks any PC owner can perform. I have done this on multiple builds over the years, and the temperature drops are often dramatic. This guide walks you through the entire process step by step, from spotting the warning signs to applying fresh thermal compound correctly.
Whether you are running a budget air cooler or a high-end AIO liquid setup, the thermal interface material between your CPU and cooler degrades over time. Most gamers never think about it until their games start stuttering or their PC shuts down mid-match. By the end of this article, you will know exactly when and how to reapply thermal paste to keep your processor running cool under load.
Table of Contents
What Is Thermal Paste and Why Does It Matter for Gaming?
Thermal paste, also called thermal compound, thermal grease, or thermal interface material (TIM), is a thermally conductive substance applied between your CPU’s integrated heat spreader (IHS) and your cooler’s baseplate. Its job is simple but critical: fill the microscopic imperfections and air gaps between the two metal surfaces so heat transfers efficiently from the processor to the cooler.
Even mirror-polished CPU lids and cooler bases have tiny grooves at a microscopic level. Without paste, air pockets act as insulation, and your CPU overheats rapidly. For gamers, this matters more than almost any other user. Sustained gaming loads push your CPU to its thermal limits for hours at a stretch, and degraded thermal paste directly translates to thermal throttling.
When thermal throttling kicks in, your CPU automatically reduces its clock speed to protect itself from damage. That means lower frame rates, stuttering, and inconsistent performance in the games you care about most. Fresh thermal paste restores proper heat transfer and lets your CPU sustain its boost clocks longer.
Signs You Need to Reapply Thermal Paste
Most thermal paste lasts between two and five years under normal use, but gaming workloads accelerate degradation. I have seen paste dry out in as little as 18 months on heavily overclocked systems. Here are the clear warning signs that it is time for a reapplication.
Rising idle and load temperatures: If your CPU temps have crept up 10 to 15 degrees Celsius compared to when you first built the PC, the thermal paste is likely degrading. Track this with monitoring software like HWMonitor or Core Temp.
Thermal throttling during gaming: When your CPU hits its thermal limit (typically 95C to 100C on modern chips), it dials back performance. You will notice sudden frame drops, stuttering, or games closing unexpectedly.
Random shutdowns: If your PC powers off entirely during heavy gaming, the CPU may have reached its critical shutdown threshold. This is a safety mechanism, and ignoring it risks permanent hardware damage.
Loud fan noise: If your CPU fans ramp to maximum speed the moment a game launches and never settle down, your cooler is working overtime to compensate for poor heat transfer.
You removed the cooler: Any time you detach the CPU cooler, even briefly, you must reapply thermal paste. The old paste loses its seal and will not provide proper contact if you simply bolt the cooler back on.
Safe CPU Temperature Ranges for Gaming
Understanding what constitutes a safe gaming temperature helps you decide whether a reapplication is urgent. Here is a breakdown of the ranges I use when evaluating gaming systems.
40C to 65C at idle: This is normal and healthy. Most modern gaming CPUs idle in this range with a decent cooler.
65C to 85C under gaming load: This is the sweet spot. Your CPU is working hard but staying well within safe limits. You do not need to worry in this range.
85C to 90C under gaming load: This is warm but acceptable for many high-end CPUs, especially Intel models under heavy multi-core loads. However, it suggests your cooling could be improved, and checking your thermal paste is a smart move.
Above 90C under gaming load: This is where problems begin. Most modern CPUs start throttling around 95C and will shut down near 105C to 115C depending on the model. If you are seeing these numbers regularly, reapply your thermal paste immediately and verify your cooler mounting pressure.
Note that AMD Ryzen and Intel Core processors have different thermal targets. Always check your specific CPU’s maximum operating temperature (Tjmax) in the manufacturer specifications.
Tools and Materials You Need
Gather everything before you start so you are not scrambling mid-process with your cooler already detached.
High-quality thermal paste (Arctic MX-6, Noctua NT-H1, Thermal Grizzly Kryonaut, or similar)
90% or higher isopropyl alcohol
Lint-free microfiber cloth or coffee filters (they do not leave fibers behind)
Phillips-head screwdriver that fits your cooler mounting screws
Cotton swabs for detailed cleaning in corners
Anti-static wrist strap (recommended but not mandatory)
Plastic spatula or old credit card if you prefer the spread method
Avoid using paper towels that shed lint, household cleaners, or low-percentage rubbing alcohol. These leave residue that interferes with heat transfer and defeats the entire purpose of reapplication.
How to Reapply Thermal Paste on a CPU to Lower Gaming Temperatures?
Follow these steps carefully, and take your time. The process takes about 30 minutes from start to finish.
Step 1: Power down and disconnect. Shut down your PC completely and unplug the power cable from the wall. Press and hold the power button for five seconds to discharge any residual power in the capacitors. Ground yourself by touching a bare metal part of the case.
Step 2: Remove the CPU cooler. Disconnect the fan header cable from the motherboard first. Then unscrew the cooler in a crisscross pattern, loosening each screw a little at a time rather than fully removing one side first. This prevents uneven pressure from damaging the CPU. Gently twist the cooler slightly to break the paste seal before lifting straight up.
Step 3: Clean the old thermal paste. Dampen a corner of your microfiber cloth or a coffee filter with isopropyl alcohol. Gently wipe the CPU’s heat spreader in circular motions until all old paste is gone. Repeat with fresh sections of cloth until the surface looks clean and shiny. Clean the cooler’s baseplate the same way. Use cotton swabs dipped in alcohol for tight corners, but never let liquid pool on the CPU.
Step 4: Let everything dry. Wait two to three minutes for any alcohol residue to evaporate completely. The surfaces should look dry and feel smooth with no tackiness.
Step 5: Apply the new thermal paste. Use the pea-sized method for most CPUs: squeeze a small drop of paste, roughly the size of a grain of rice, directly in the center of the CPU heat spreader. Do not spread it manually. When you reinstall the cooler, the mounting pressure will spread the paste evenly across the surface. For elongated CPUs like Intel’s 12th and 13th gen dies, a thin line down the center can provide slightly better coverage.
Step 6: Reattach the cooler. Carefully lower the cooler straight down onto the CPU without sliding it around. Tighten the screws in a crisscross pattern, doing one or two turns per screw and rotating through all four until each is snug. Do not overtighten. Reconnect the fan header cable to the motherboard.
Step 7: Plug in and test. Reconnect the power cable, boot into Windows, and run a temperature monitoring tool. Let the system idle for ten minutes, then run a stress test or launch a demanding game. Compare your temperatures to what you saw before the reapplication. You should see a drop of 5 to 20 degrees Celsius with a proper application.
Common Mistakes to Avoid
Using too much paste. More is not better. Excess paste squeezes out the sides, creates a mess, and in extreme cases can spill onto the motherboard socket pins. A grain-of-rice amount is sufficient for most CPUs. If paste oozes out from under the cooler after installation, you used too much.
Using too little paste. On the flip side, a dab so tiny that it does not cover the IHS leaves air gaps. The goal is complete, thin coverage across the entire contact area.
Spreading the paste manually. Unless you are using a specifically designed spreadable paste, let the cooler’s mounting pressure do the work. Spreading with a card can trap air bubbles and create an uneven layer.
Reusing old paste. Never try to put a cooler back on with the existing paste still on it. The seal is broken, and the dried compound will not make proper contact.
Touching the contact surfaces. Your fingers leave oils that degrade thermal conductivity. Handle the CPU and cooler base by their edges only.
Mixing different pastes. Do not layer new paste over remnants of old paste from a different brand. The chemical compositions may not play well together, and you lose performance. Always clean thoroughly before applying fresh compound.
What to Do If Temps Are Higher After Reapplication?
This happens more often than you might think, and forum users frequently report frustration when their fresh paste application results in worse temperatures. In most cases, the fix is straightforward.
Check mounting pressure. Uneven or loose cooler mounting is the number one cause of higher temps after a reapplication. Remove the cooler, clean both surfaces, reapply paste, and tighten in a proper crisscross pattern.
Allow a break-in period. Some thermal pastes need 20 to 50 hours of thermal cycling to reach peak performance. Arctic Silver 5, for example, can take up to 200 hours to fully cure. If you are using a curing-type paste, give it a few days of normal use before judging results.
Verify paste coverage. If you suspect inadequate spread, remove the cooler and inspect the pattern. A properly applied pea-sized dot should spread to cover roughly 80 to 90 percent of the IHS. Bare spots on the edges are normal and acceptable.
Rule out other causes. Dust buildup on cooler fins, a failing fan bearing, poor case airflow, or ambient room temperature all affect CPU thermals. Clean your case fans and verify airflow direction before blaming the paste.
FAQs
Can I reapply thermal paste to my CPU?
Yes, you can and should reapply thermal paste to your CPU whenever the old paste has dried out, whenever you remove the cooler, or every two to five years as routine maintenance. The process is safe as long as you power down fully, clean both surfaces with isopropyl alcohol, apply a small amount of fresh paste, and remount the cooler with even pressure.
How to decrease CPU temperature when gaming?
To decrease CPU temperature when gaming, reapply fresh thermal paste every two to five years, ensure your cooler is mounted with even pressure, clean dust from cooler fins and case fans regularly, improve case airflow with proper intake and exhaust fan placement, consider upgrading to a stronger cooler if you are using the stock option, and avoid overclocking beyond what your cooling solution can handle.
Is 90 C hot for CPU while gaming?
90C is on the high side for sustained gaming but not immediately dangerous for most modern CPUs, which throttle around 95C and shut down near 105C to 115C. However, running consistently at 90C indicates your cooling needs attention. Reapplying thermal paste, cleaning your cooler, and verifying airflow should bring load temps down into the safer 70C to 85C range.
Is 140 F too hot for CPU?
140F equals approximately 60C, which is completely safe for a CPU. In fact, 60C is a comfortable temperature for light to moderate loads. Most gaming CPUs idle between 40C and 65C and reach 70C to 85C under gaming load. You only need to worry when temperatures climb above 90C (194F) during extended gaming sessions.
Conclusion
Knowing how to reapply thermal paste on a CPU to lower gaming temperatures is a skill that pays off every single time your system runs cooler, quieter, and more stable during long gaming sessions. The process is straightforward: power down, remove the cooler, clean with isopropyl alcohol, apply a grain-of-rice amount of fresh paste, and remount with even pressure. If you have not checked your thermal paste in over two years or you are seeing load temps above 85C, now is the time to do it. Your CPU will thank you with sustained boost clocks and fewer mid-game shutdowns.