
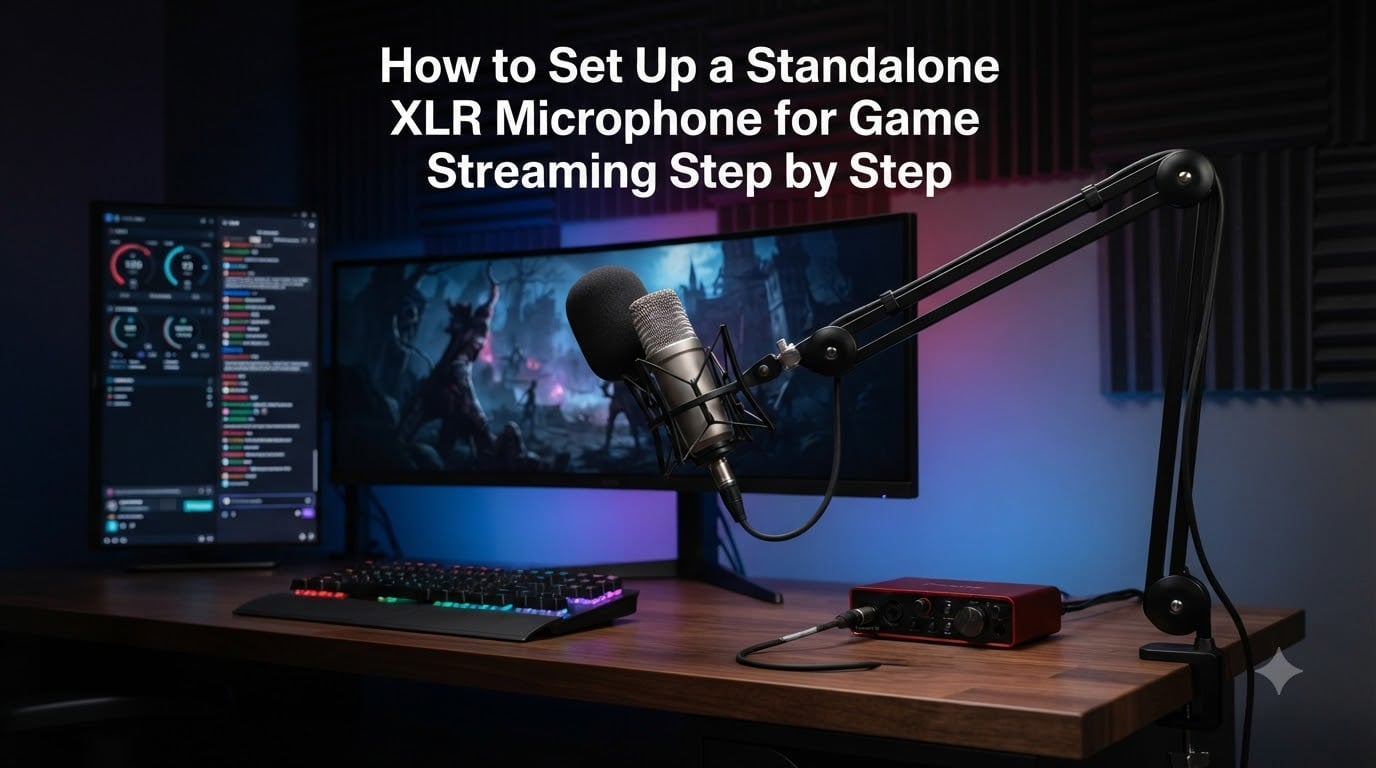
Ask any experienced streamer what keeps viewers watching, and you’ll hear the same answer over and over: audio quality. A viewer might tolerate a pixelated webcam, but muffled or noisy voice audio sends them clicking away within seconds. That’s why so many creators upgrade from a USB mic to a standalone XLR setup.
Learning how to set up a standalone XLR microphone for game streaming step by step opens the door to broadcast-quality voice capture that flat-out embarrasses most USB mics. The trade-off is a bit more gear and configuration work, but the process is genuinely simple once you understand each piece.
In this guide, I’ll walk you through everything from choosing the right equipment to dialing in OBS audio filters with specific values. Whether you’re streaming on Twitch, YouTube, or Kick, you’ll have a clean, professional voice chain by the time we’re done.
Table of Contents
What Is an XLR Microphone and Why Streamers Use One?
An XLR microphone is a professional microphone that uses the three-pin XLR connector standard found in recording studios, broadcast booths, and live sound setups worldwide. Unlike a USB mic that plugs straight into your computer, an XLR mic needs a separate device to convert its analog signal into digital audio your PC can understand.
The biggest reason streamers switch to XLR is audio quality. XLR mics offer a higher ceiling for clarity, warmth, and detail than virtually any USB option. You also get access to studio-grade microphones like the Shure SM7B or Electro-Voice RE20, which simply don’t exist in USB form.
XLR uses a balanced audio signal, meaning the cable carries two mirrored signals that cancel out electromagnetic interference. This is why you can run a 25-foot XLR cable across your room without picking up the buzzing your PC fans or monitor create. The signal stays clean.
Another advantage is upgrade flexibility. With USB, the microphone and its internal audio interface are one sealed unit. With XLR, you can swap out your mic, interface, or add hardware like a Cloudlifter or mixer at any time without replacing everything.
Equipment You Need for a Standalone XLR Streaming Setup
You can’t just plug an XLR mic into a computer. Building a standalone streaming voice chain requires a short list of components, each doing a specific job.
Here’s what you need to get started:
XLR microphone — A dynamic mic is the streaming default because it rejects background noise from keyboards, fans, and game audio bleeding through your speakers.
Audio interface or mixer — This device converts the analog XLR signal to digital USB audio. Popular entry-level options include the Focusrite Scarlett 2i2 and the GoXLR Mini.
XLR cable — A standard 3-pin microphone cable, usually 6 to 10 feet long for a desk setup. Buy a quality cable to avoid crackling and signal loss.
Boom arm or desk stand — A boom arm gives you precise mic positioning and frees up desk space compared to a bulky stand.
Pop filter or foam windscreen — This tames plosives, the burst of air from P and B sounds that hit the mic capsule like a punch.
Shock mount (optional) — Isolates the mic from desk vibrations and keyboard thumps.
Cloudlifter or gain booster (conditional) — Some mics like the Shure SM7B need extra gain that budget interfaces can’t provide on their own.
If you’re unsure which audio interface to pick, the community-verified sweet spot for new streamers is the Focusrite Scarlett 2i2. It offers clean preamps, phantom power for condenser mics, and enough gain for most dynamic mics. For an all-in-one streaming mixer with built-in sampler and voice effects, the GoXLR Mini is extremely popular.
Choosing Between Dynamic and Condenser Mics for Streaming
Dynamic and condenser are the two main microphone technologies, and they behave very differently in a streaming environment. Picking the right type matters more than picking the most expensive model.
Dynamic microphones are the clear winner for game streaming. They’re less sensitive than condensers, which sounds like a downside until you realize that lower sensitivity means they reject room noise, keyboard clicks, and fan hum. You speak close to a dynamic mic, and it focuses on your voice.
Condenser microphones capture more detail and a wider frequency range, but that sensitivity works against you in an untreated room. If your PC sounds like a jet engine or you have mechanical keyboard switches, a condenser will faithfully capture all of it.
My recommendation for most streamers: start with a dynamic mic like the Shure SM7B, Electro-Voice RE20, or the more budget-friendly Audio-Technica AT2005. You’ll spend less time fighting background noise and more time actually streaming.
How to Connect Your XLR Microphone to Your PC?
The physical connection is the part that intimidates beginners most, but it’s straightforward once you see the signal path. Audio flows from your mouth, into the mic, through the cable, into the interface, and out to your PC via USB.
Follow these steps to wire everything up:
Plug the XLR cable into the microphone. The female end of the cable connects to the mic. Line up the three pins and push firmly until you feel the latch click.
Connect the other end to your audio interface. The male end goes into one of the interface’s XLR inputs, typically labeled Input 1.
Plug the interface into your PC via USB. Use the cable that came with your interface and connect directly to a motherboard USB port when possible.
Install drivers or firmware if required. Most modern interfaces are class-compliant and need no drivers. The GoXLR and some Focusrite models benefit from their companion software for updates.
Enable phantom power if using a condenser mic. The 48V button on your interface powers condenser capsules. Dynamic mics like the SM7B do not need phantom power.
Once everything is physically connected, your computer should recognize the audio interface as a new input device. On Windows, check Sound settings under Recording devices. On Mac, look in System Settings under Sound input.
Configuring Your Audio Interface and Gain Settings
Now that your hardware is connected, it’s time to set levels. Gain staging is the single most important step for clean audio, and it’s where most beginners go wrong.
Start by opening your interface’s control panel (or the system sound preferences) and setting the sample rate to 48kHz with a 24-bit depth. These are the standard settings for streaming and video production.
To set your gain properly, get into your normal streaming position with the mic the same distance from your mouth you’ll actually use. Speak at your loudest streaming voice, the volume you hit when you get excited during gameplay. Slowly turn the gain knob up until your peaks sit between -12 dB and -6 dB on the interface’s level meter.
This headroom matters. If your peaks hit 0 dB, you clip the audio and it distorts permanently. Leaving 6 to 12 dB of headroom gives you room for those surprise loud moments without ruining the signal.
If you’re using a low-output dynamic mic like the Shure SM7B and you can’t reach -12 dB even with the gain knob maxed, you need a Cloudlifter. This in-line device adds 25 dB of clean gain before the signal reaches your interface. The SM7B, RE20, and similar broadcast mics almost always need one with entry-level interfaces.
Setting Up Your Microphone in OBS Studio
OBS Studio is the most popular streaming software, and configuring your XLR mic in it takes about two minutes once your interface is recognized by your computer.
Here’s how to add your mic to OBS:
Open OBS Studio and create a new scene or open an existing one.
Click the plus button under Sources and select Audio Input Capture.
Name the source something clear like “XLR Mic” and click OK.
Select your audio interface from the Device dropdown. It should appear by its product name, not as “Default” or “Microphone Array.”
Click OK to add the source to your scene.
Check the audio mixer panel at the bottom of OBS. You should see the meter moving when you speak.
If you don’t see your interface in the dropdown, close OBS, unplug and replug the USB cable, and reopen OBS. On Windows, you may also need to set the interface as your default recording device in Windows Sound settings first.
Make sure the monitoring mode in OBS Advanced Audio Properties is set to Monitor Off for your mic, unless you want to hear yourself with latency through your headphones.
Best OBS Audio Filters and Settings for Game Streaming
This is where your XLR setup goes from functional to professional. OBS has built-in audio filters that clean up your voice in real time, and applying them in the right order with the right values makes a massive difference.
Right-click your mic source in OBS, select Filters, and add these filters in this exact order:
Noise Gate. This mutes the mic when you’re not speaking, cutting out keyboard noise and breathing. Set the close threshold around -40 dB and the open threshold around -32 dB. Adjust based on how loud your room is.
Noise Suppression. Choose the RNNoise method, which uses machine learning to strip out consistent background noise like fans and PC hum. The Speex option is lighter on CPU but less effective.
Compressor. This evens out your volume so quiet parts are audible and loud parts don’t peak. Set ratio to 3:1, threshold to -18 dB, attack at 6ms, release at 60ms, and output gain around 3 dB to compensate for level reduction.
Limiter. This is your safety net. Set the threshold to -3 dB so no audio ever clips, no matter how loud you yell during a clutch moment.
Order matters because each filter feeds into the next. The noise gate removes silence gaps before the compressor tries to process them. The limiter sits last to catch anything the compressor pushed too high.
Add an optional EQ filter if you want to shape your tone. A simple high-pass filter at 80 Hz removes low-end rumble, and a slight boost around 4 kHz adds presence and clarity to your voice.
Mic Positioning and Streaming Technique
You can have the best gear on the market and still sound bad if your mic technique is off. Position is everything with dynamic XLR mics, which need you to be close.
Place the microphone 4 to 6 inches from your mouth. This is much closer than most people expect, but dynamic mics need proximity to capture full, rich low-end. Speaking too far away makes you sound thin and distant.
Angle the mic slightly off-axis, about 15 to 20 degrees from pointing directly at your mouth. This reduces plosive impact even with a pop filter and keeps your breath from hitting the capsule directly.
Position the pop filter about 2 inches in front of the mic capsule, between you and the microphone. If you’re using a foam windscreen, it slides directly over the capsule and handles light plosives on its own.
Mount the mic on a boom arm so the capsule is at mouth height and you’re speaking across it rather than down into it. This reduces neck strain during long streams and keeps the mic out of your webcam frame.
Common XLR Streaming Mistakes and How to Avoid Them
Even with good gear, a few classic mistakes can wreck your stream audio. I’ve seen all of these trip up experienced streamers who upgraded from USB without adjusting their habits.
Running gain too hot or too low. If your interface meter is pinned in the red, you’re clipping and your audio is permanently distorted. If you’re barely registering on the meter, you’ll need to boost the signal digitally, which amplifies noise. Aim for those -12 to -6 dB peaks.
Speaking too far from a dynamic mic. Dynamic mics lose warmth and detail fast as you move away. If you sound thin and roomy, you’re probably 12 inches away instead of 5.
Skipping the pop filter. A pop filter costs very little and saves your audio from every P, B, and T sound. There’s no good reason to skip it.
Ignoring room treatment. Bare walls and hard surfaces create reflections that make you sound like you’re in a tin can. Even a rug and some soft furnishings make a noticeable difference.
Using OBS noise suppression as a crutch. RNNoise is powerful, but if your room is genuinely noisy, it’ll make your voice sound robotic as it fights to separate speech from chaos. Fix the noise source first, then use filters to polish.
Dual PC Streaming and GO XLR Setup Tips
Some streamers run a dual PC setup, with one computer for gaming and another dedicated to streaming. This changes how you route audio, and it’s a common source of confusion.
In a dual PC setup, your XLR mic and audio interface should connect to the streaming PC, not the gaming PC. This keeps your mic on the same machine running OBS, avoiding sync issues. You route game audio from the gaming PC to the streaming PC using a capture card or a digital audio link like NDI.
If you’re using a GO XLR, the setup gives you hardware control over mic gain, game audio, chat, and music volumes. Connect your XLR mic to the GO XLR’s mic input, and it acts as both interface and mixer. Route your headphones through the GO XLR’s monitor output so you can hear everything it’s processing.
One common issue: audio desync between your mic and game audio in a dual PC setup. If your voice is ahead of the gameplay, add a sync offset in OBS Advanced Audio Properties for your game audio source. Start around 200ms and fine-tune until lip movement matches voice.
FAQs
Can I use an XLR mic for streaming?
Yes, XLR mics are the top choice for serious streamers. They deliver better audio quality, reject more background noise, and offer upgrade flexibility compared to USB mics. You will need an audio interface or mixer to connect them to your PC.
How to set up an XLR mic for streaming?
Connect your XLR mic to an audio interface with an XLR cable, plug the interface into your PC via USB, set your gain so peaks hit -12 to -6 dB, then add the mic as an audio source in OBS and apply noise gate, noise suppression, compressor, and limiter filters in that order.
What equipment do I need for an XLR microphone setup?
You need an XLR microphone, an audio interface or mixer, an XLR cable, a boom arm or stand, and a pop filter. For low-output dynamic mics like the Shure SM7B, you may also need a Cloudlifter gain booster.
How to set up a microphone for streaming in OBS?
In OBS, add an Audio Input Capture source, select your audio interface as the device, confirm the meter moves when you speak, then add filters starting with a noise gate around -32 dB open threshold, RNNoise noise suppression, a compressor at 3:1 ratio, and a limiter at -3 dB.
Do I need a Cloudlifter for my XLR mic?
You need a Cloudlifter or similar gain booster if you have a low-output dynamic mic like the Shure SM7B or Electro-Voice RE20 and your audio interface cannot provide enough clean gain to reach -12 dB peaks. Higher-output mics and interfaces with strong preamps usually do not need one.
Conclusion
Setting up a standalone XLR microphone for game streaming is a straightforward process once you break it into stages. You need the right gear, a clean physical connection, proper gain staging at -12 to -6 dB peaks, and a well-ordered filter chain in OBS.
Start with a dynamic mic, a solid audio interface like the Focusrite Scarlett 2i2 or GoXLR Mini, and spend time on mic positioning and gain before reaching for software fixes. The hardware side does most of the heavy lifting.
Knowing how to set up a standalone XLR microphone for game streaming step by step gives your stream a professional edge that viewers notice immediately. Get your gear connected, dial in those OBS settings, and hit that Go Live button with confidence.